Introduction
The iHDS Amigo Smartphone App is American Honda’s first mobile diagnostic solution, developed as a proof of concept to enhance portability and provide faster access to essential diagnostic functions that were traditionally available only on Microsoft Windows-based computers. American Honda invites you to explore the app’s capabilities and share your feedback to help assess its potential for broader, mainstream deployment.
Key Features:
- System Requirements
- Installation
- Login
- Configure Wi-Fi settings for HAC connectivity
- Scan and clear Diagnostic Trouble Codes (DTCs), Access and Review the vehicle’s Data list
- Easier access to Brake Maintenance mode.
- Receive and send messages with American Honda
- Logging out
- Troubleshooting
1. System Requirements
- Device OS: Android 10.0 or higher
- Internet Access: Required for login and HAC configuration, Scan DTC, Clear DTC, and for Data List
- APP Permissions: Must allow full access to notifications, Bluetooth setup, Wi-Fi setup, cellular data, location services (GPS), and storage (for messaging attachments).
2. Installation
Steps for downloading and installing the app:- Open Google Play Store.
- Search for iHDS Amigo.
- Tap Install.
- Once installed, the iHDS Amigo Smart Phone App icon will appear on your device’s home screen.

3. Login
- Launch the iHDS Amigo App, a Welcome screen will open as shown below.

- Tap on ‘AHM SSO’ button.
- Enter your iN credentials: Dealer Number, Username, Password.
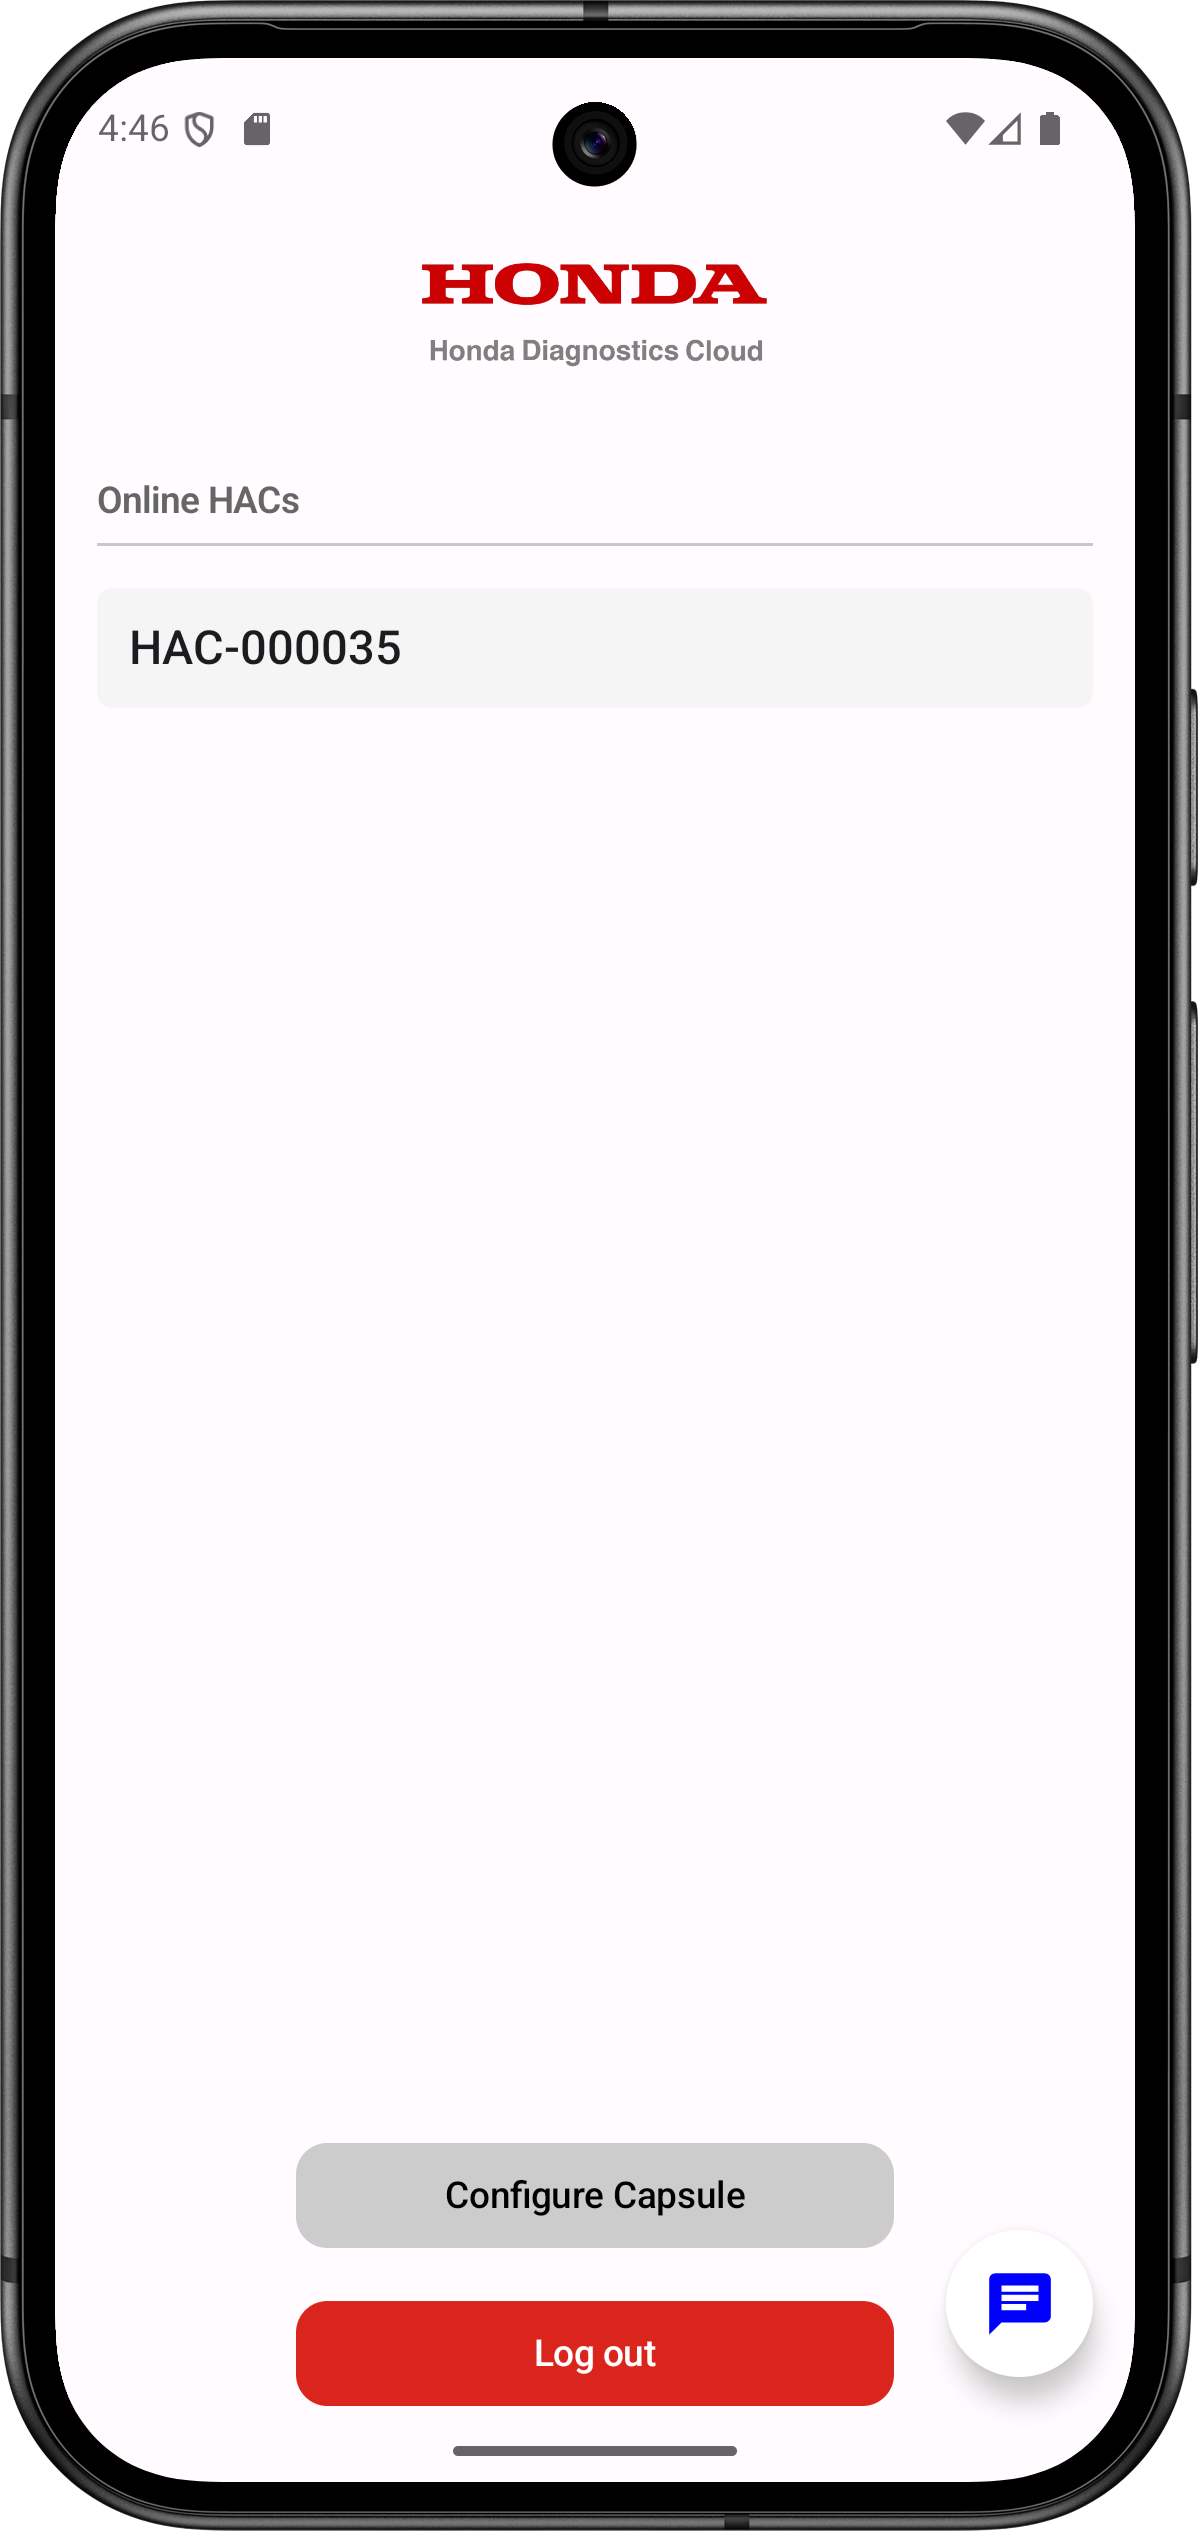
- Tap 'Login'. If successful, you will be redirected to the Home Screen with:
- Online HAC devices listed (Registered HACs to your Dealer Account)
- 'Configure Capsule' button
- 'Log Out' button

4. Configure Wi-Fi settings for HAC connectivity
Overview: Follow the guided steps to connect a HAC to your Wi‑Fi network. Ensure you are near the vehicle and have Wi‑Fi information ready.Follow these steps to configure the capsule:
1. On the Home Screen, tap ‘Configure Capsule’. The following screen will appear. Tap the Next arrow toproceed. 2. Follow the on-screen instructions:
Step 1: Power on the HAC — plug it into the vehicle OBD-II port and turn the ignition ON.
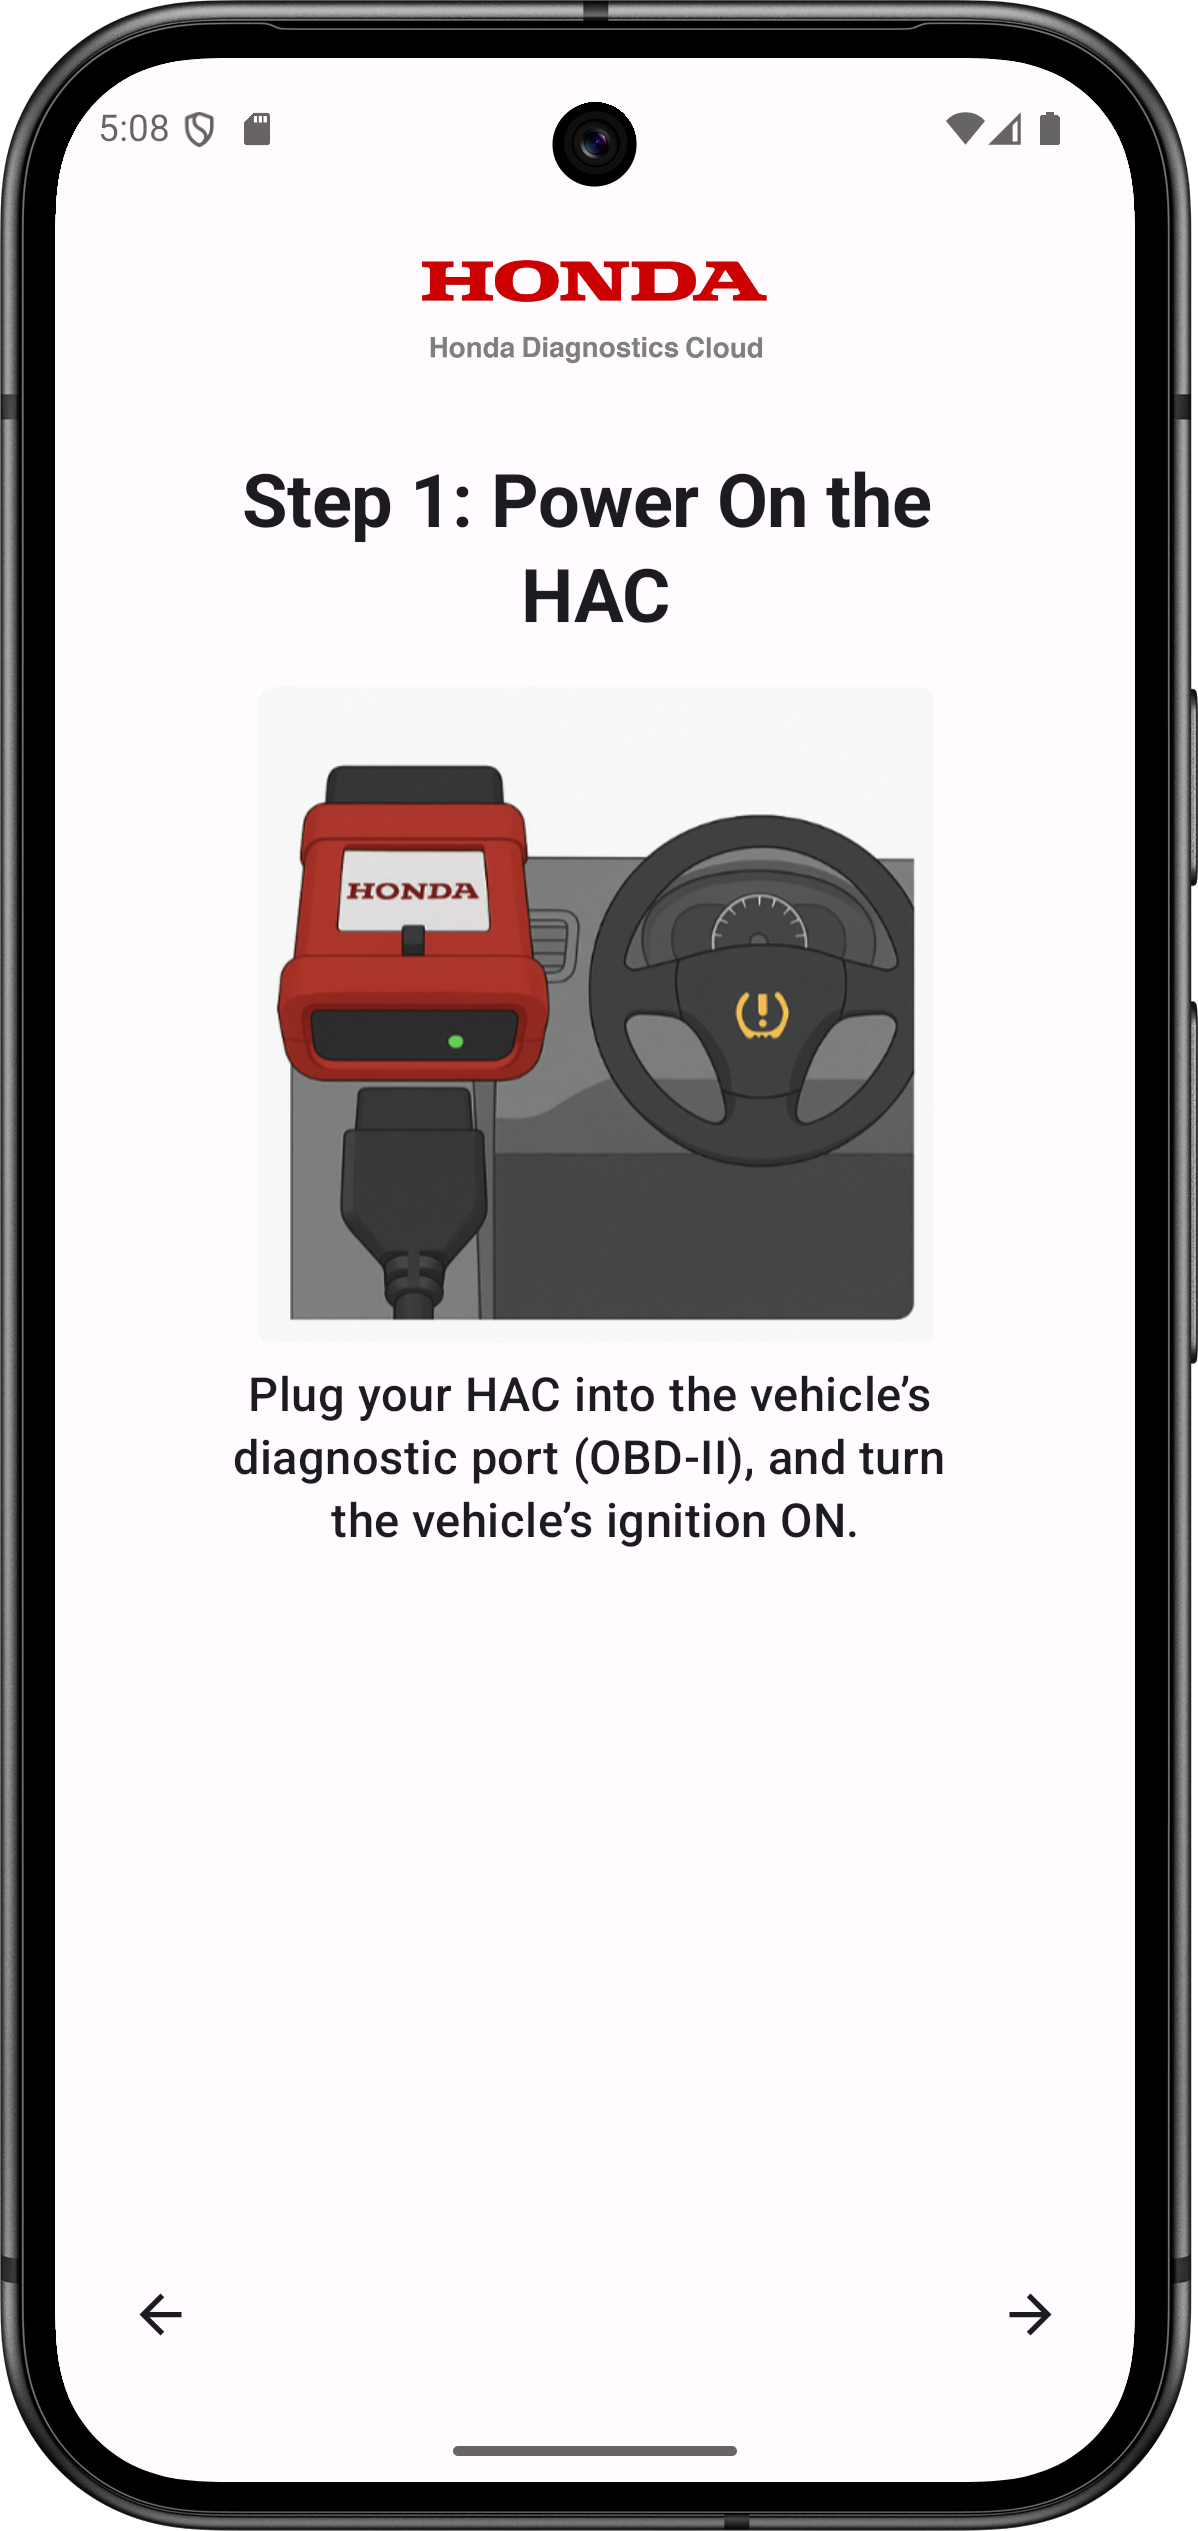
Note: At this stage App will ask permission to enable (Turn On) Bluetooth, if you ‘Decline’ it, it will redirect to the “Configure Wi-Fi for your HAC Device” page. You must allow Bluetooth access to proceed. Tap 'Allow' when prompted. It will turn on the Mobile Bluetooth.
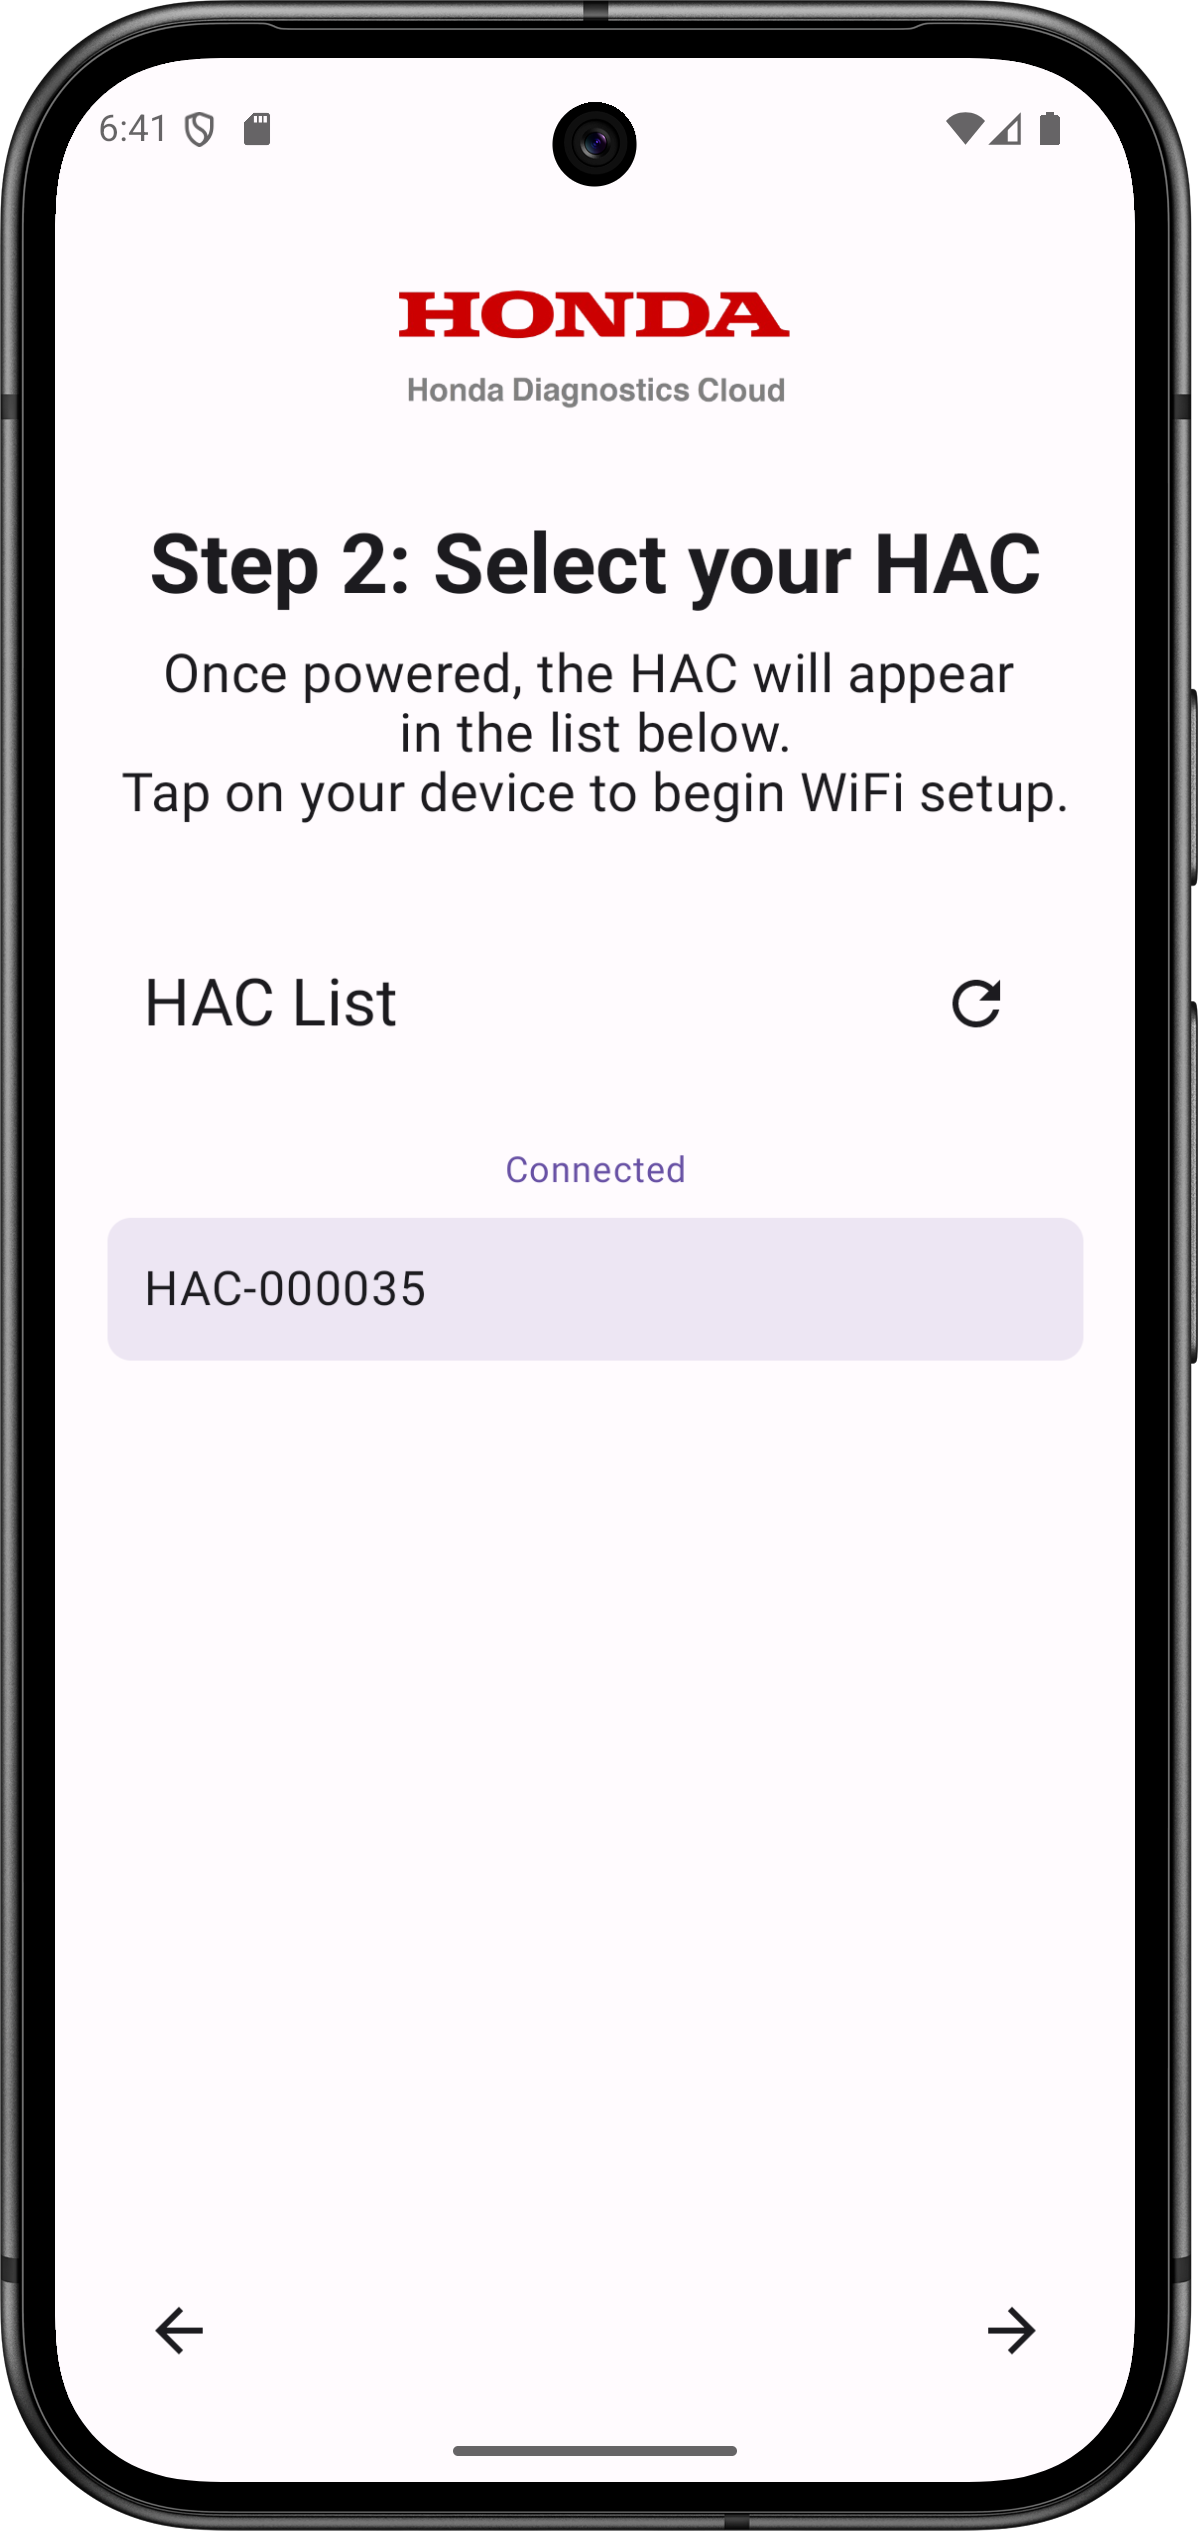
Step 2: Your HAC will appear under the HAC List as ‘Disconnected’
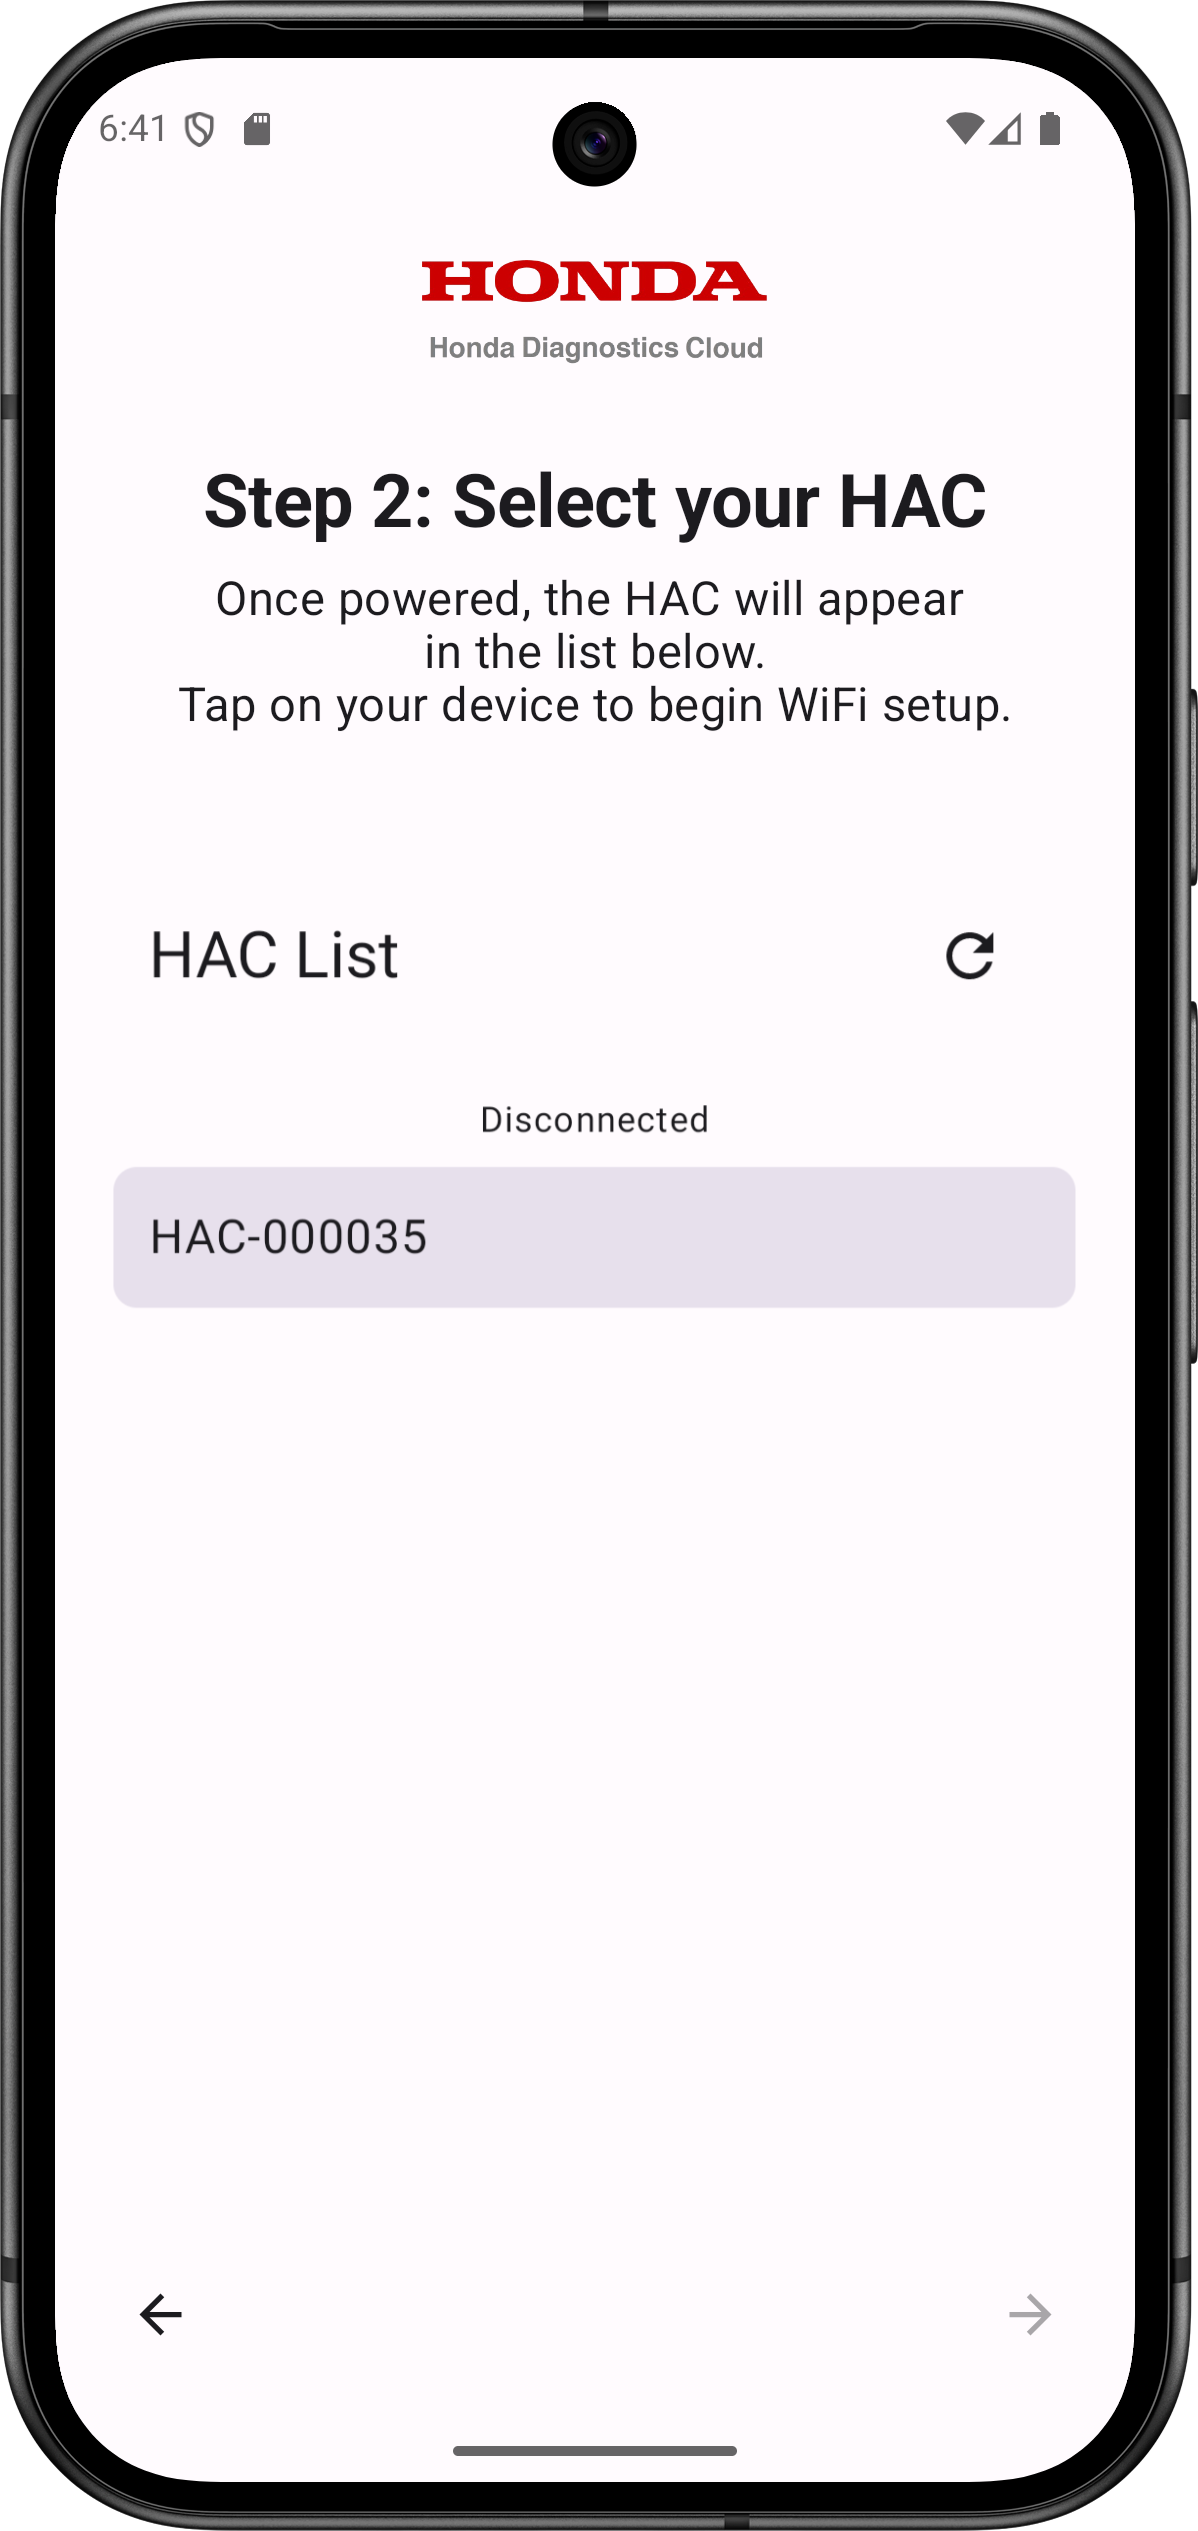
Select your HAC from the HAC list, to connect with it. When it’s connected, it will move forward to the next step.
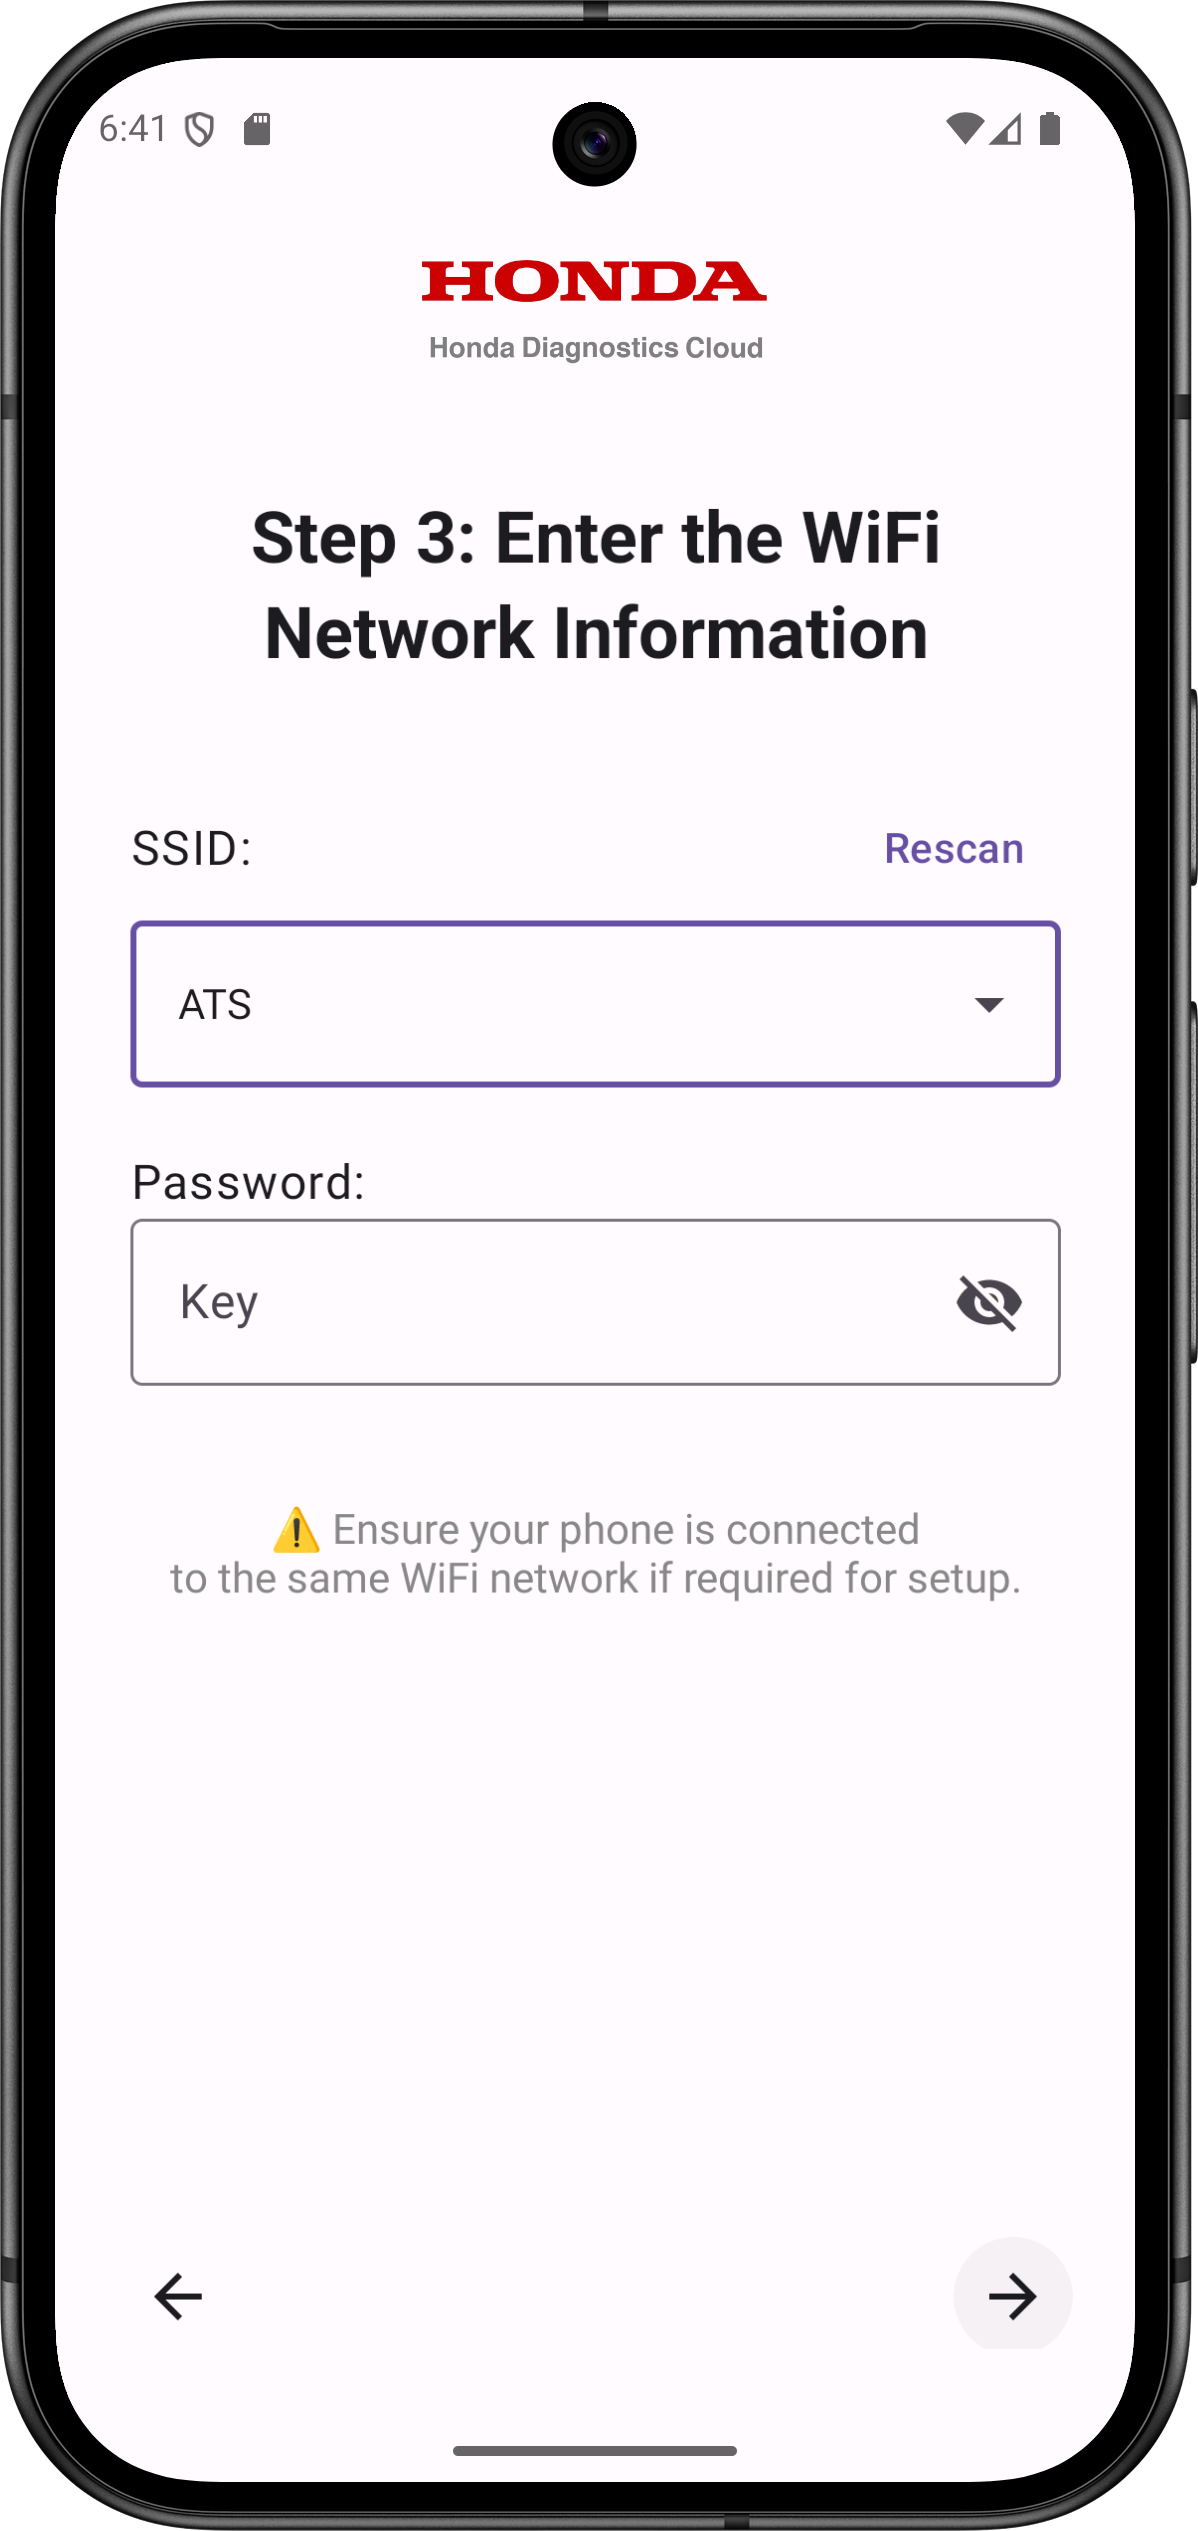
Step 3: Select the Wi-Fi SSID and enter the correct password to configure HAC then select right arrow to apply settings.
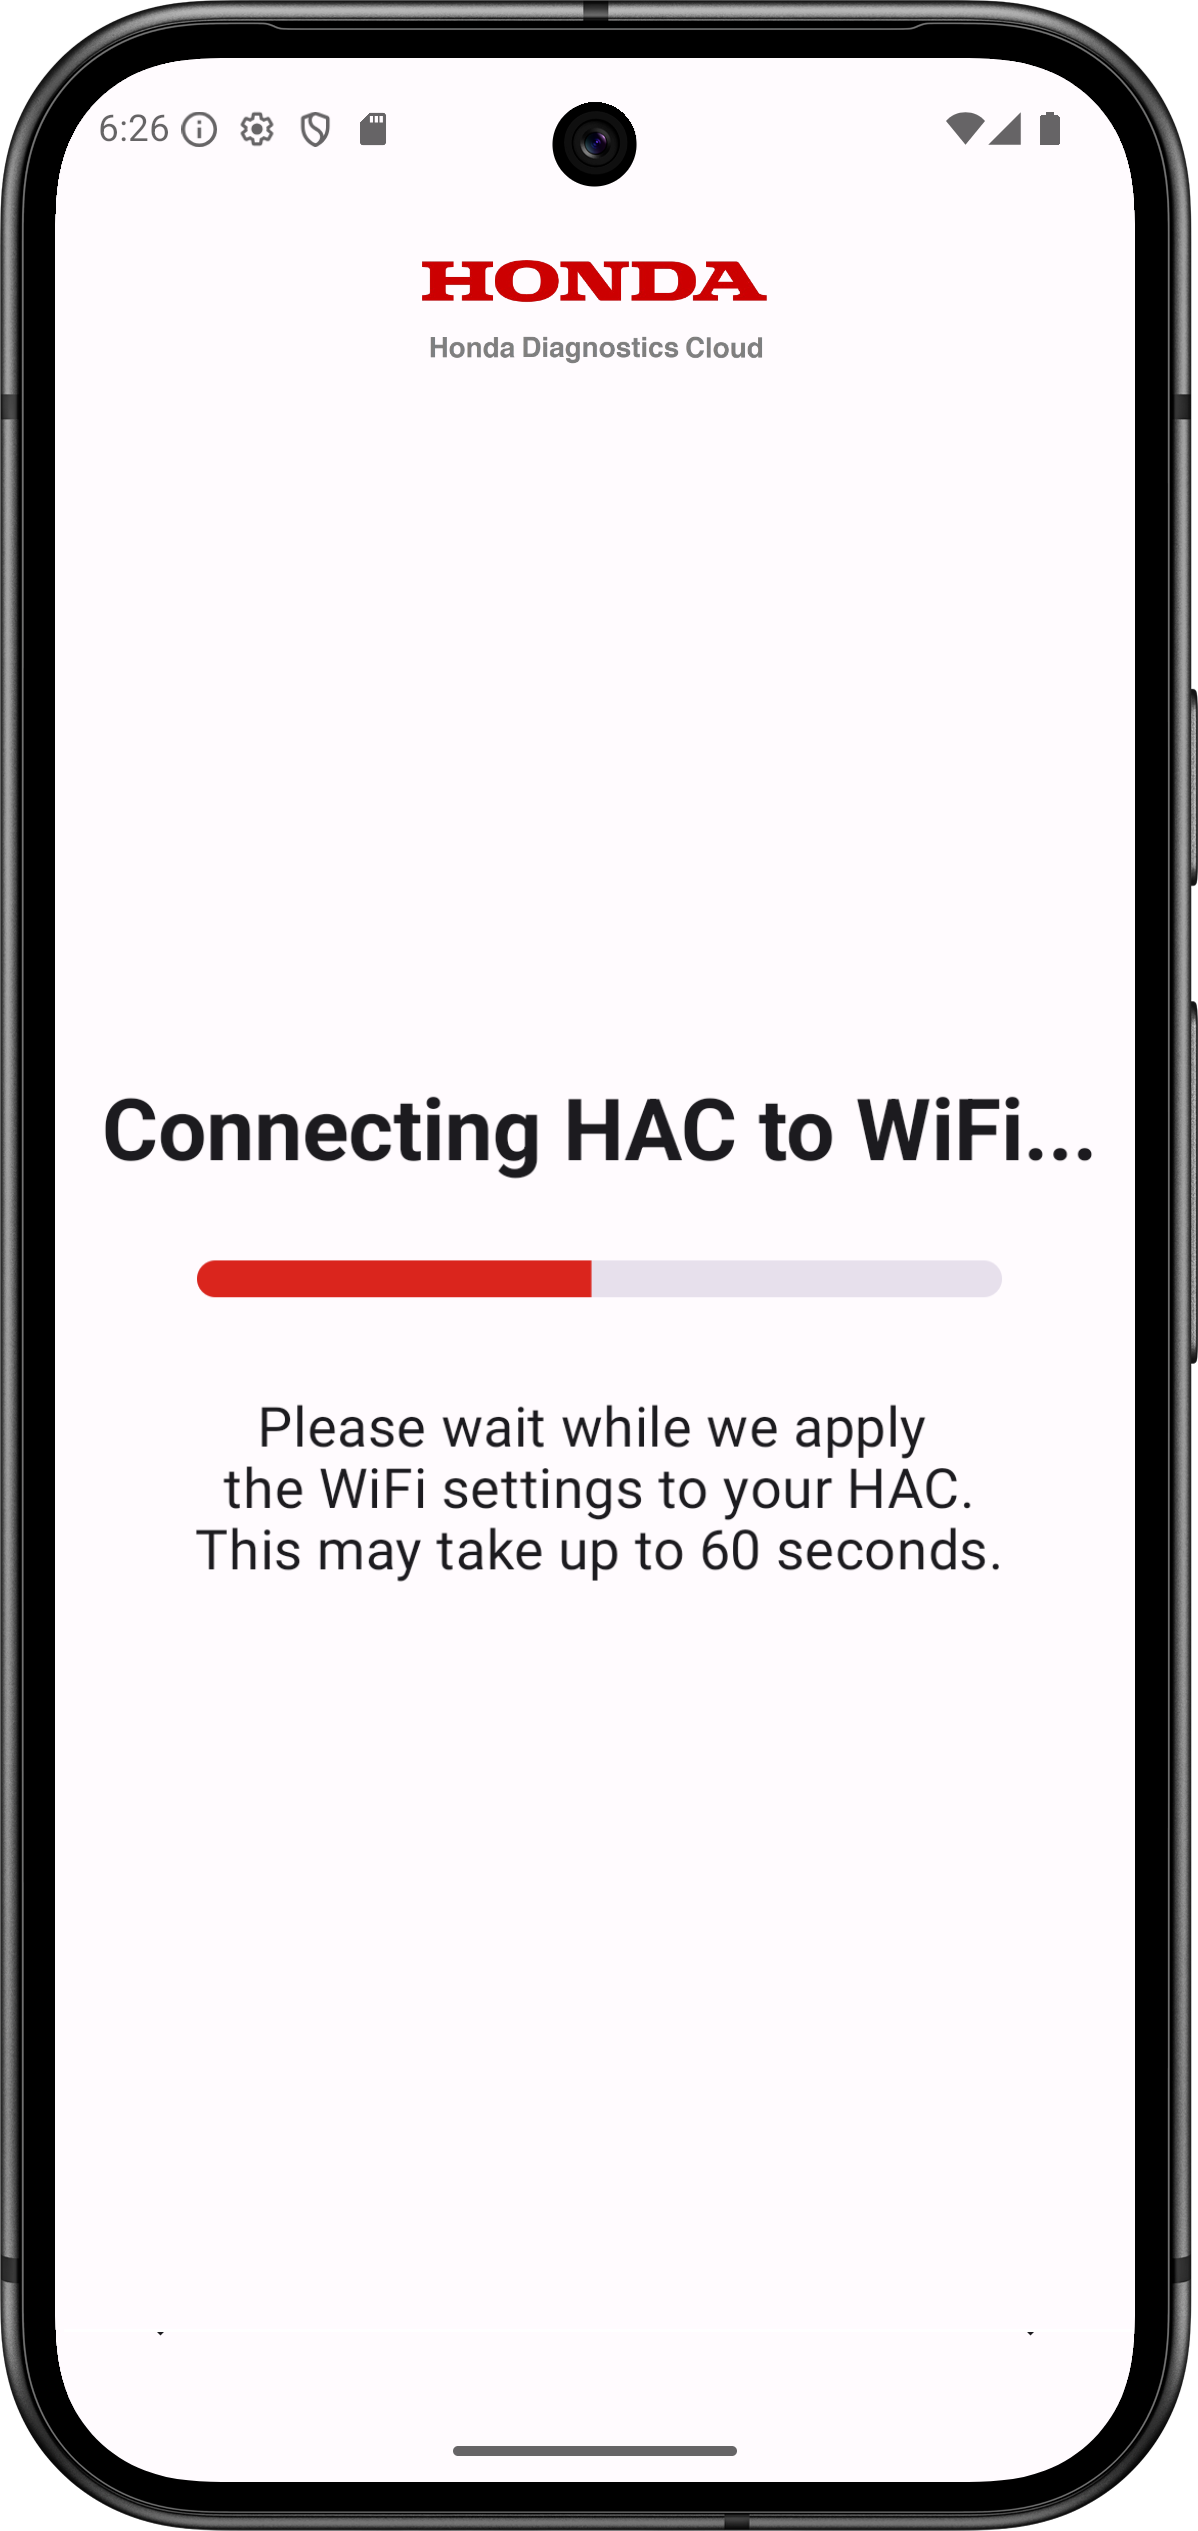
The HAC will now attempt to connect to the provided Wi-Fi SSID name. You will be redirected to the 'Connecting HAC to Wi-Fi...' screen. Generally, this process may take up to 60 seconds to complete the process.
If HAC connects to the Wi-Fi successfully, you'll see the 'Wi‑Fi Setup Completed! with ‘HOME’ and ‘USE HAC’ options.
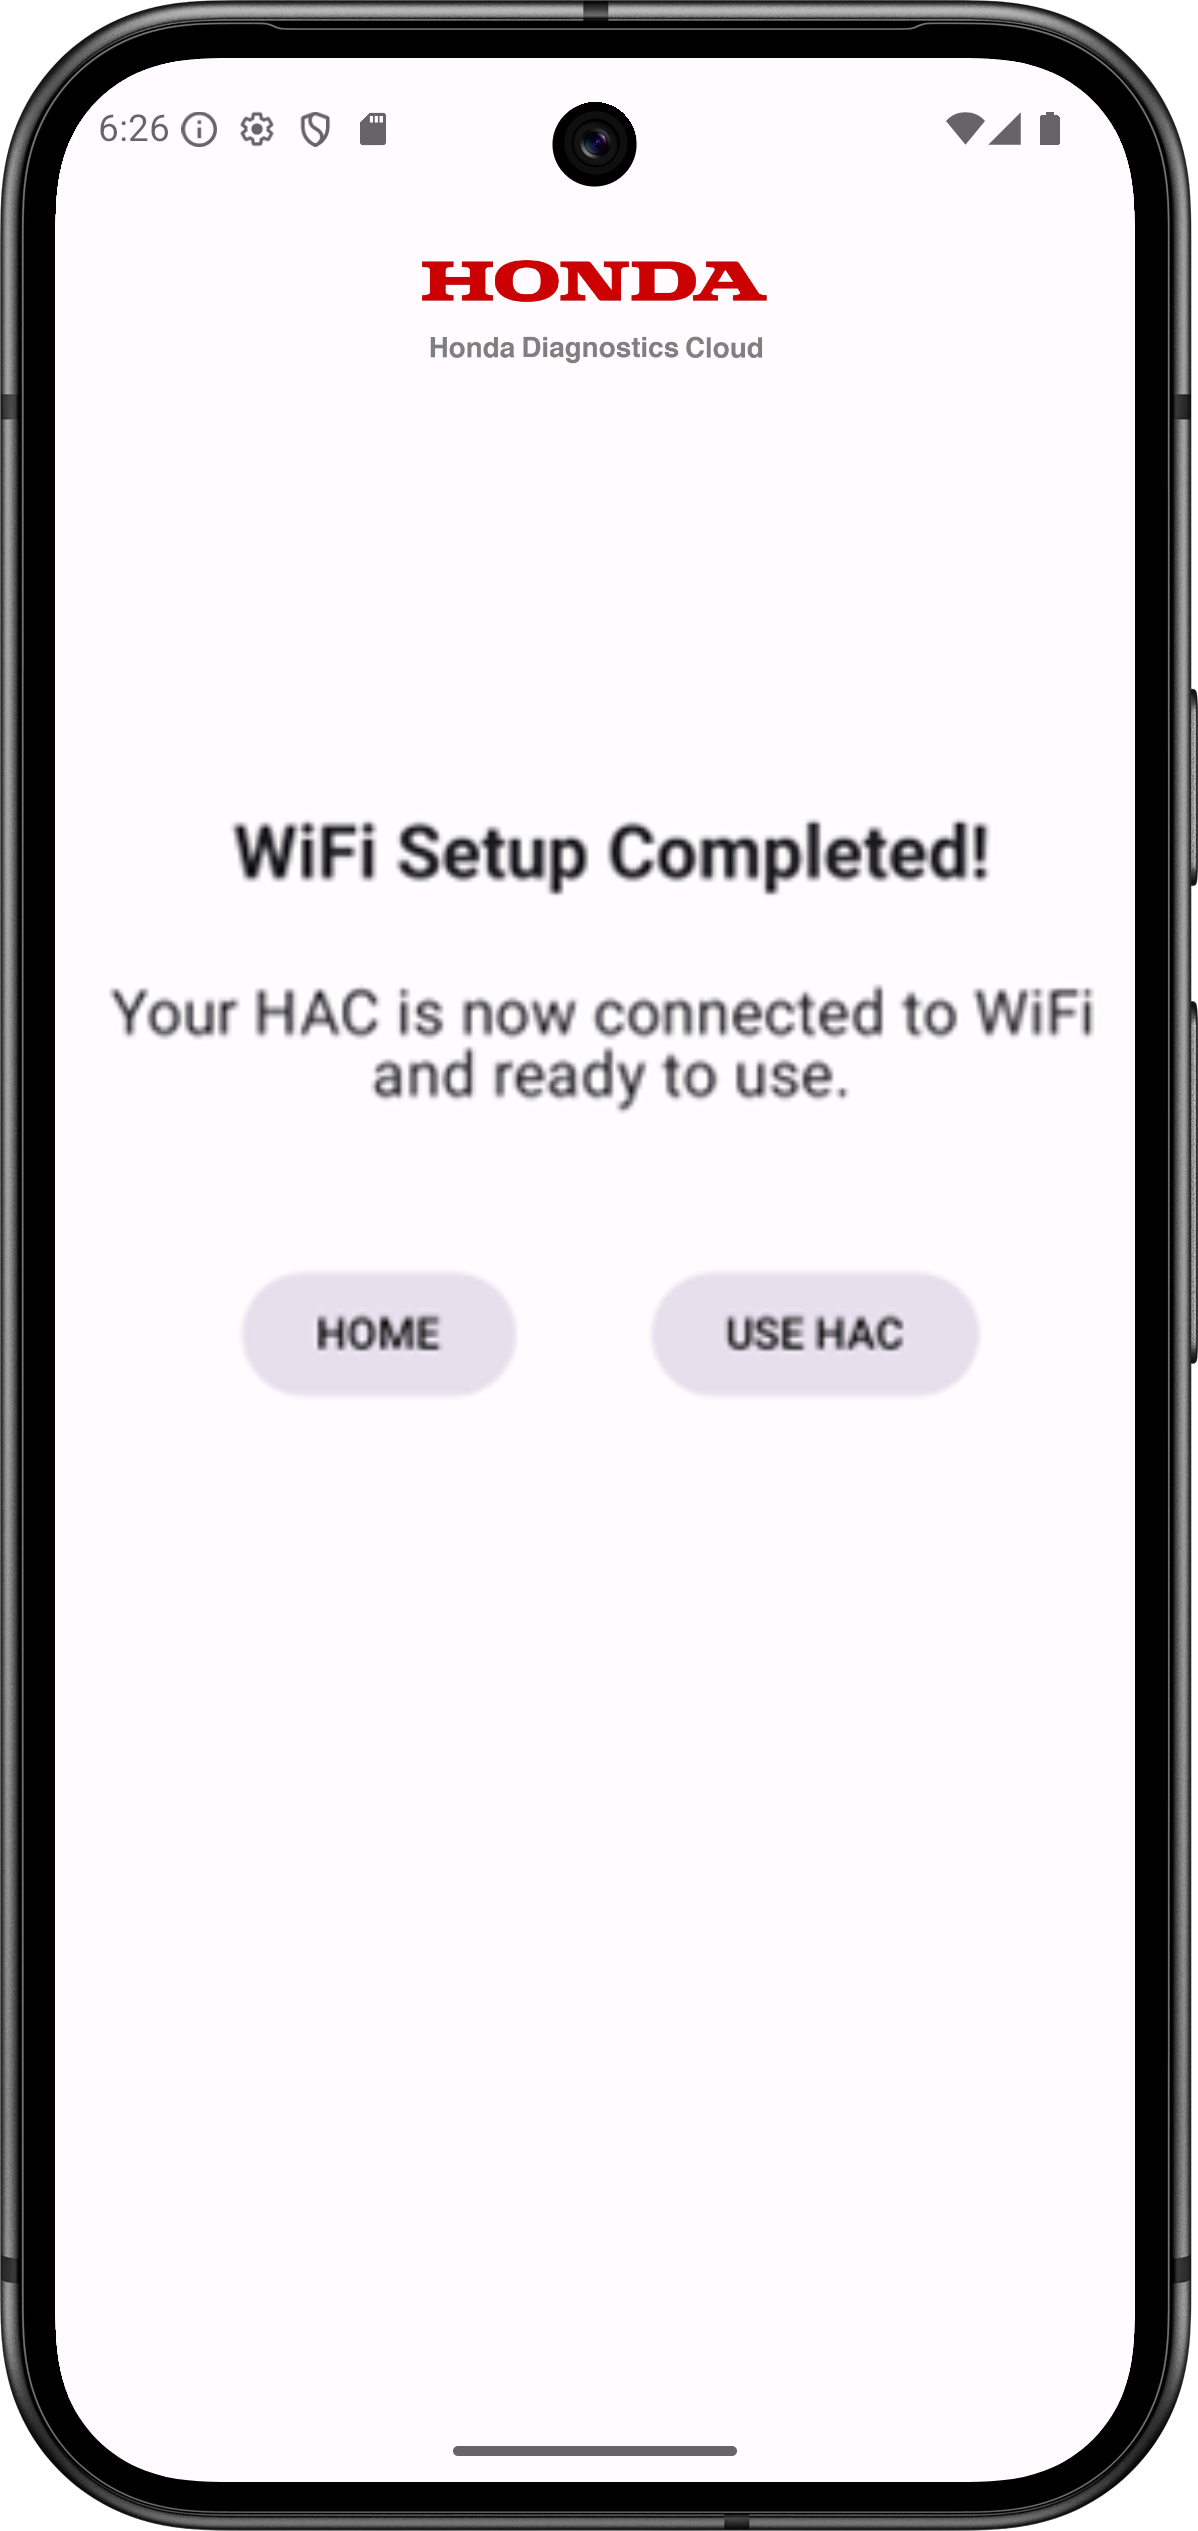
- If you tap on the ‘HOME’ button, it will direct to the Home Screen and HAC will appear under the Online HACs.
- And if you tap on the ‘USE HAC’ button, it will direct to the Vehicle info page as shown below.

And if the connection fails, the app displays a 'Connection Failed' page with options to ‘RETRY’ and ‘GO BACK’ buttons.
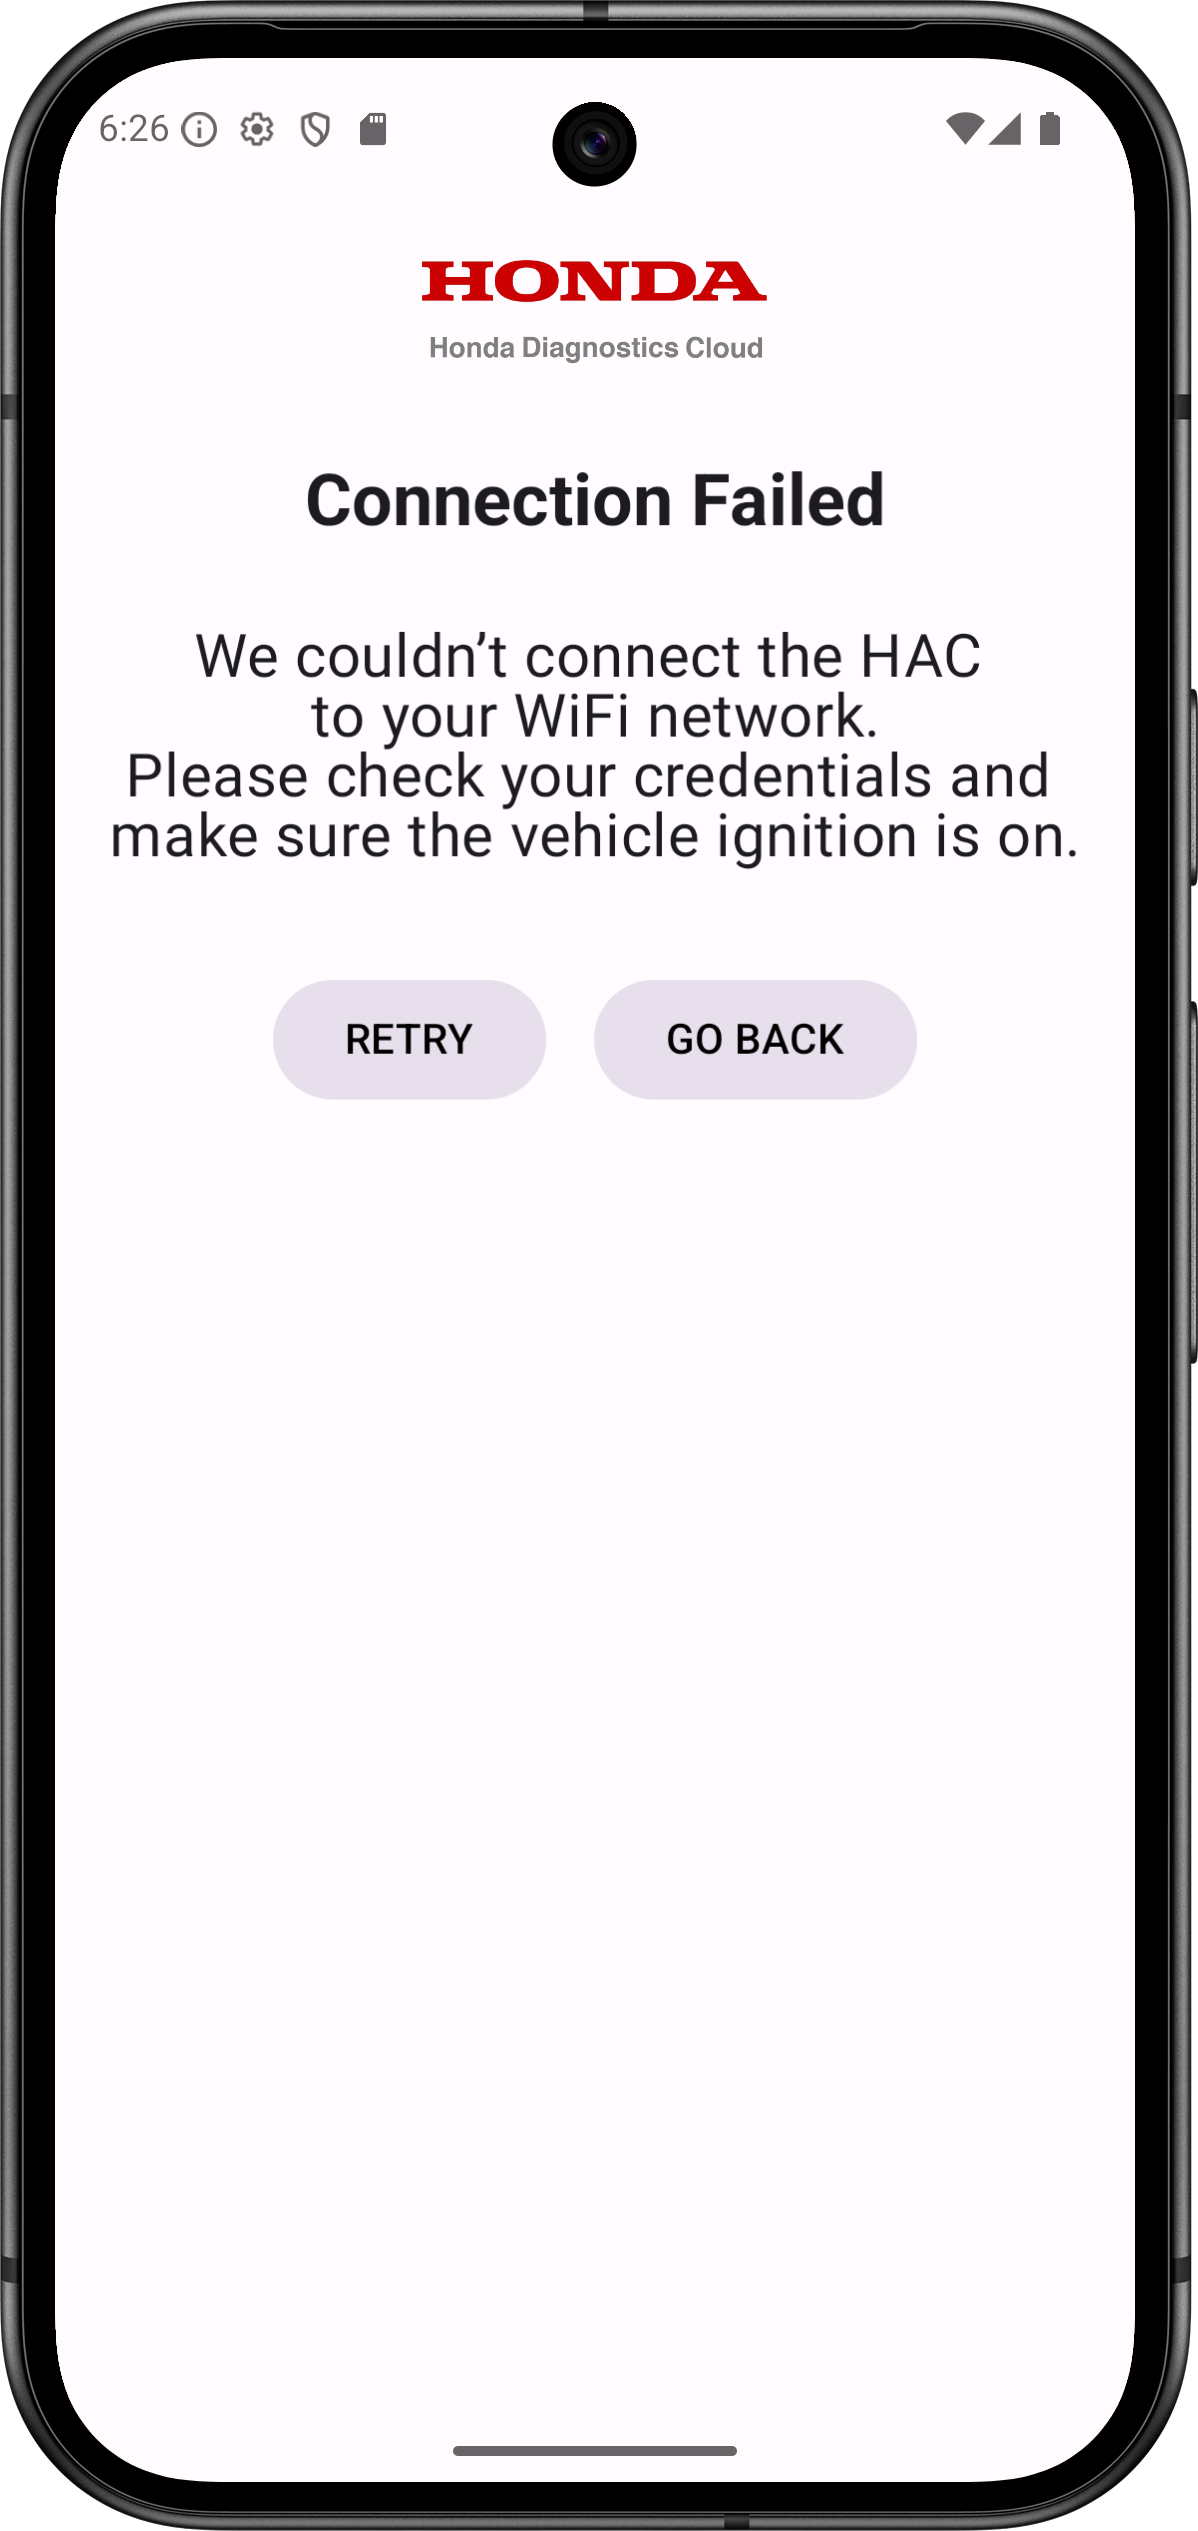
- If you tap on the ‘RETRY’ button, it will retry to connect and redirect to the ‘Connecting HAC to Wi-Fi…’ screen.
- And if you tap on the ‘GO BACK’ button, it will take you to Step 3 where you can re-enter your Wi‑Fi SSID Name and Password.
5. Scan, Clear Diagnostic Trouble Codes (DTCs) and Access Data List
Scan DTC:- Plug HAC into the vehicle’s OBD-II port and turn the Ignition ON.
- Ensure HAC is connected to Wi‑Fi and HAC serial number is visible in the app. (If not, perform the Wi-Fi configuration steps.)
- HAC serial number will show up on the home screen under Online HACs.
- Tap on the HAC serial number listed on the home screen.
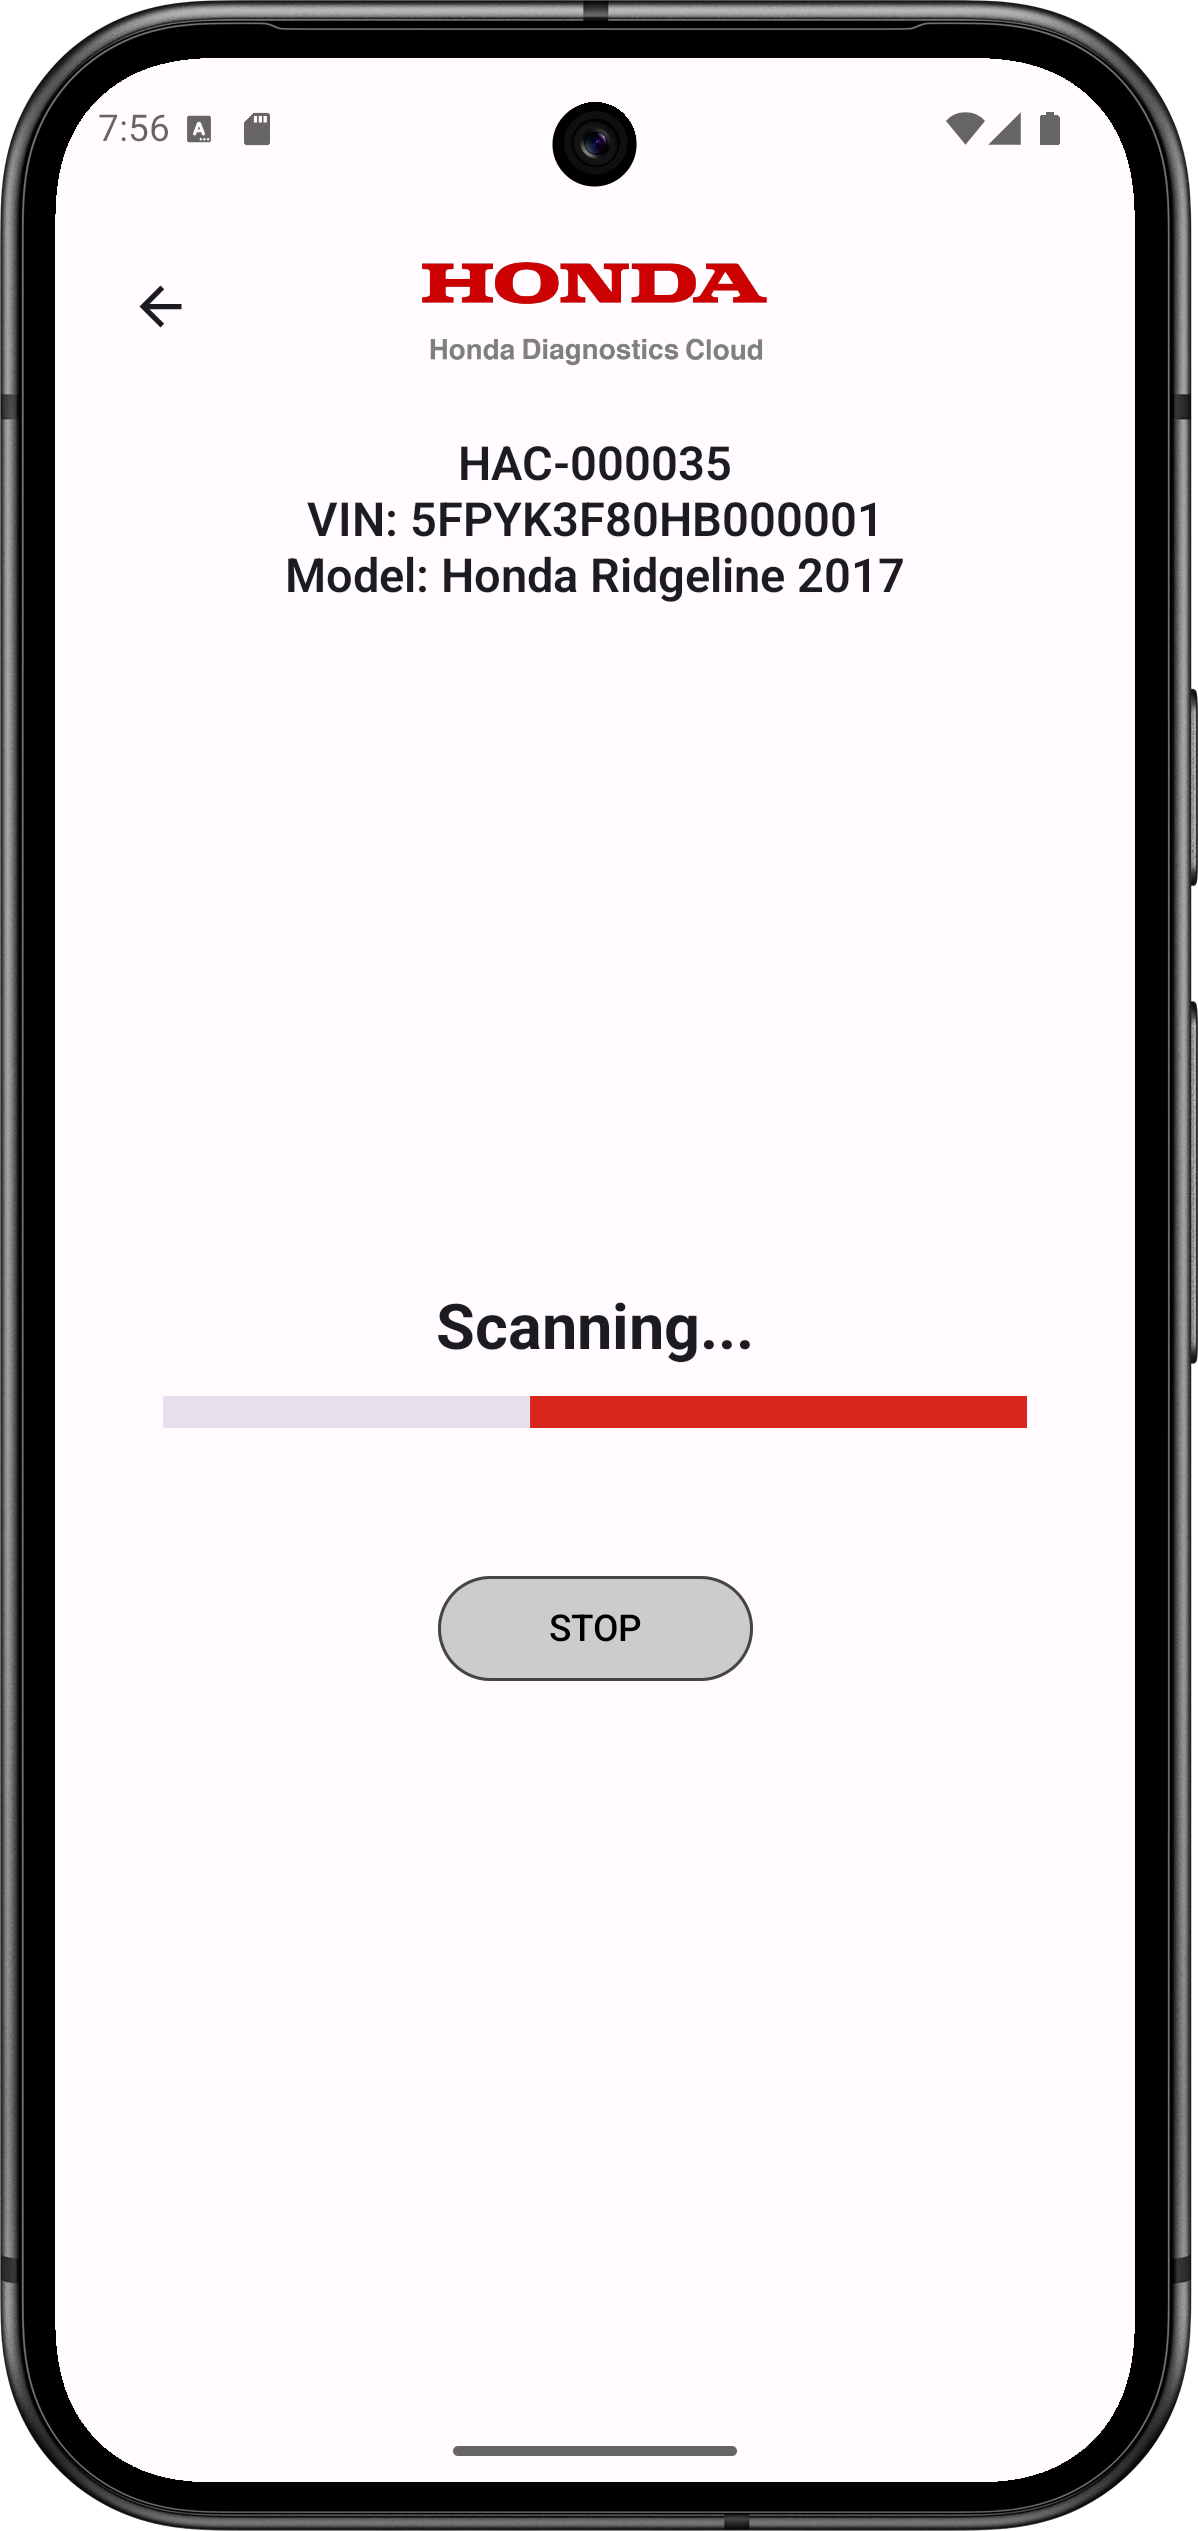
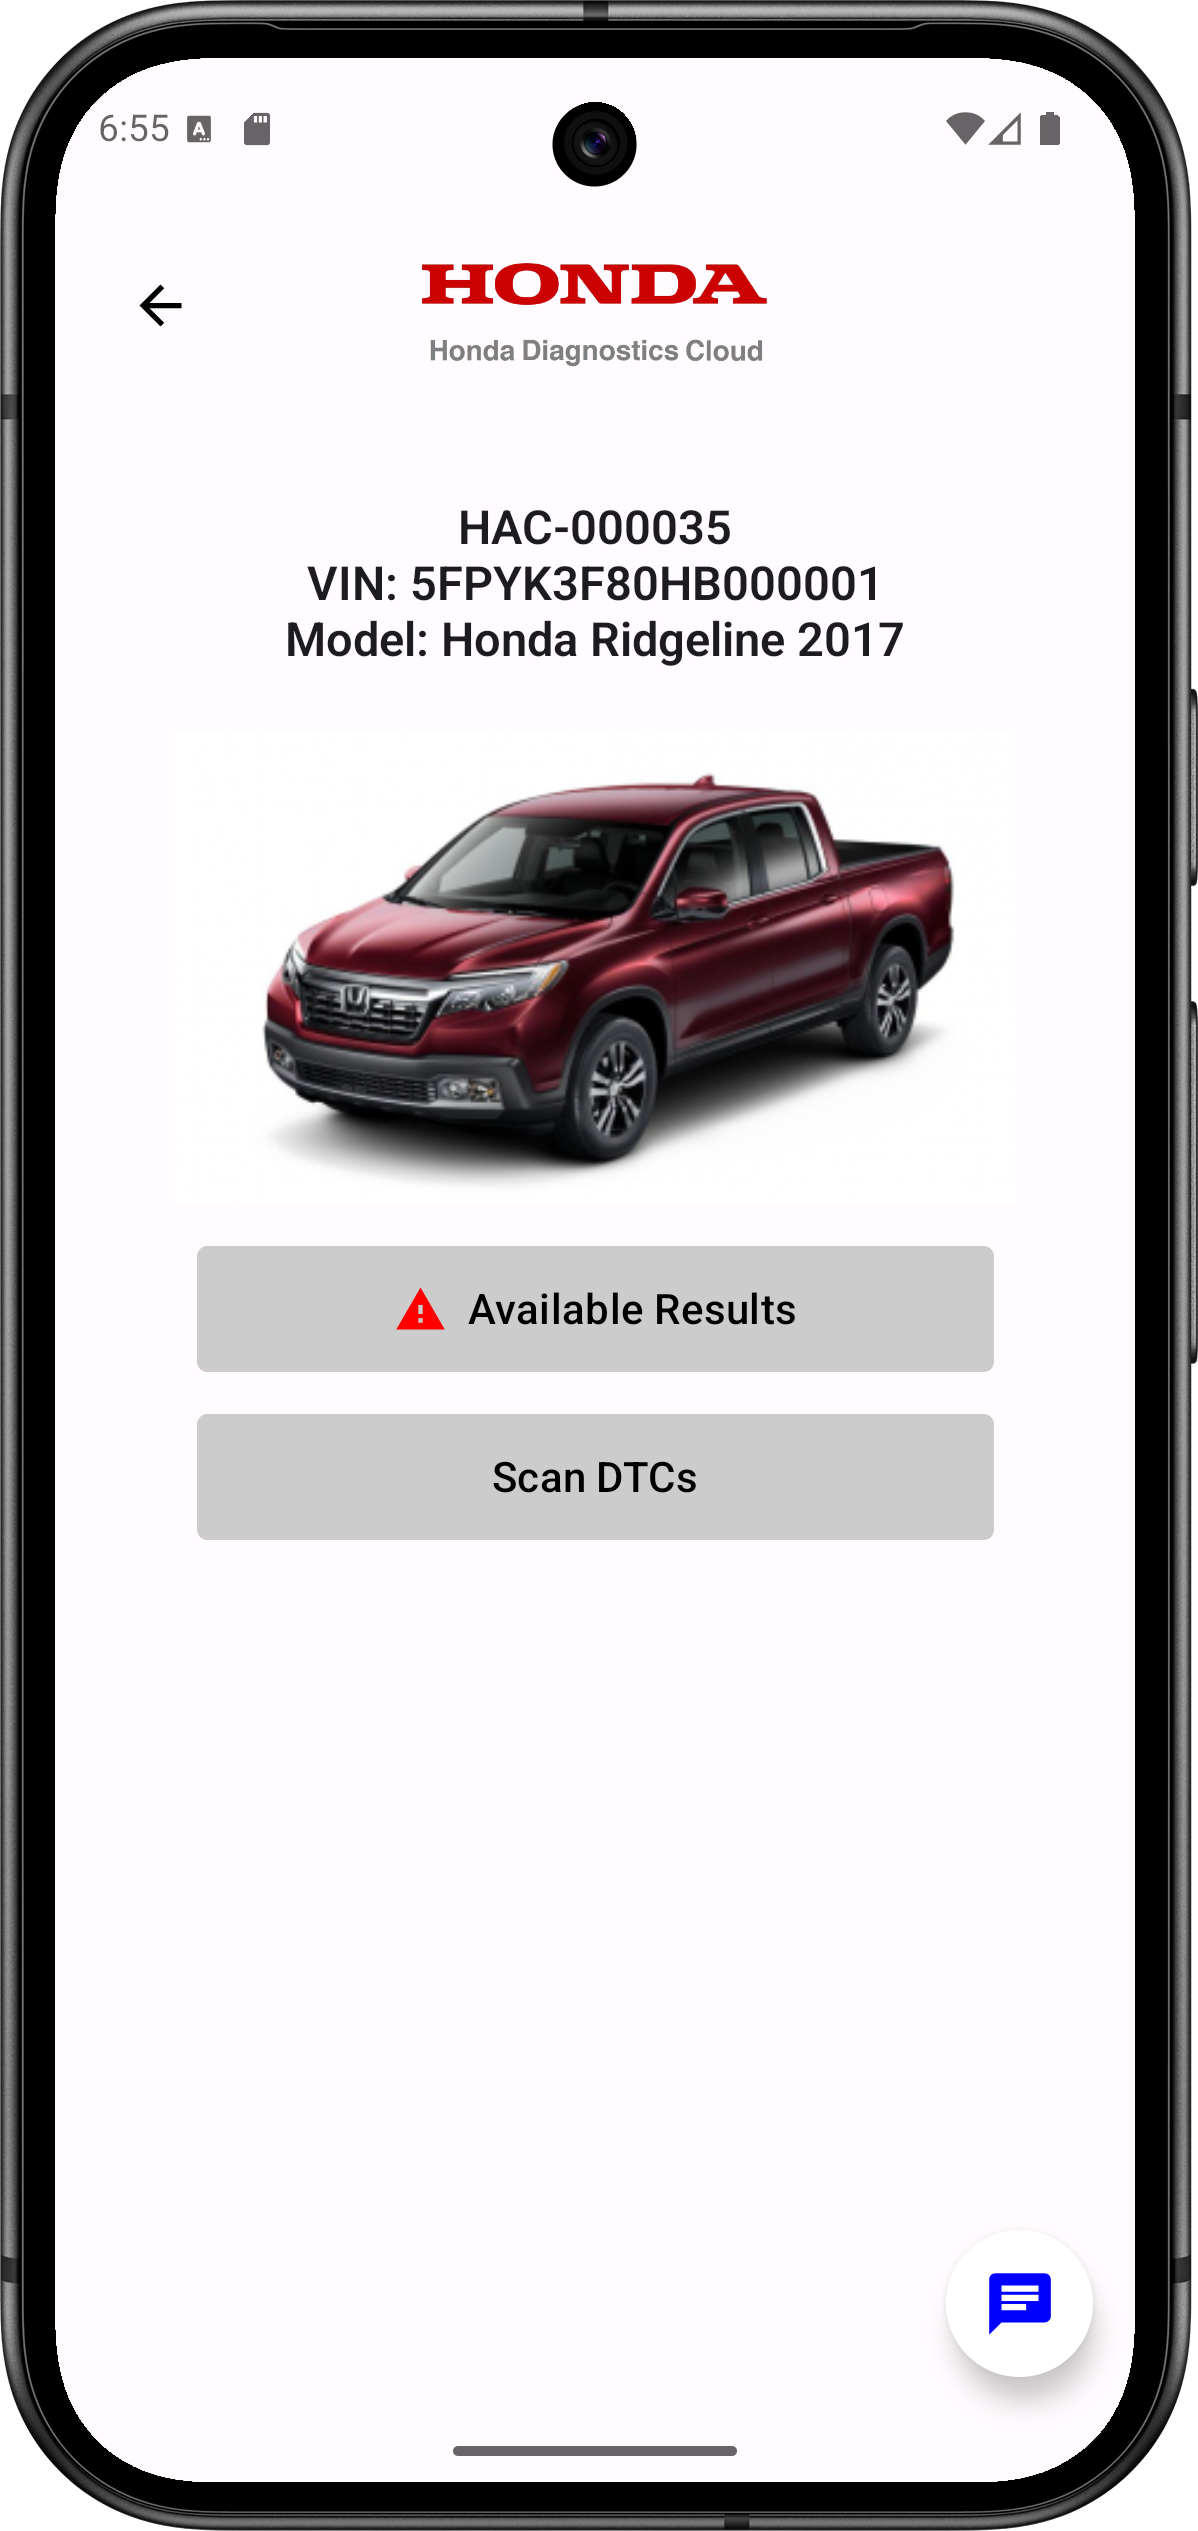
- Once you are directed to the Vehicle Info page, you will see the HAC serial number, VIN, make, model, year, car image, as well as the "Available Results" and "Scan DTCs" buttons.
- Tap on the ‘Scan DTCs’ button to perform the Scan (pictured above). Scan will be initialized and a progress bar and STOP option are shown (picture below).
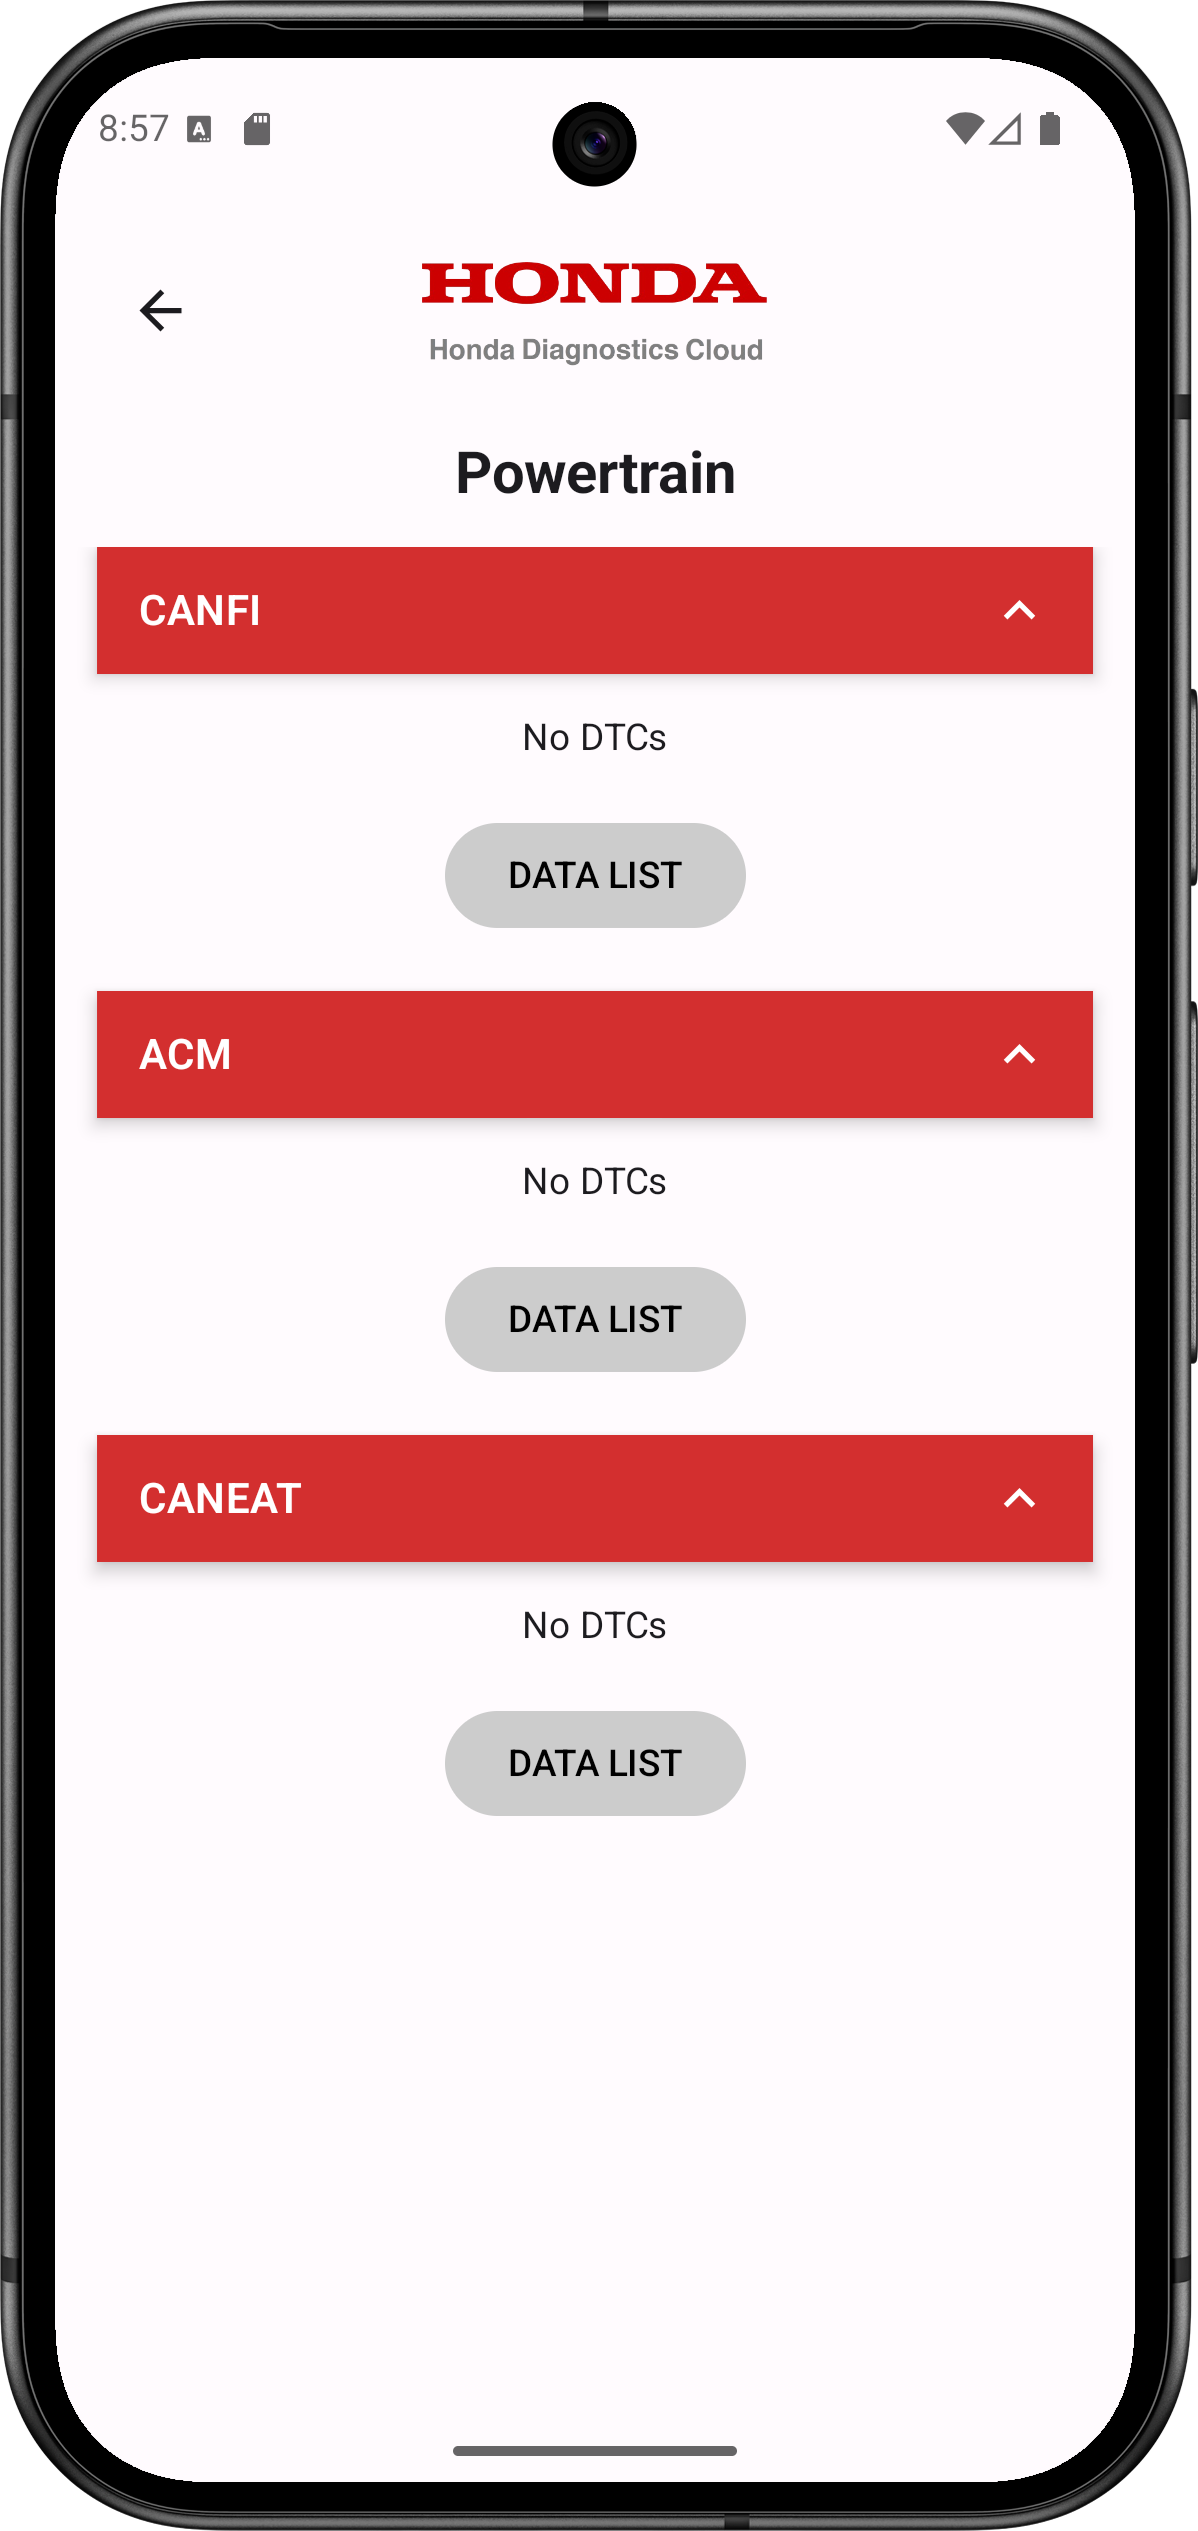
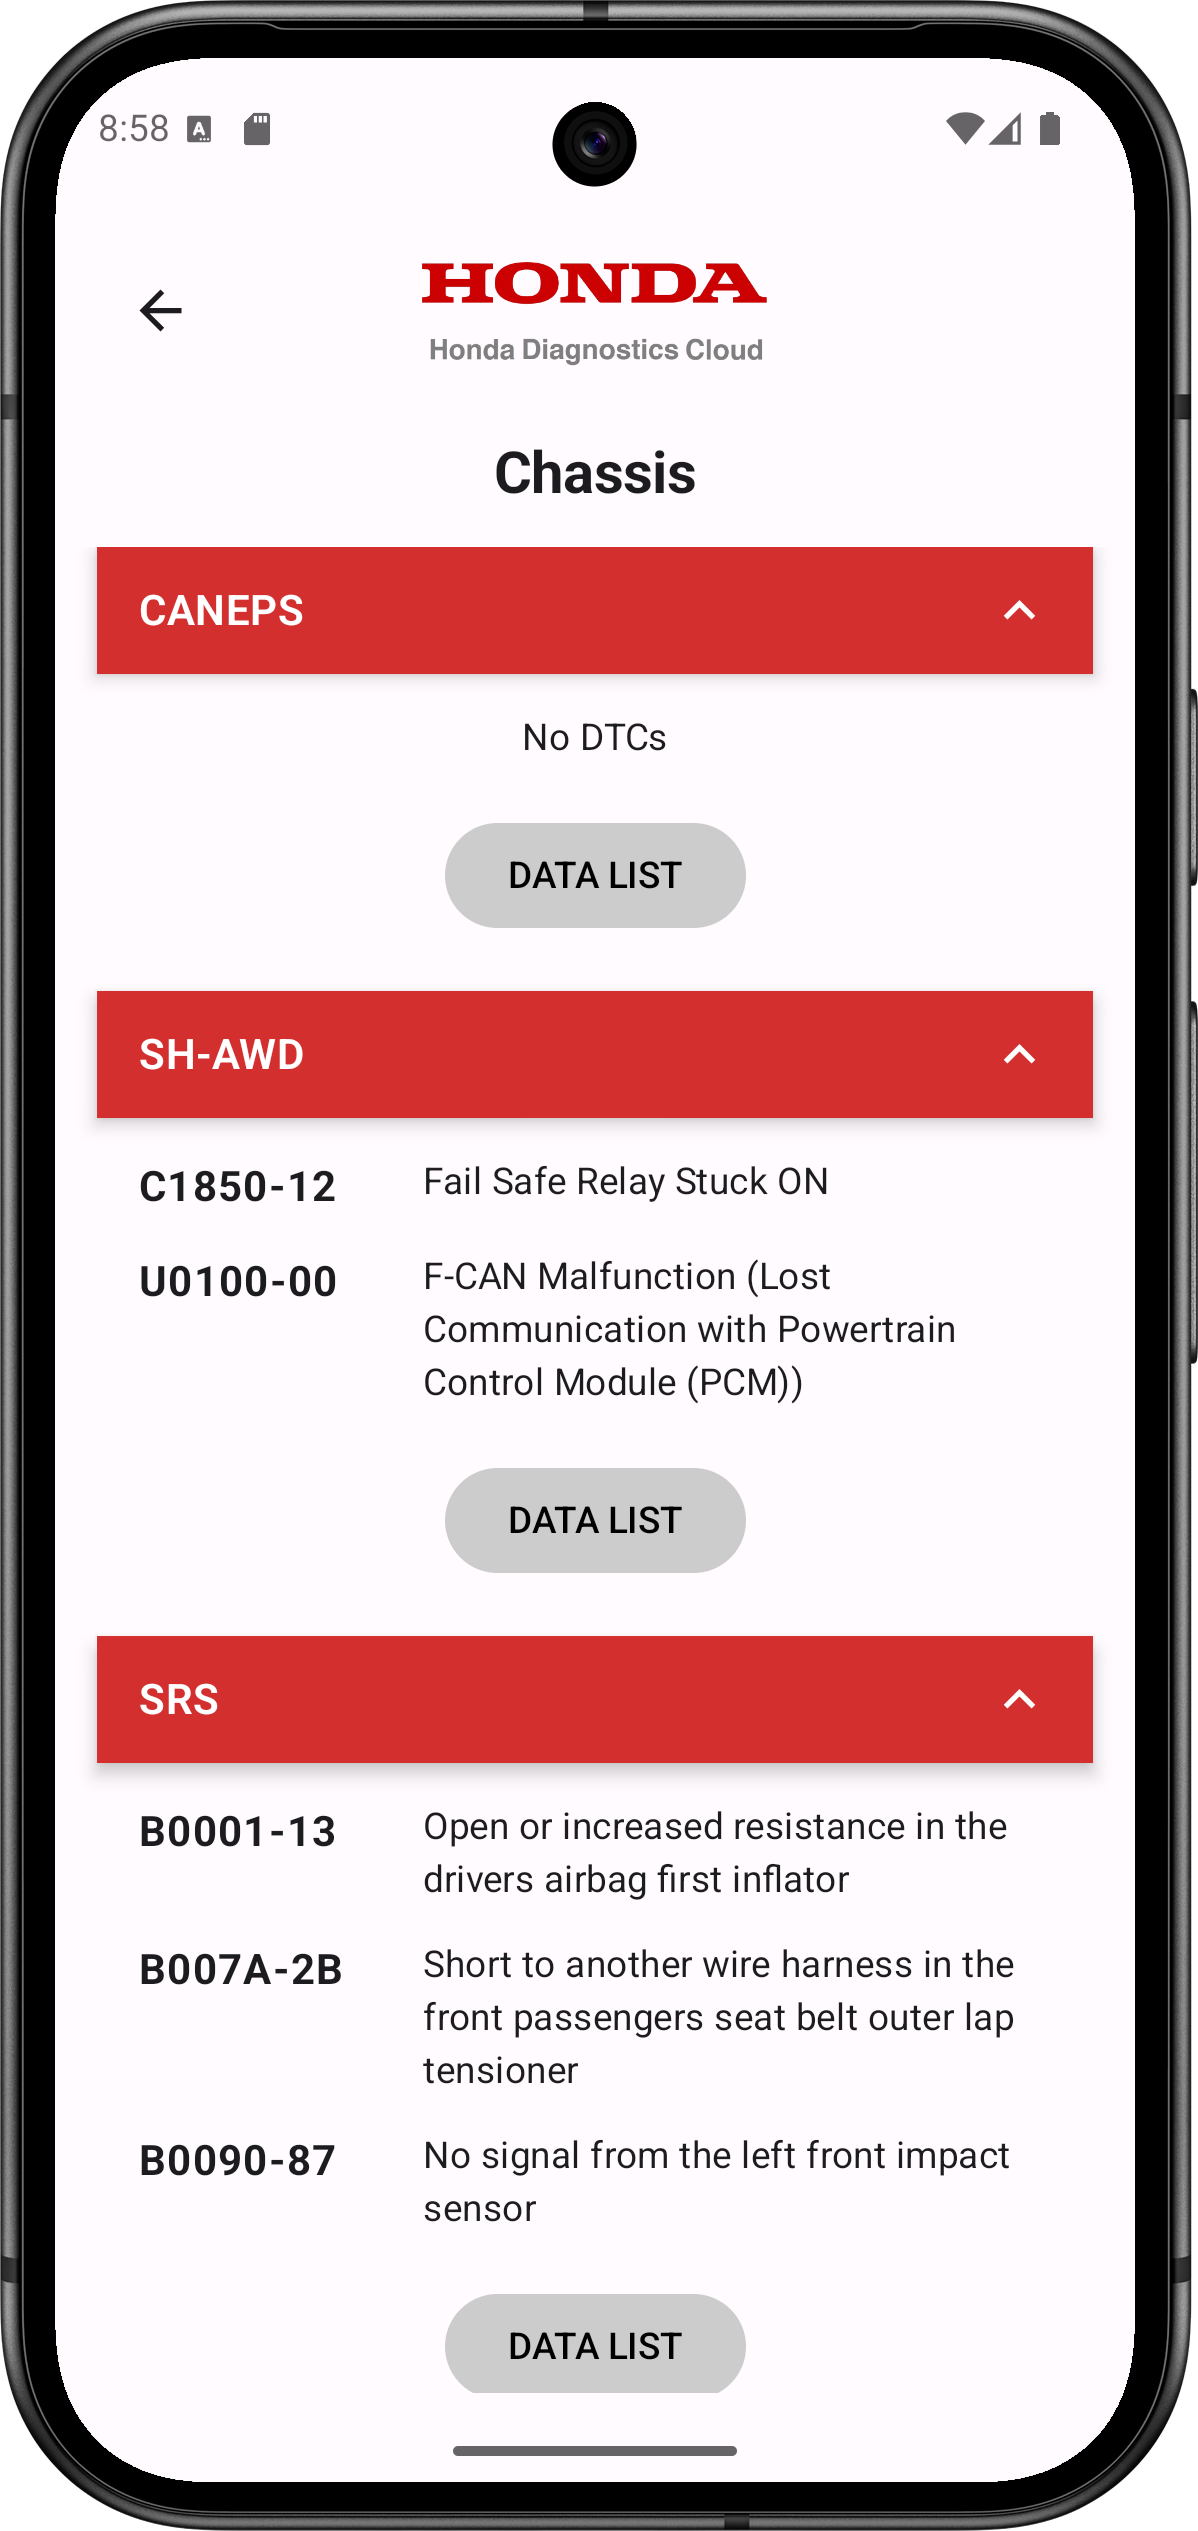
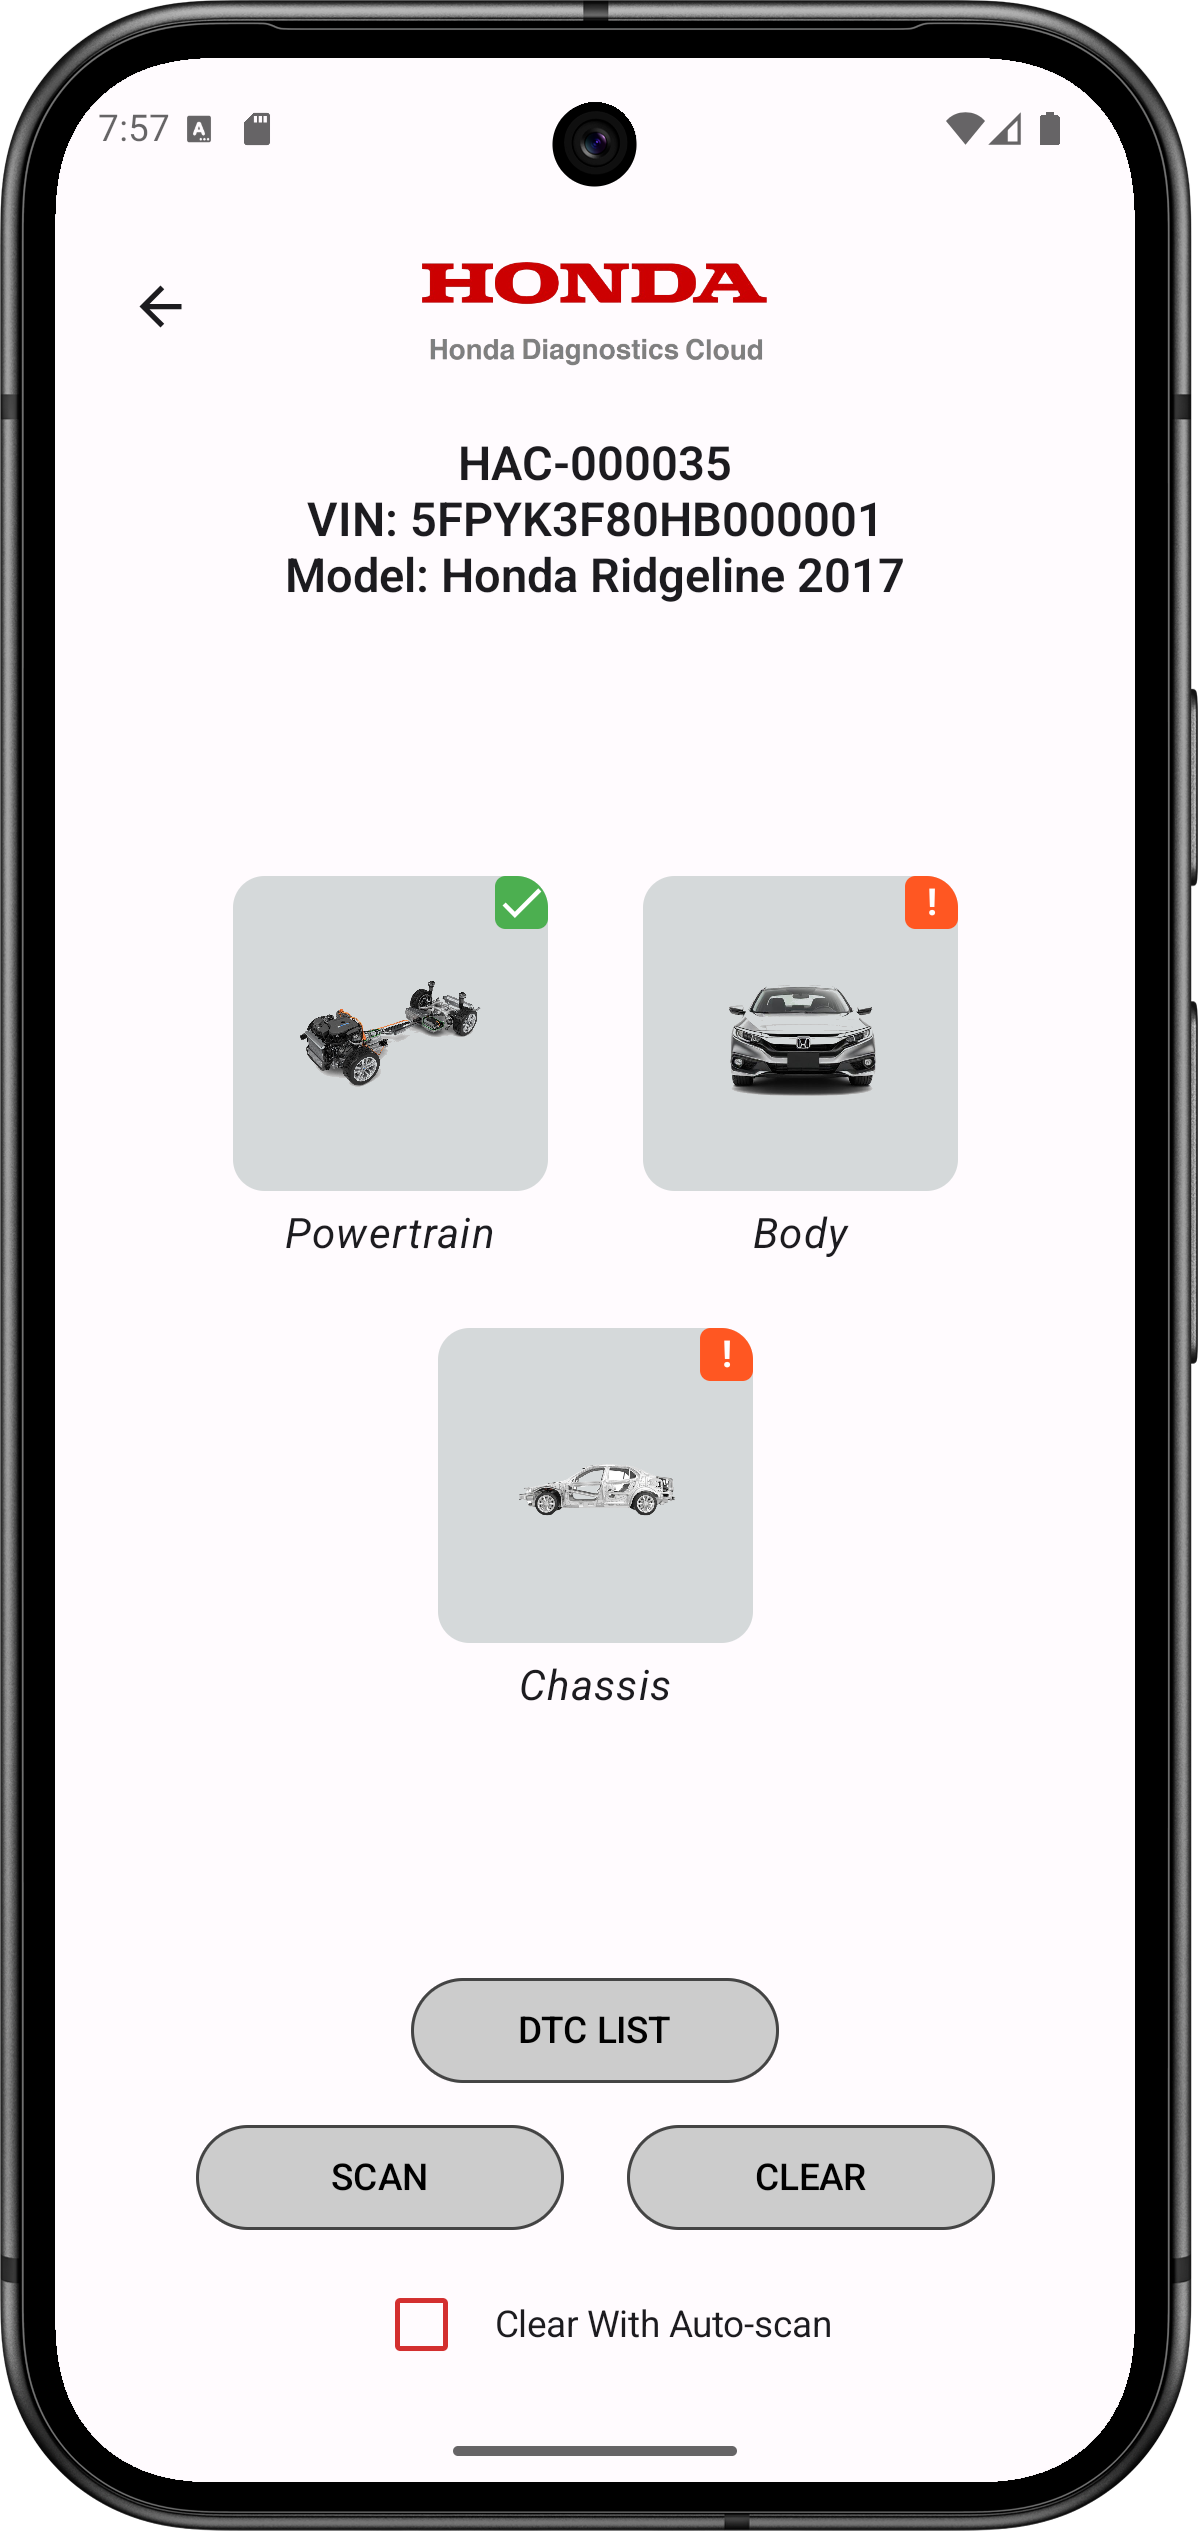
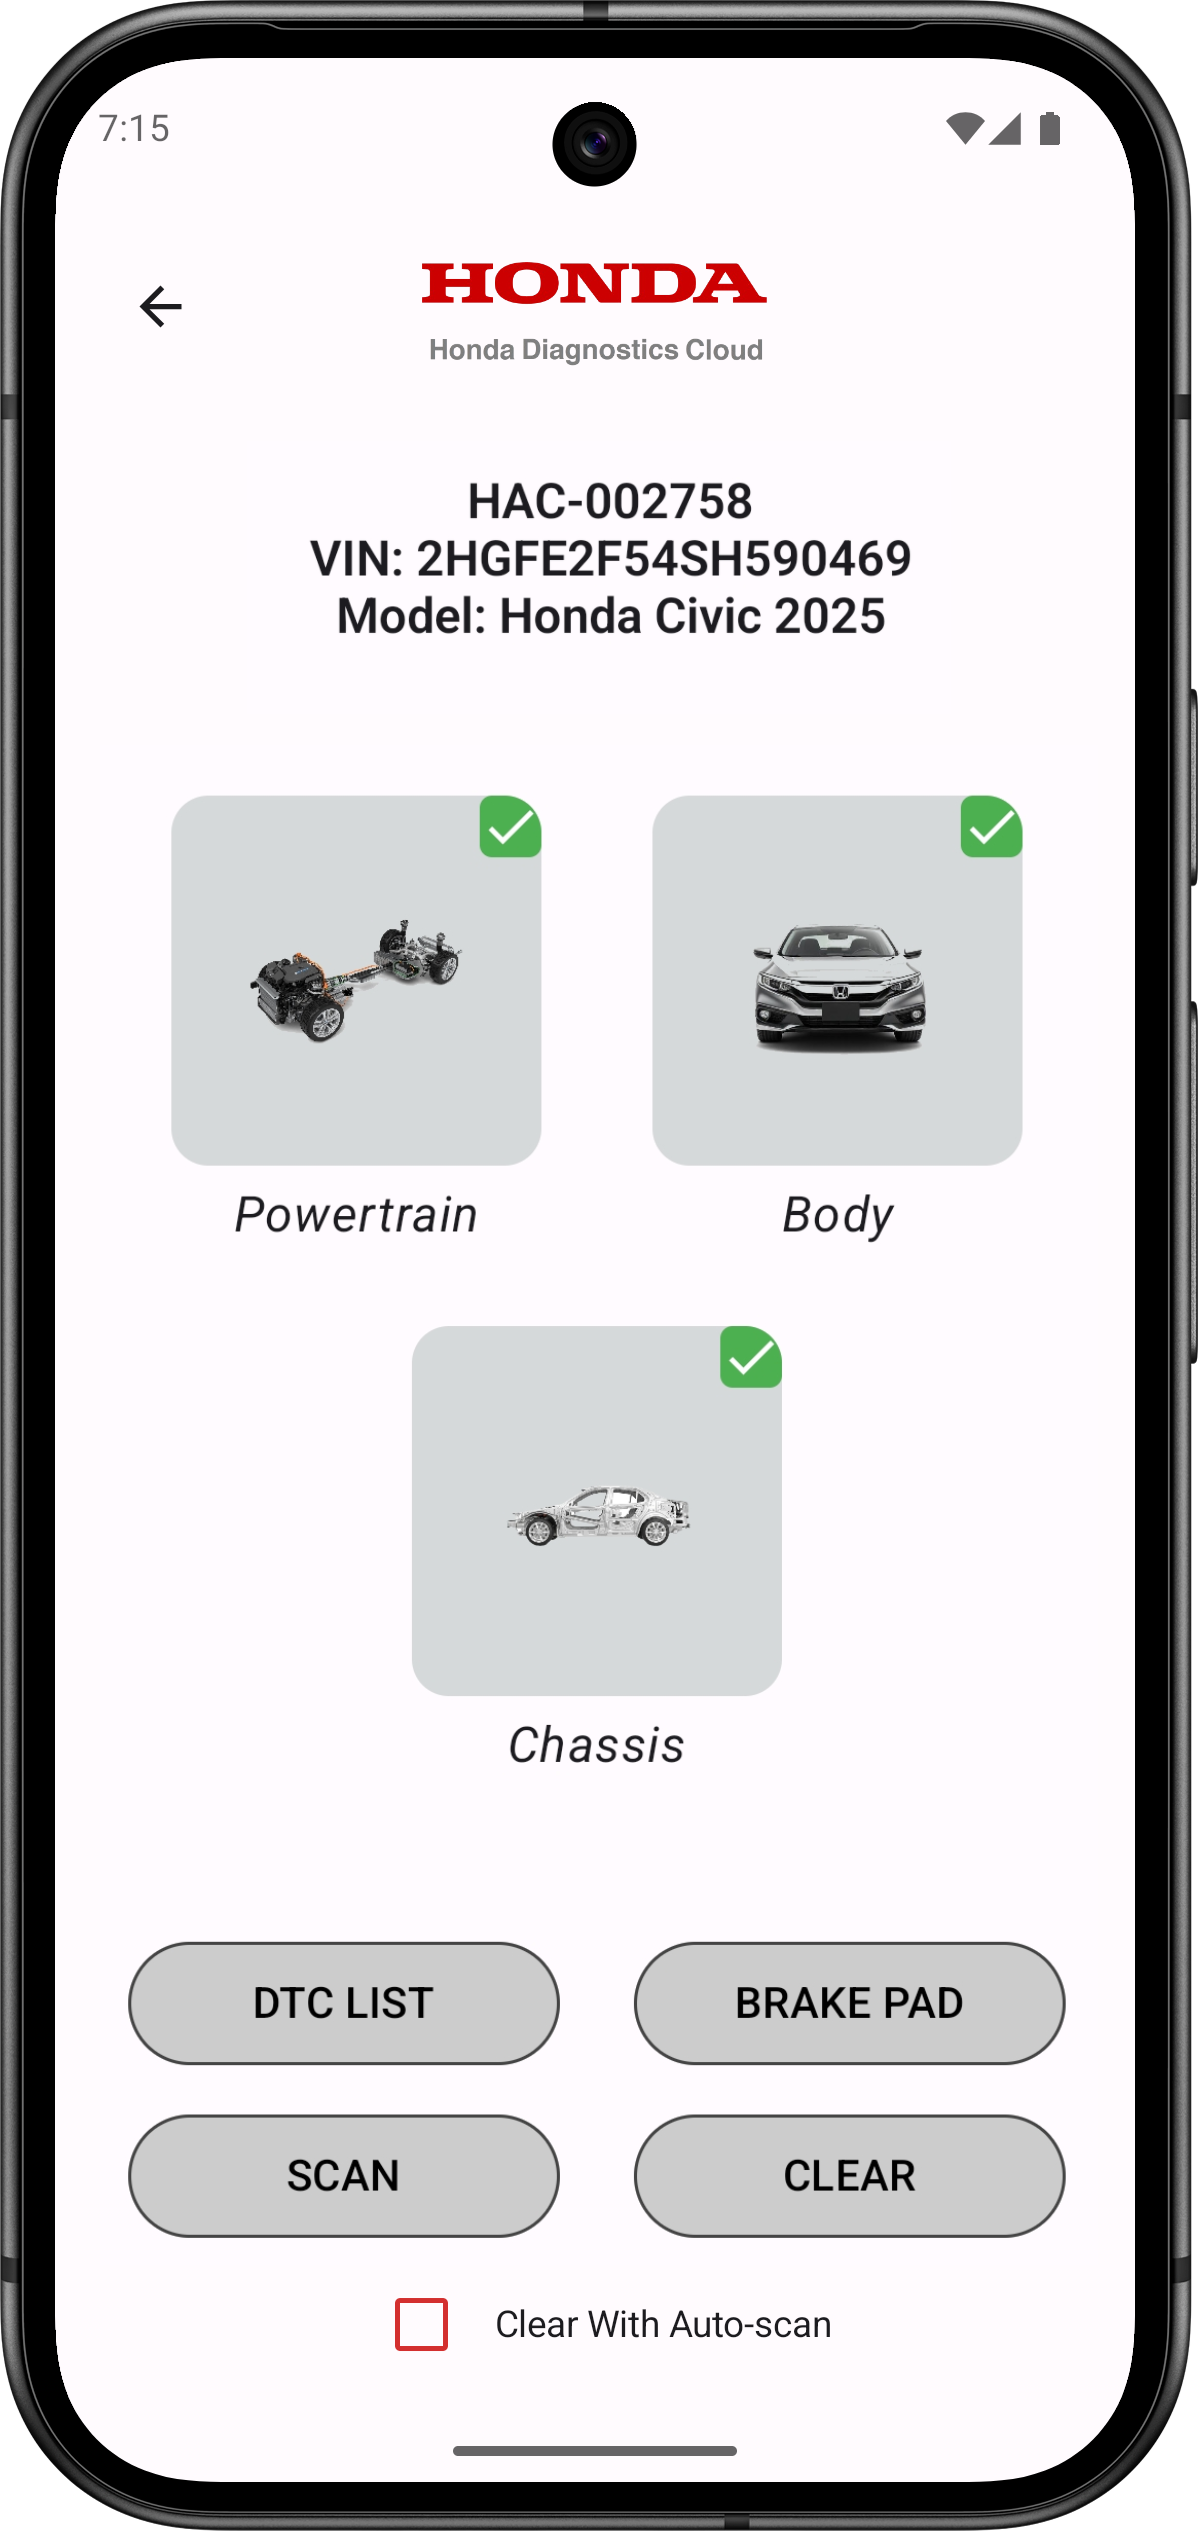
- When Scan completes, the Scan results are categorized under Power Train, Chassis, and Body. Tap to select control module to view details.
- Tapping on the ‘Powertrain’ Icon will display active DTCs that are present.
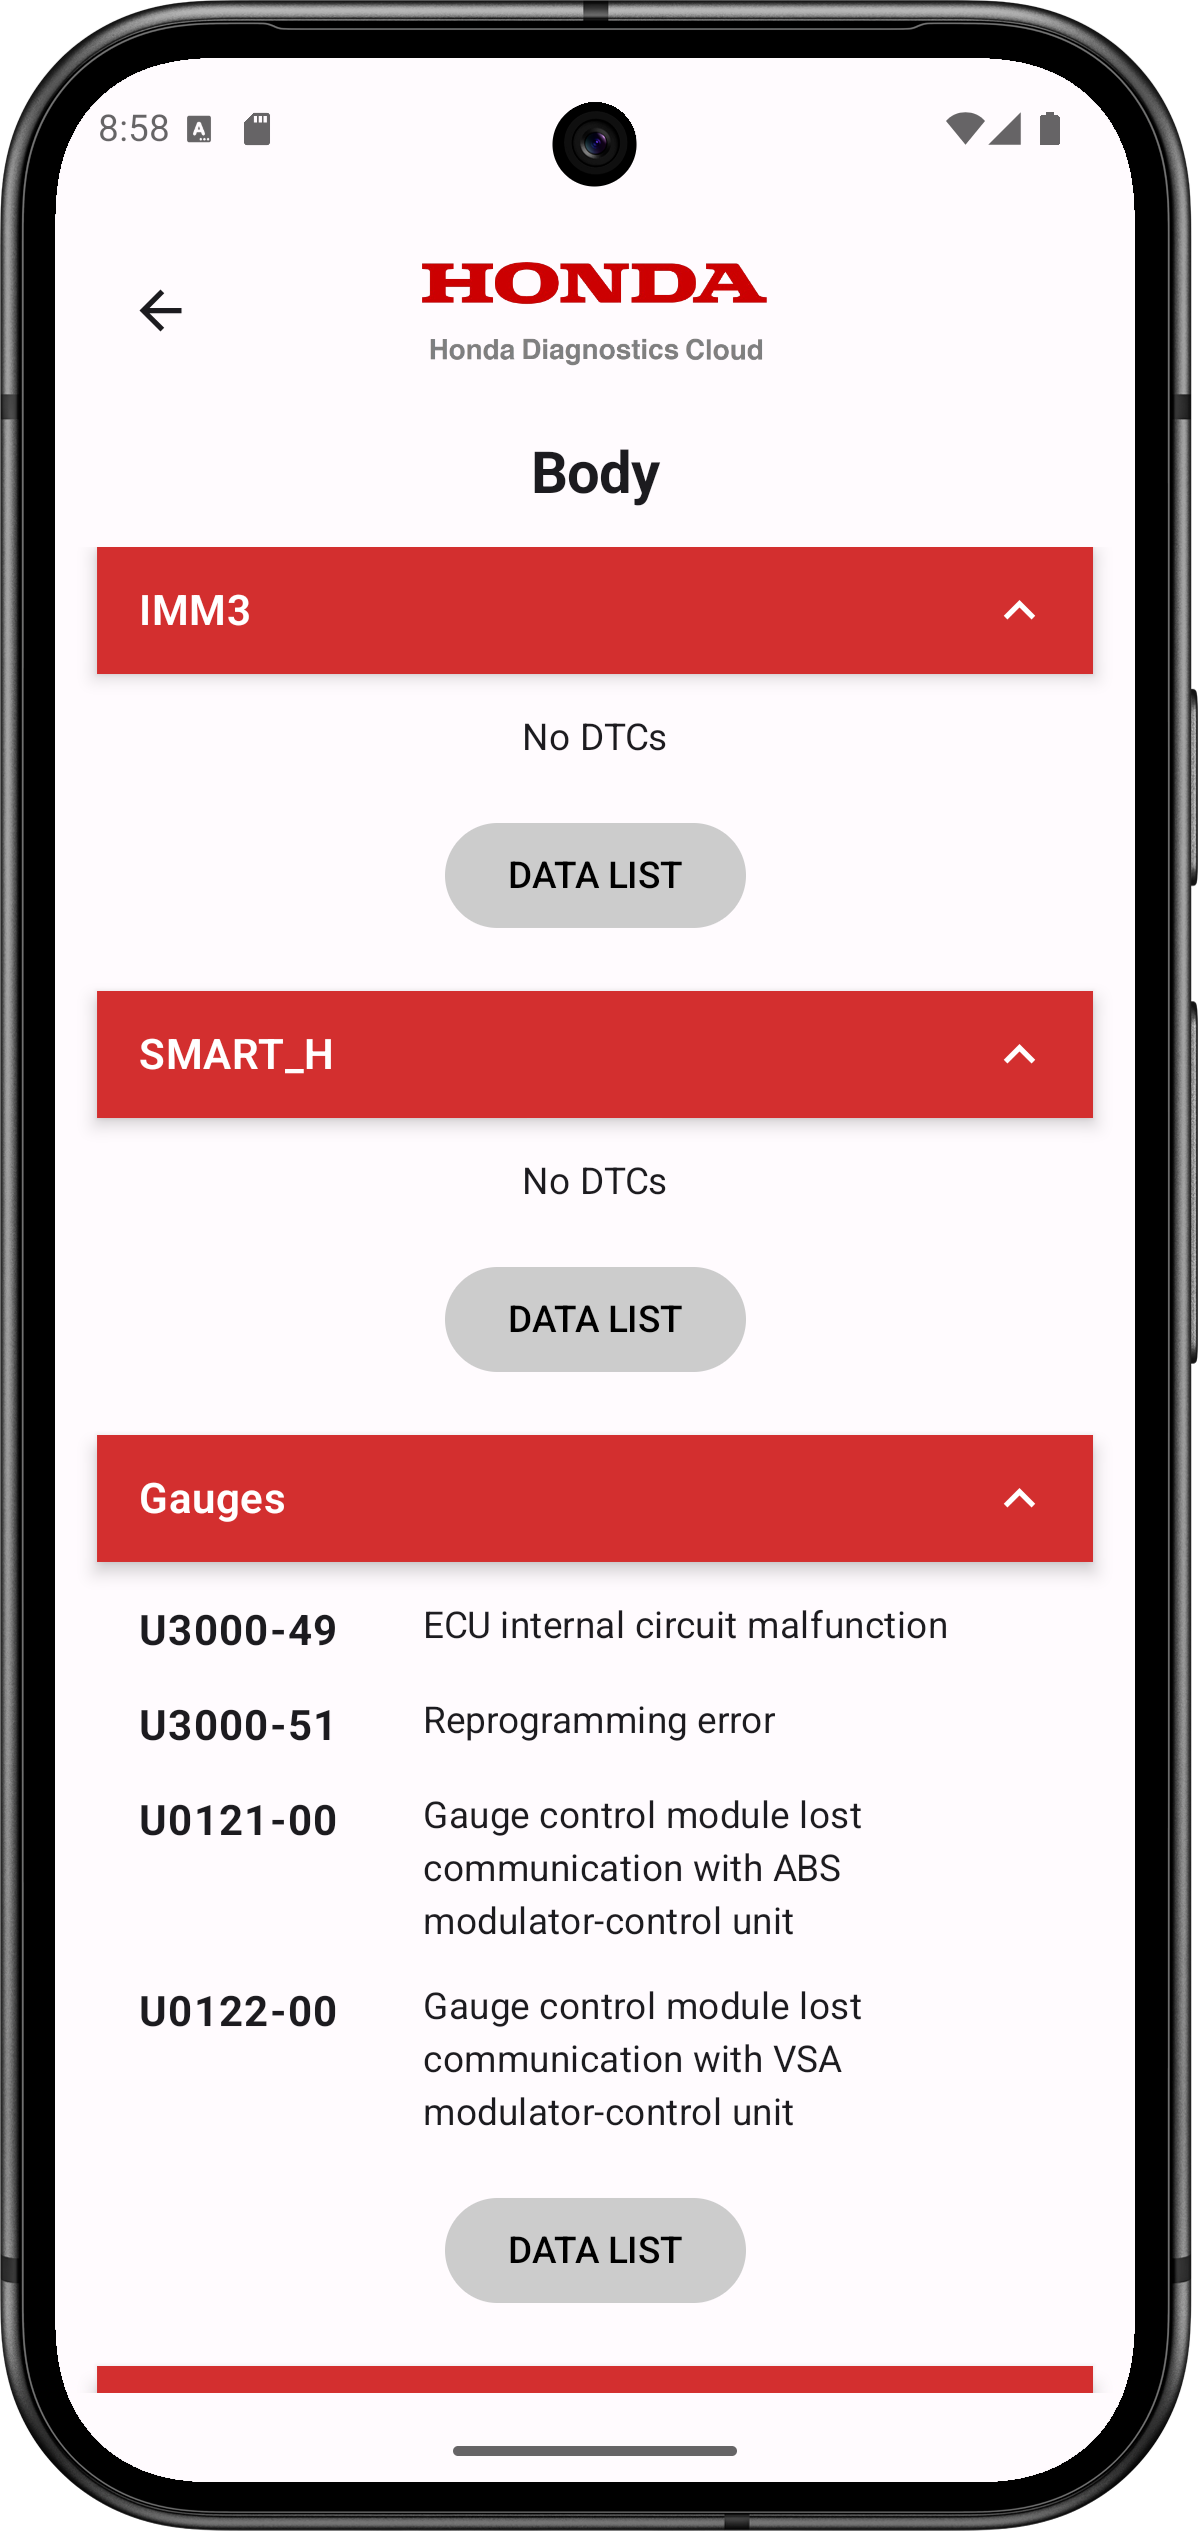
- Tapping on the ‘Body’ icon will display active DTCs that are present.
- Tapping on the ‘Chassis’ icon will display active DTCs that are present.
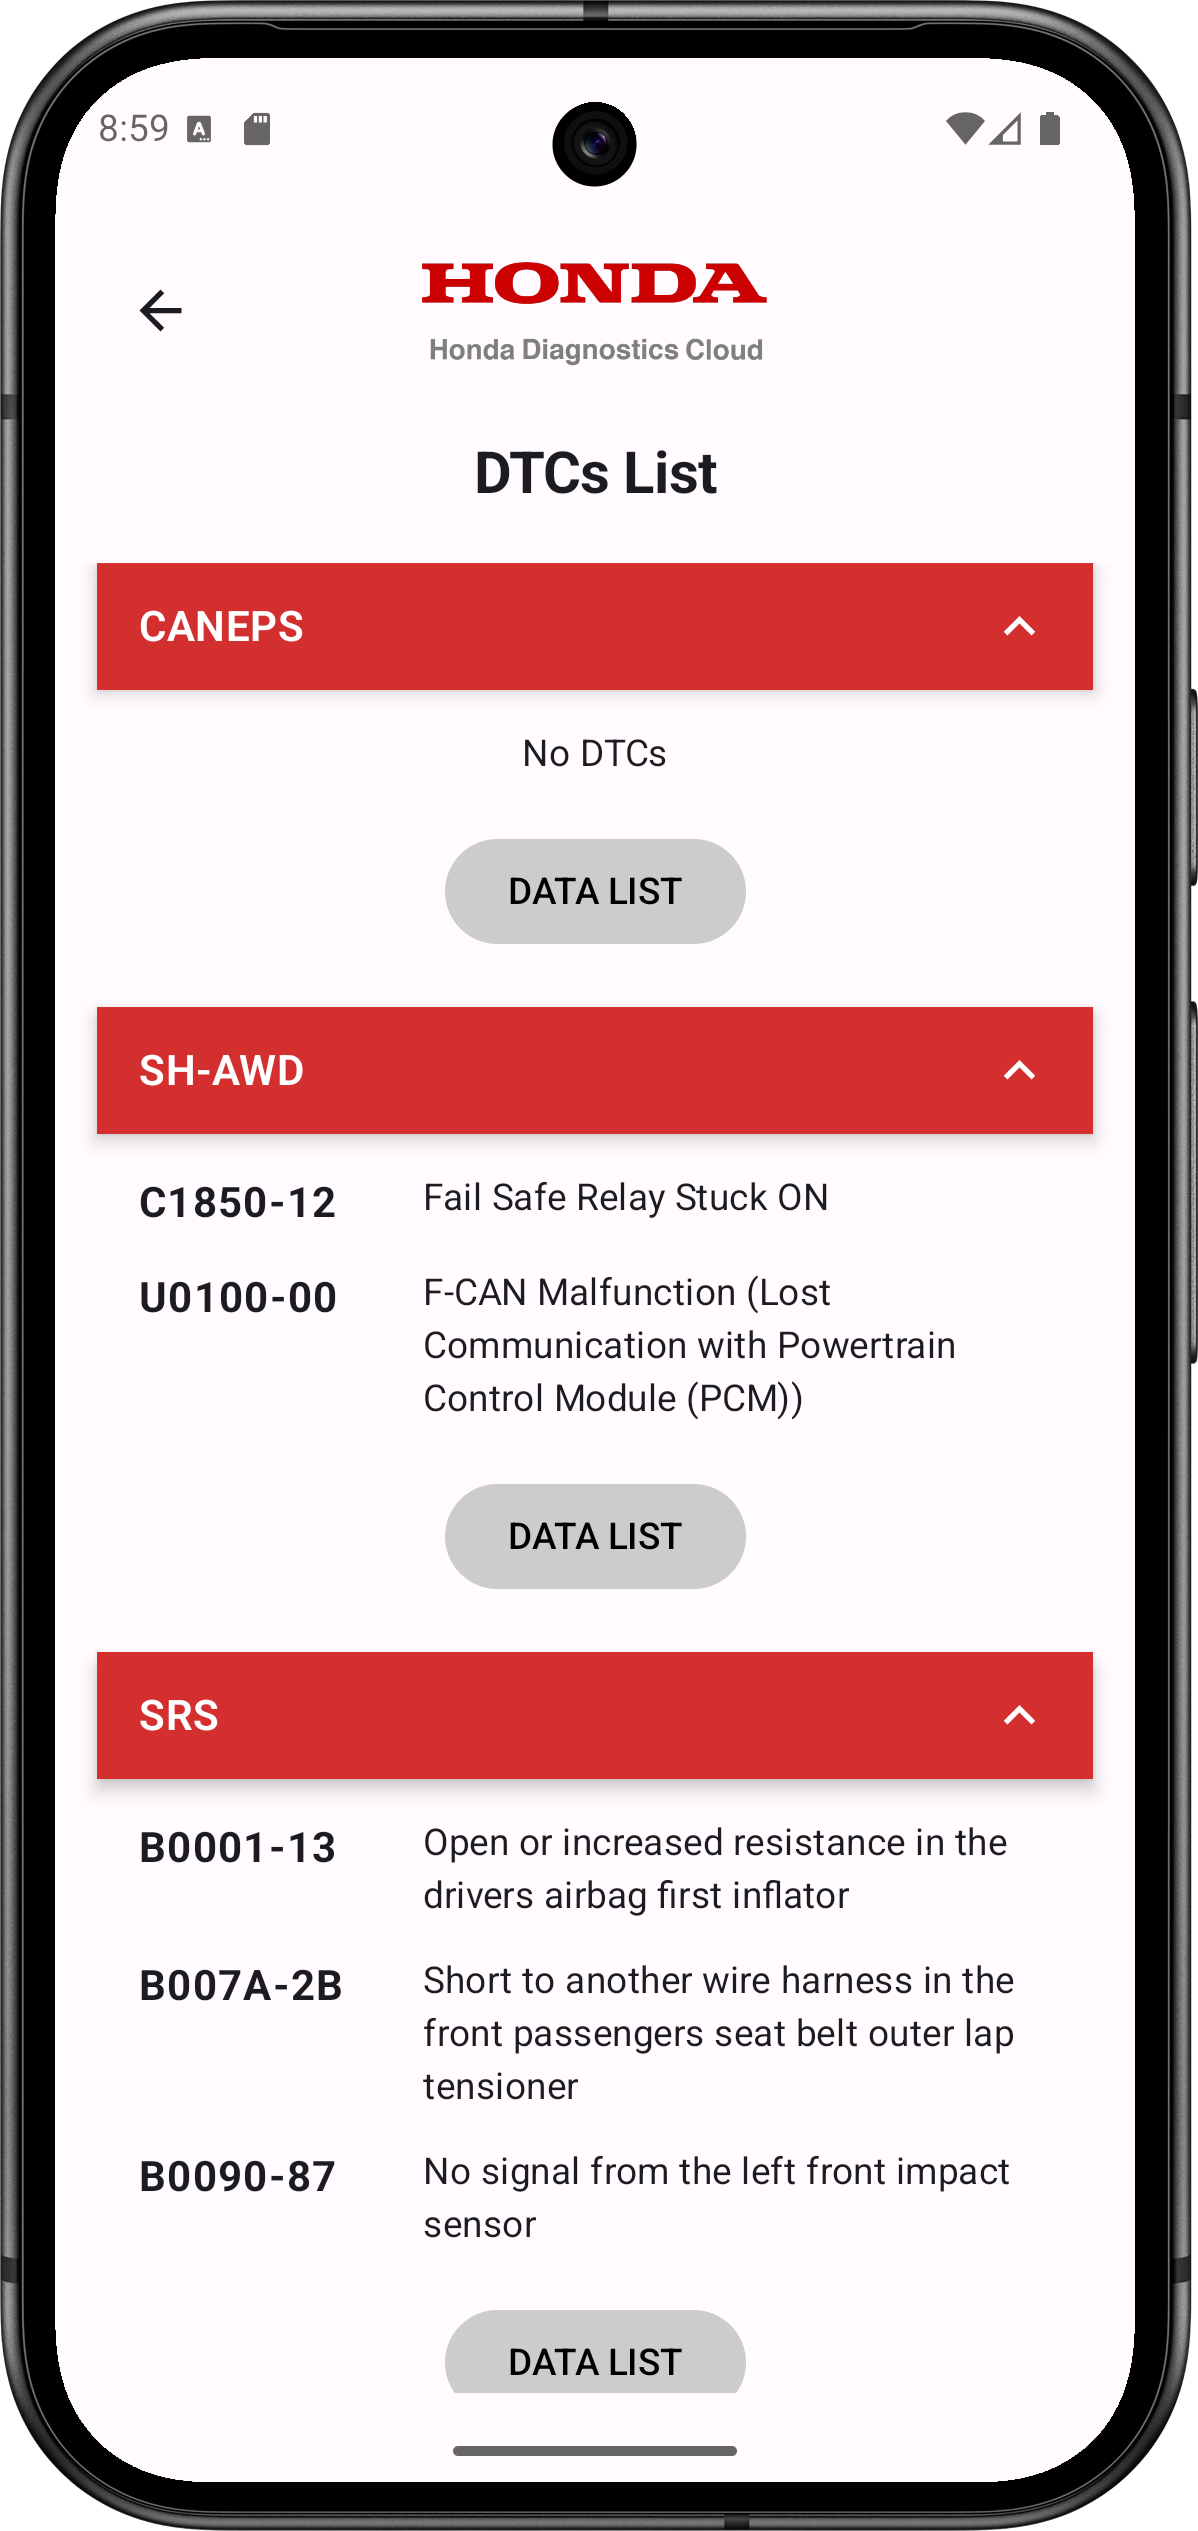
- Tapping on the ‘DTC LIST’ it will display all active DTCs.


- To view the Data List, “Available Results" must be present ahead of time. Otherwise, click on Scan DTCs.
- Next, on the results page, select any of the control modules for which you want to see the Data List, or you can also tap on the ‘DTC LIST’.
- Then, tap on the ‘DATA LIST’ button in the system for which you want to view the Data List.
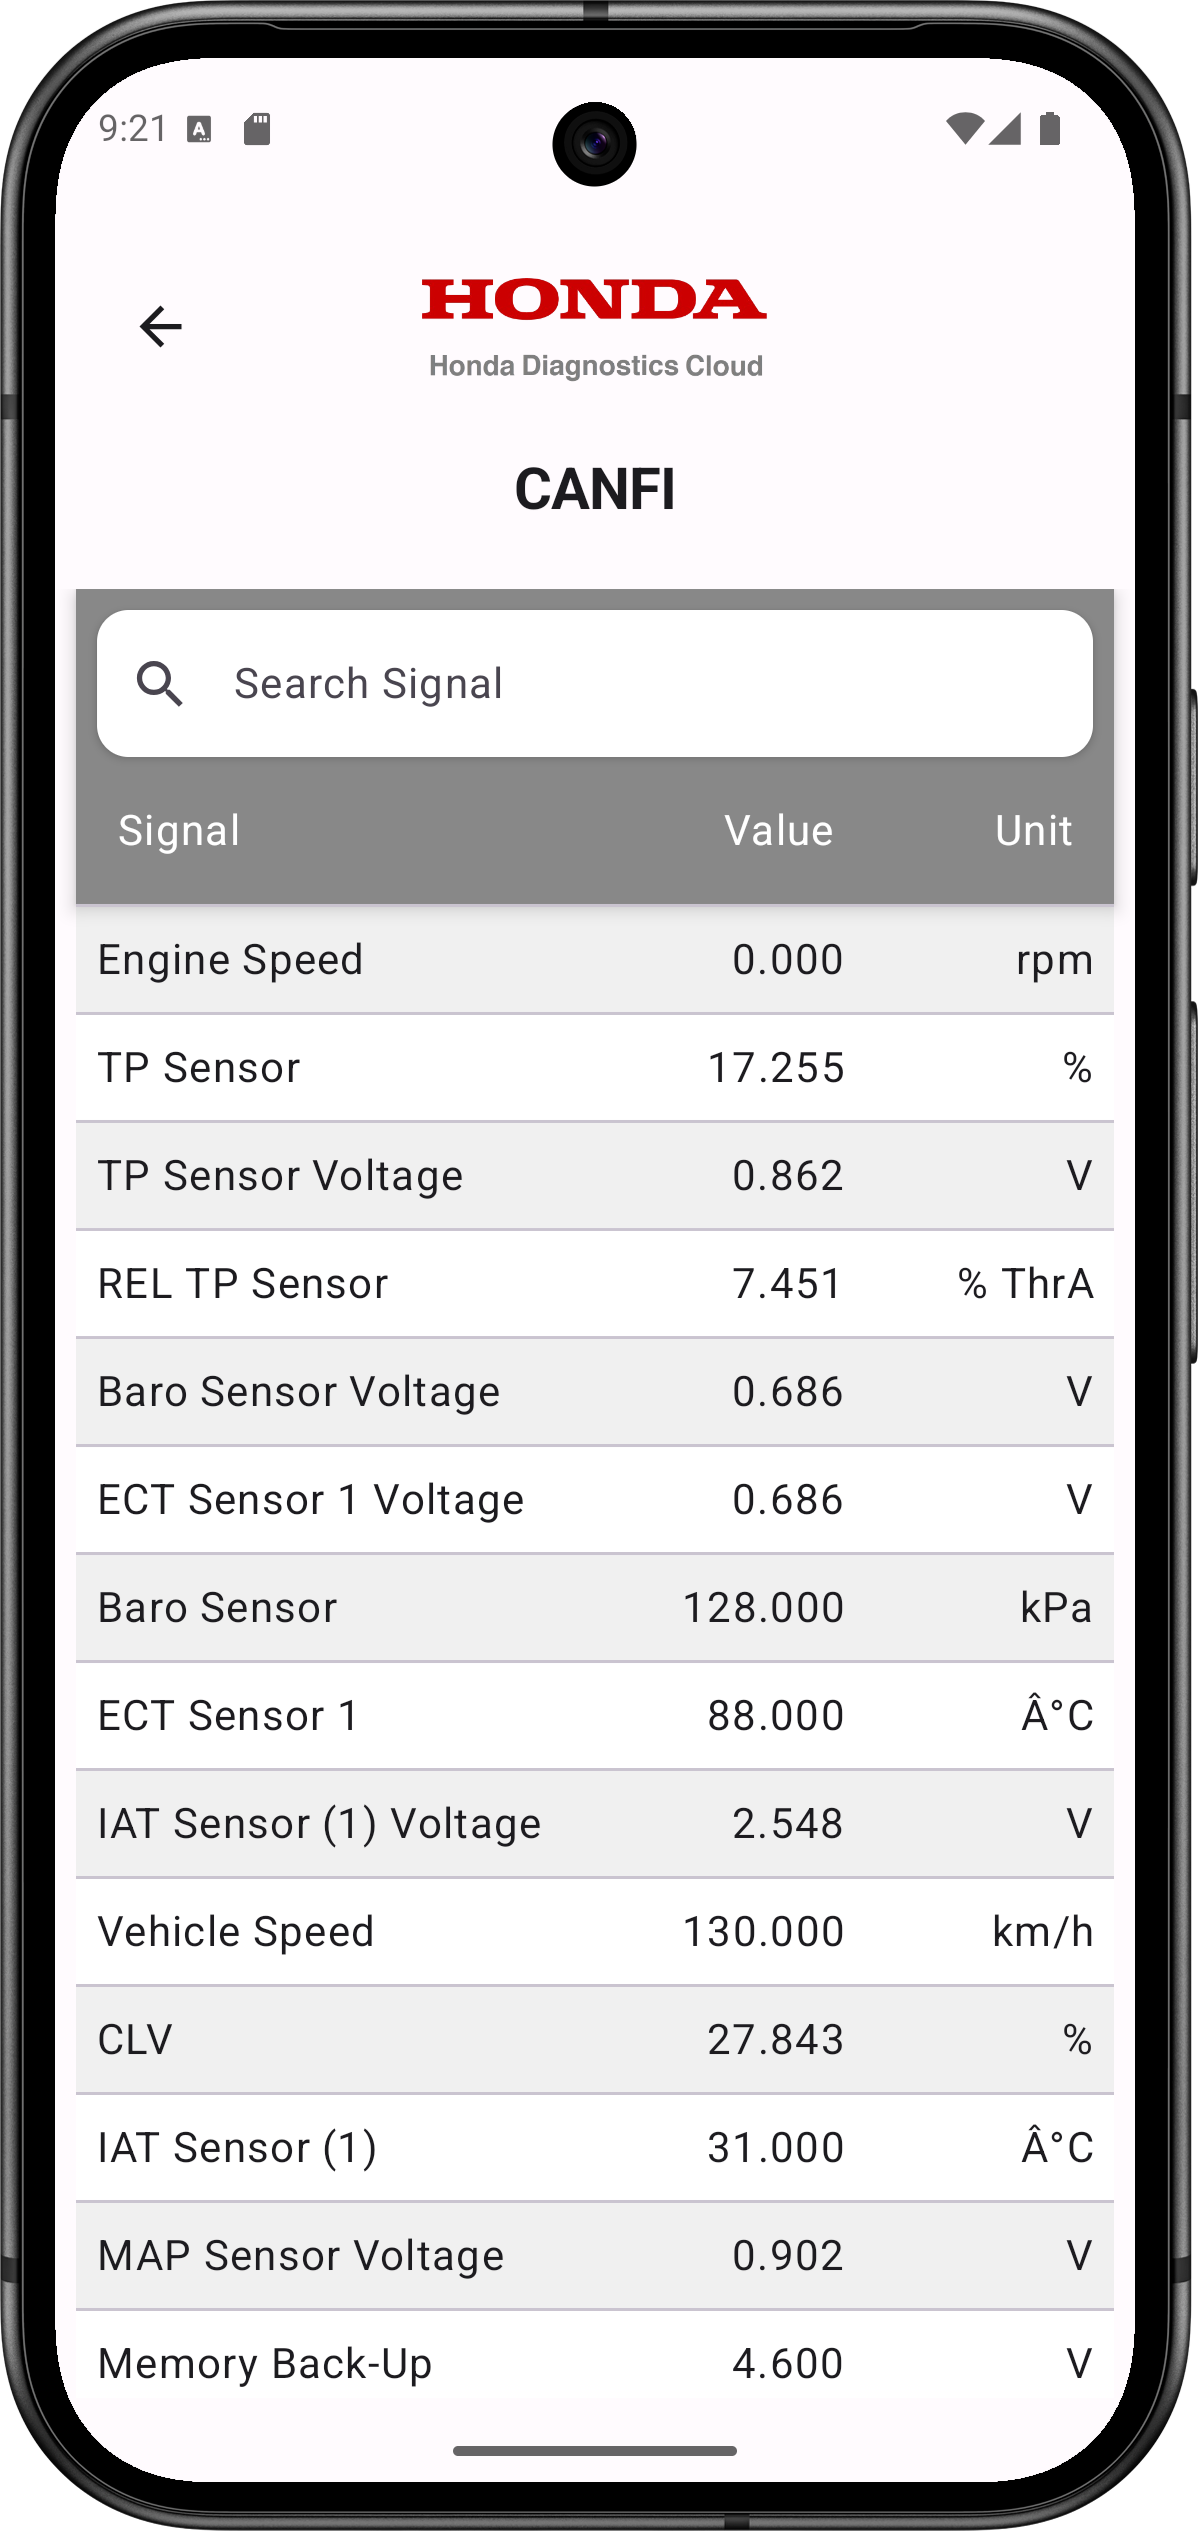
- The ‘CANFI’ DATA List is now displayed
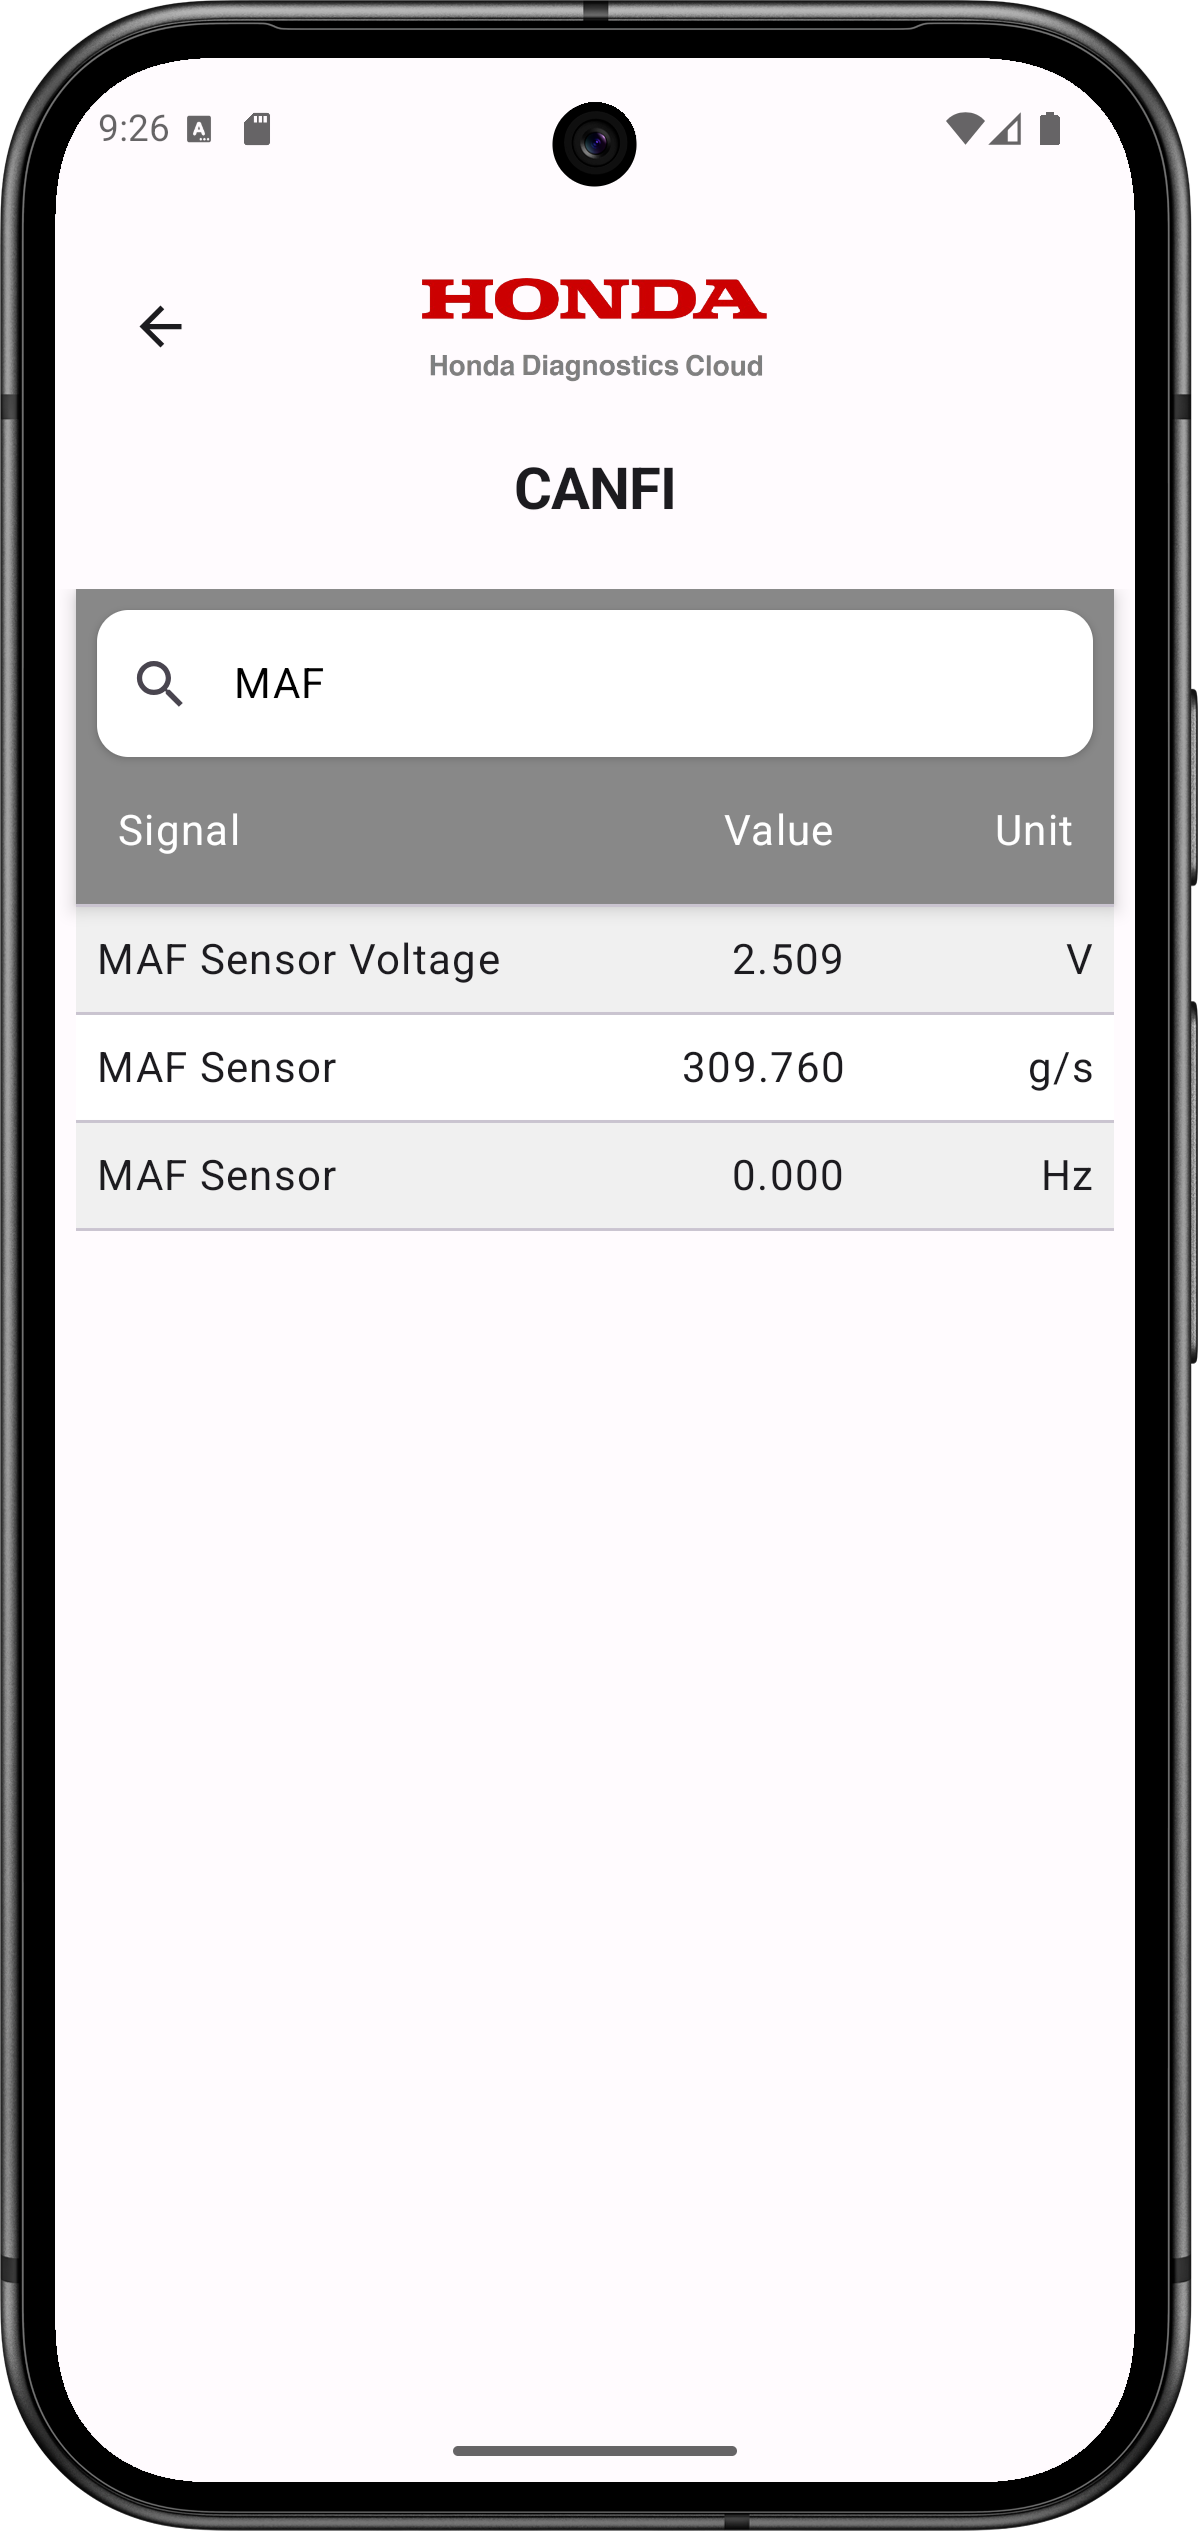
- You can also filter for a specific Signal Name by using the search bar.
 For example, click on the ‘DATA LIST’ under ‘CANFI’
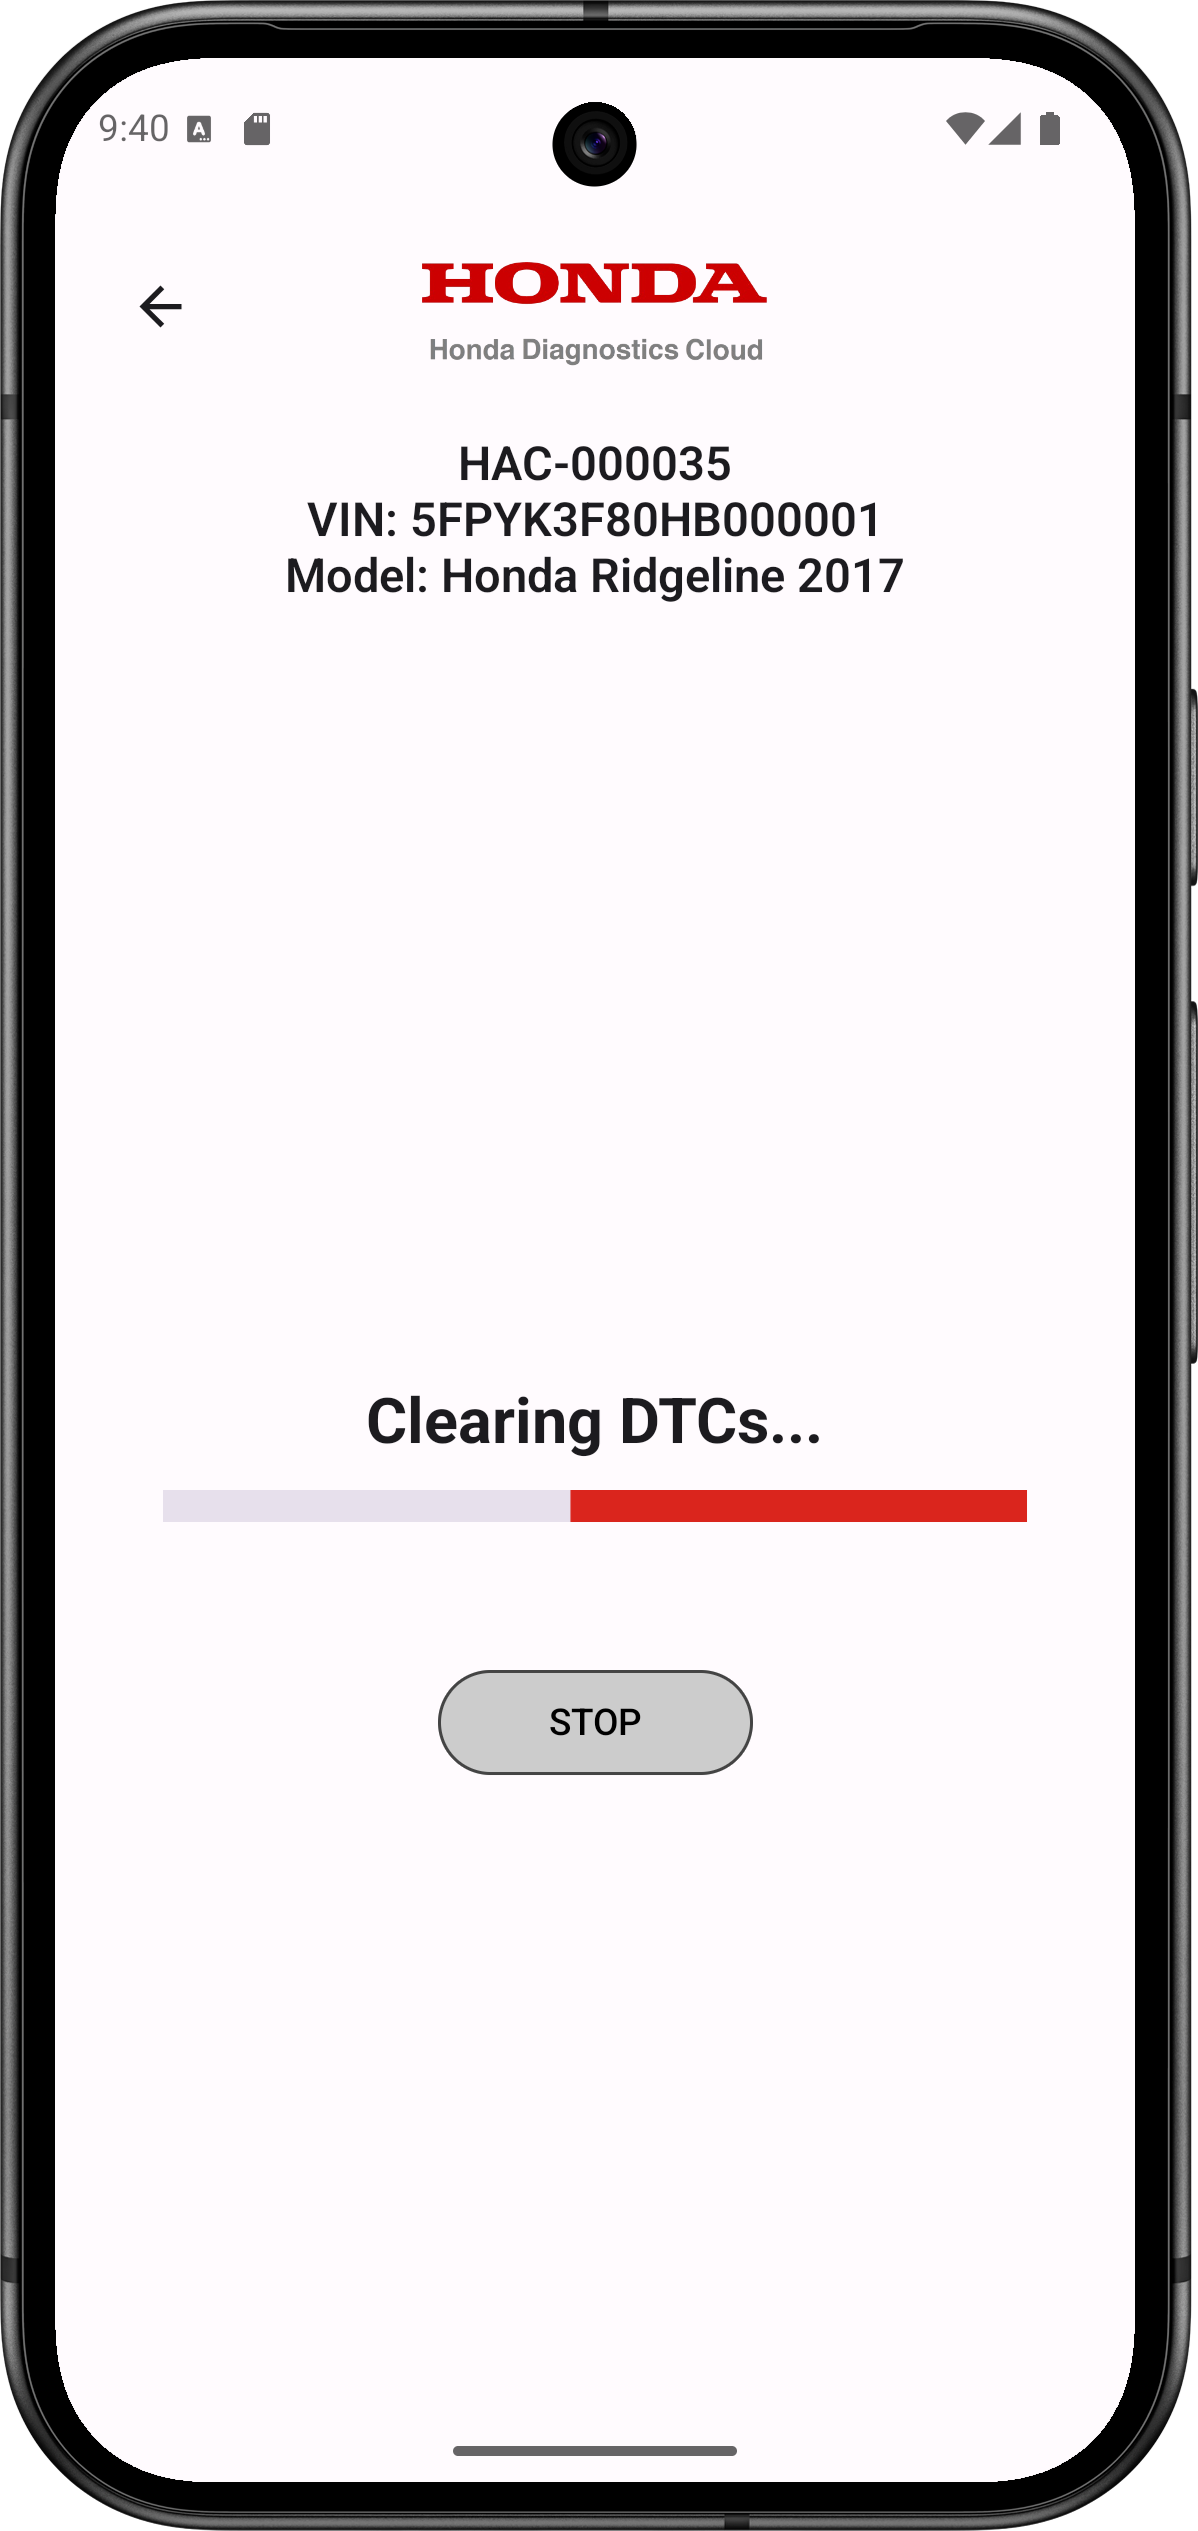
- To Clear DTCs, tap on the Clear button on the “Available Results" page.
- Pressing the Clear button will display a progress bar and STOP option. (see screenshot below)
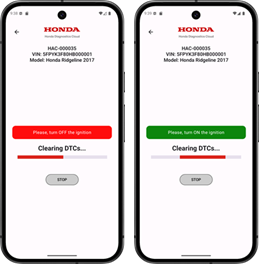
- Follow the on-screen instructions for turning off and on the ignition.
- Once the “DTCs have been cleared” message appears, Clear DTCs process is completed. To scan for DTCs, tap SCAN; to return to the home page, tap GO BACK.

Note: Checking the  , box will clear DTCs and then automatically perform an “Autoscan”.
6. Quick Access to Brake Maintenance Mode
This function allows you to place the Electronic Parking Brake (EPB) system into Brake Maintenance Mode for rear brake pad service and then return it to Normal Mode after maintenance.A. Entering Brake Maintenance Mode (for servicing rear brake pads)
-
After completing a vehicle scan, check if the ‘BRAKE PAD’ button appears on the Results page.

Note: The “BRAKE PAD” button will only be visible if the vehicle’s ECU supports the Brake PadMaintenance feature.
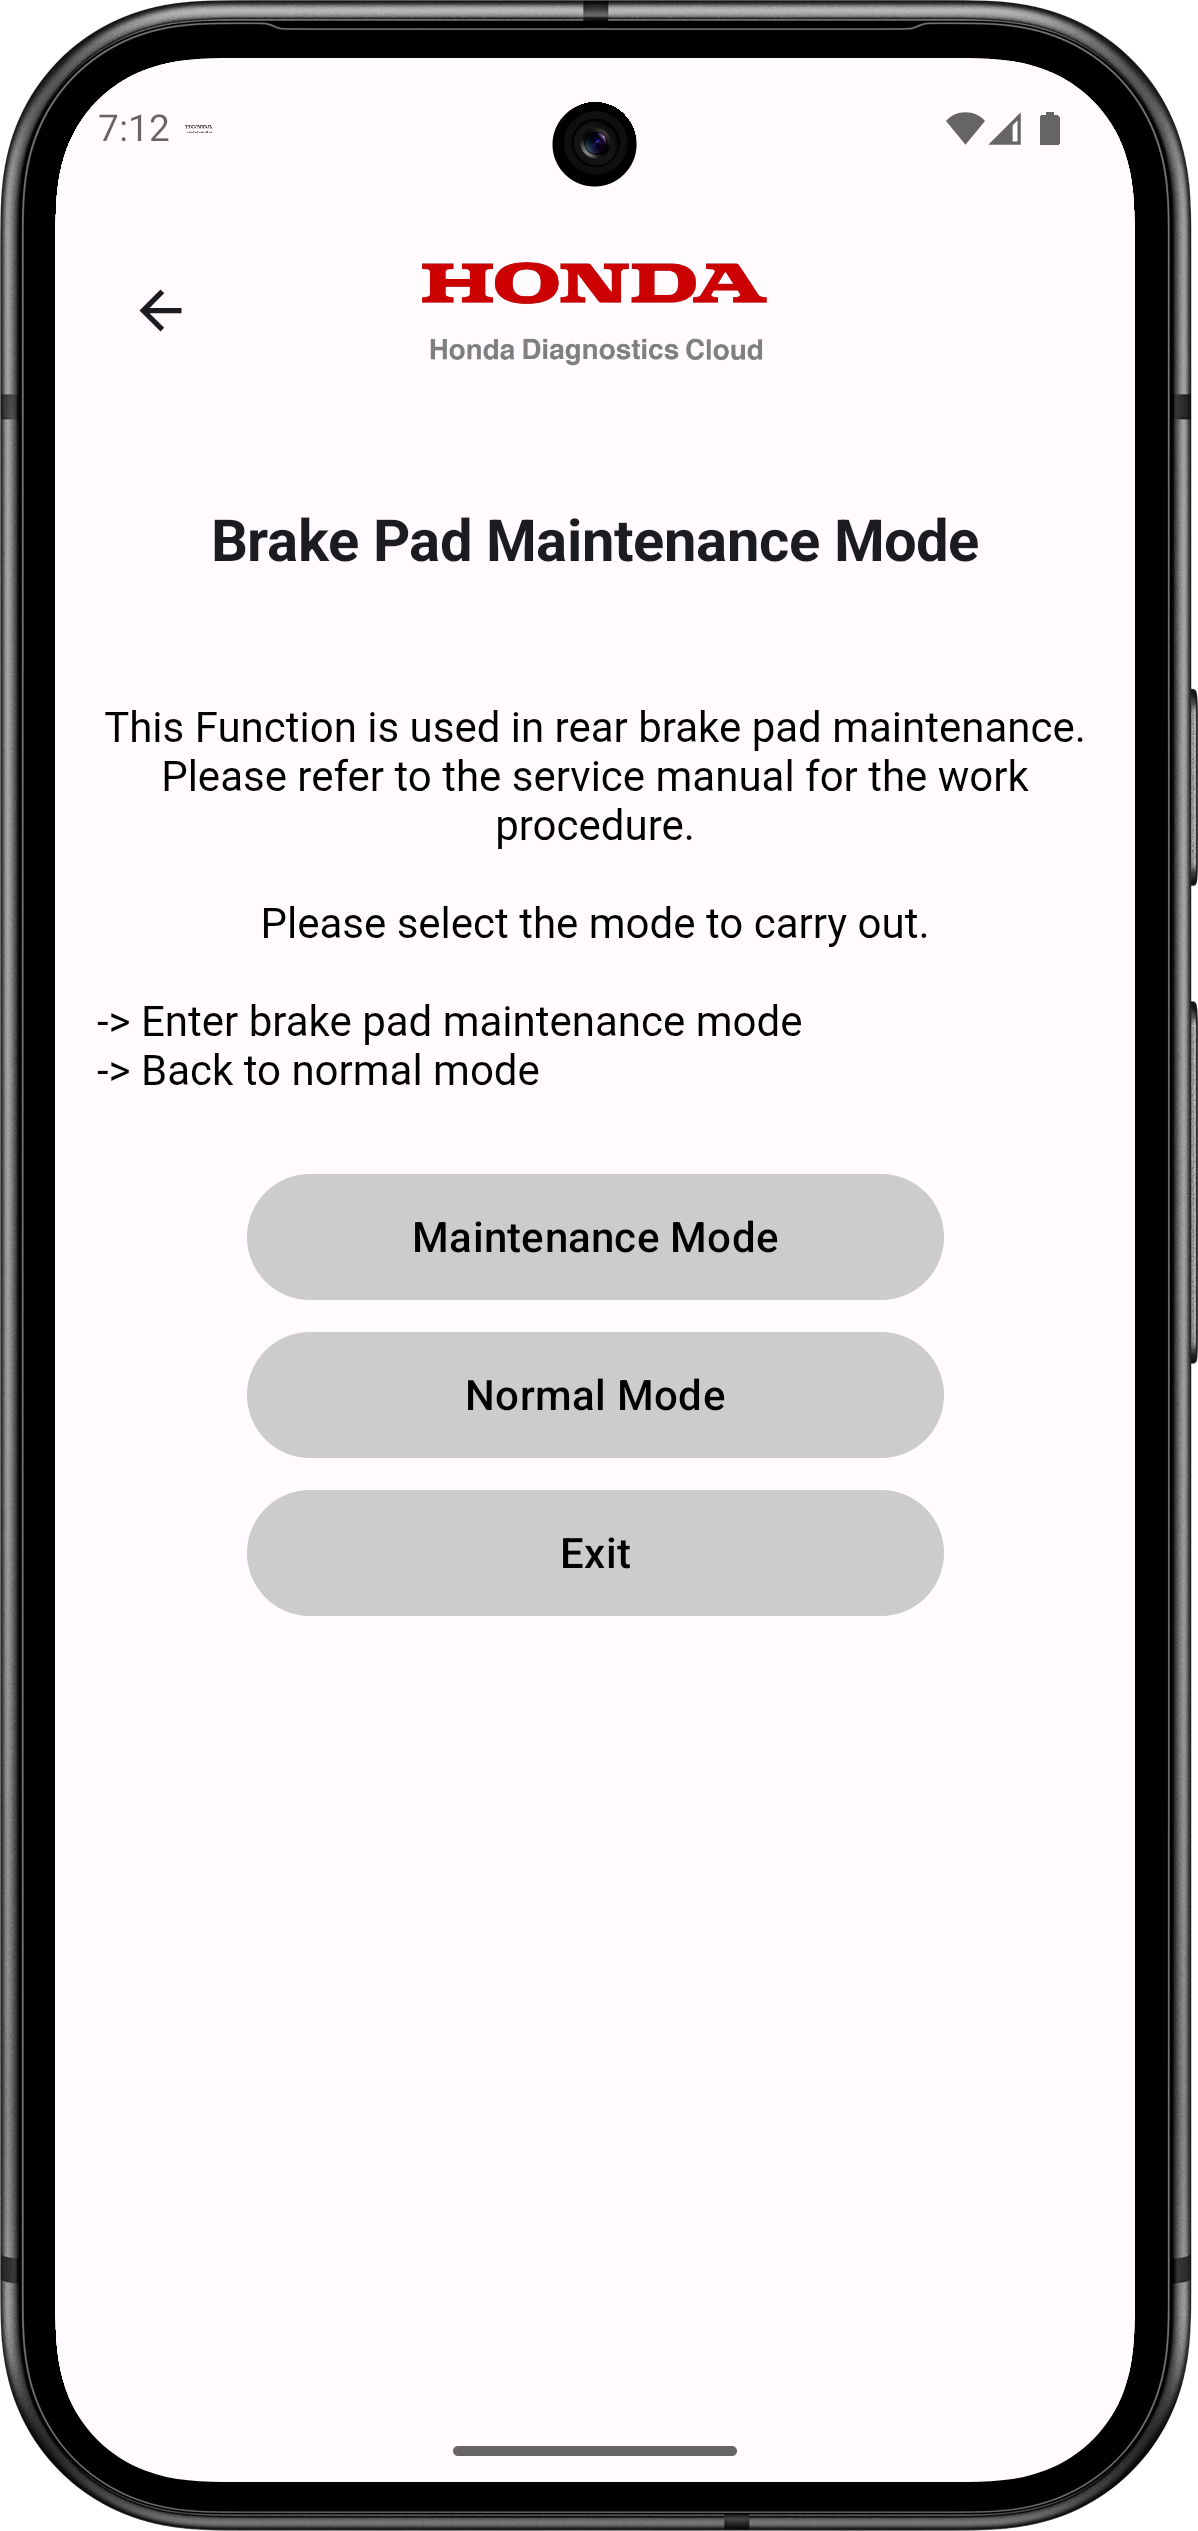
- Tap the ‘BRAKE PAD’ button.
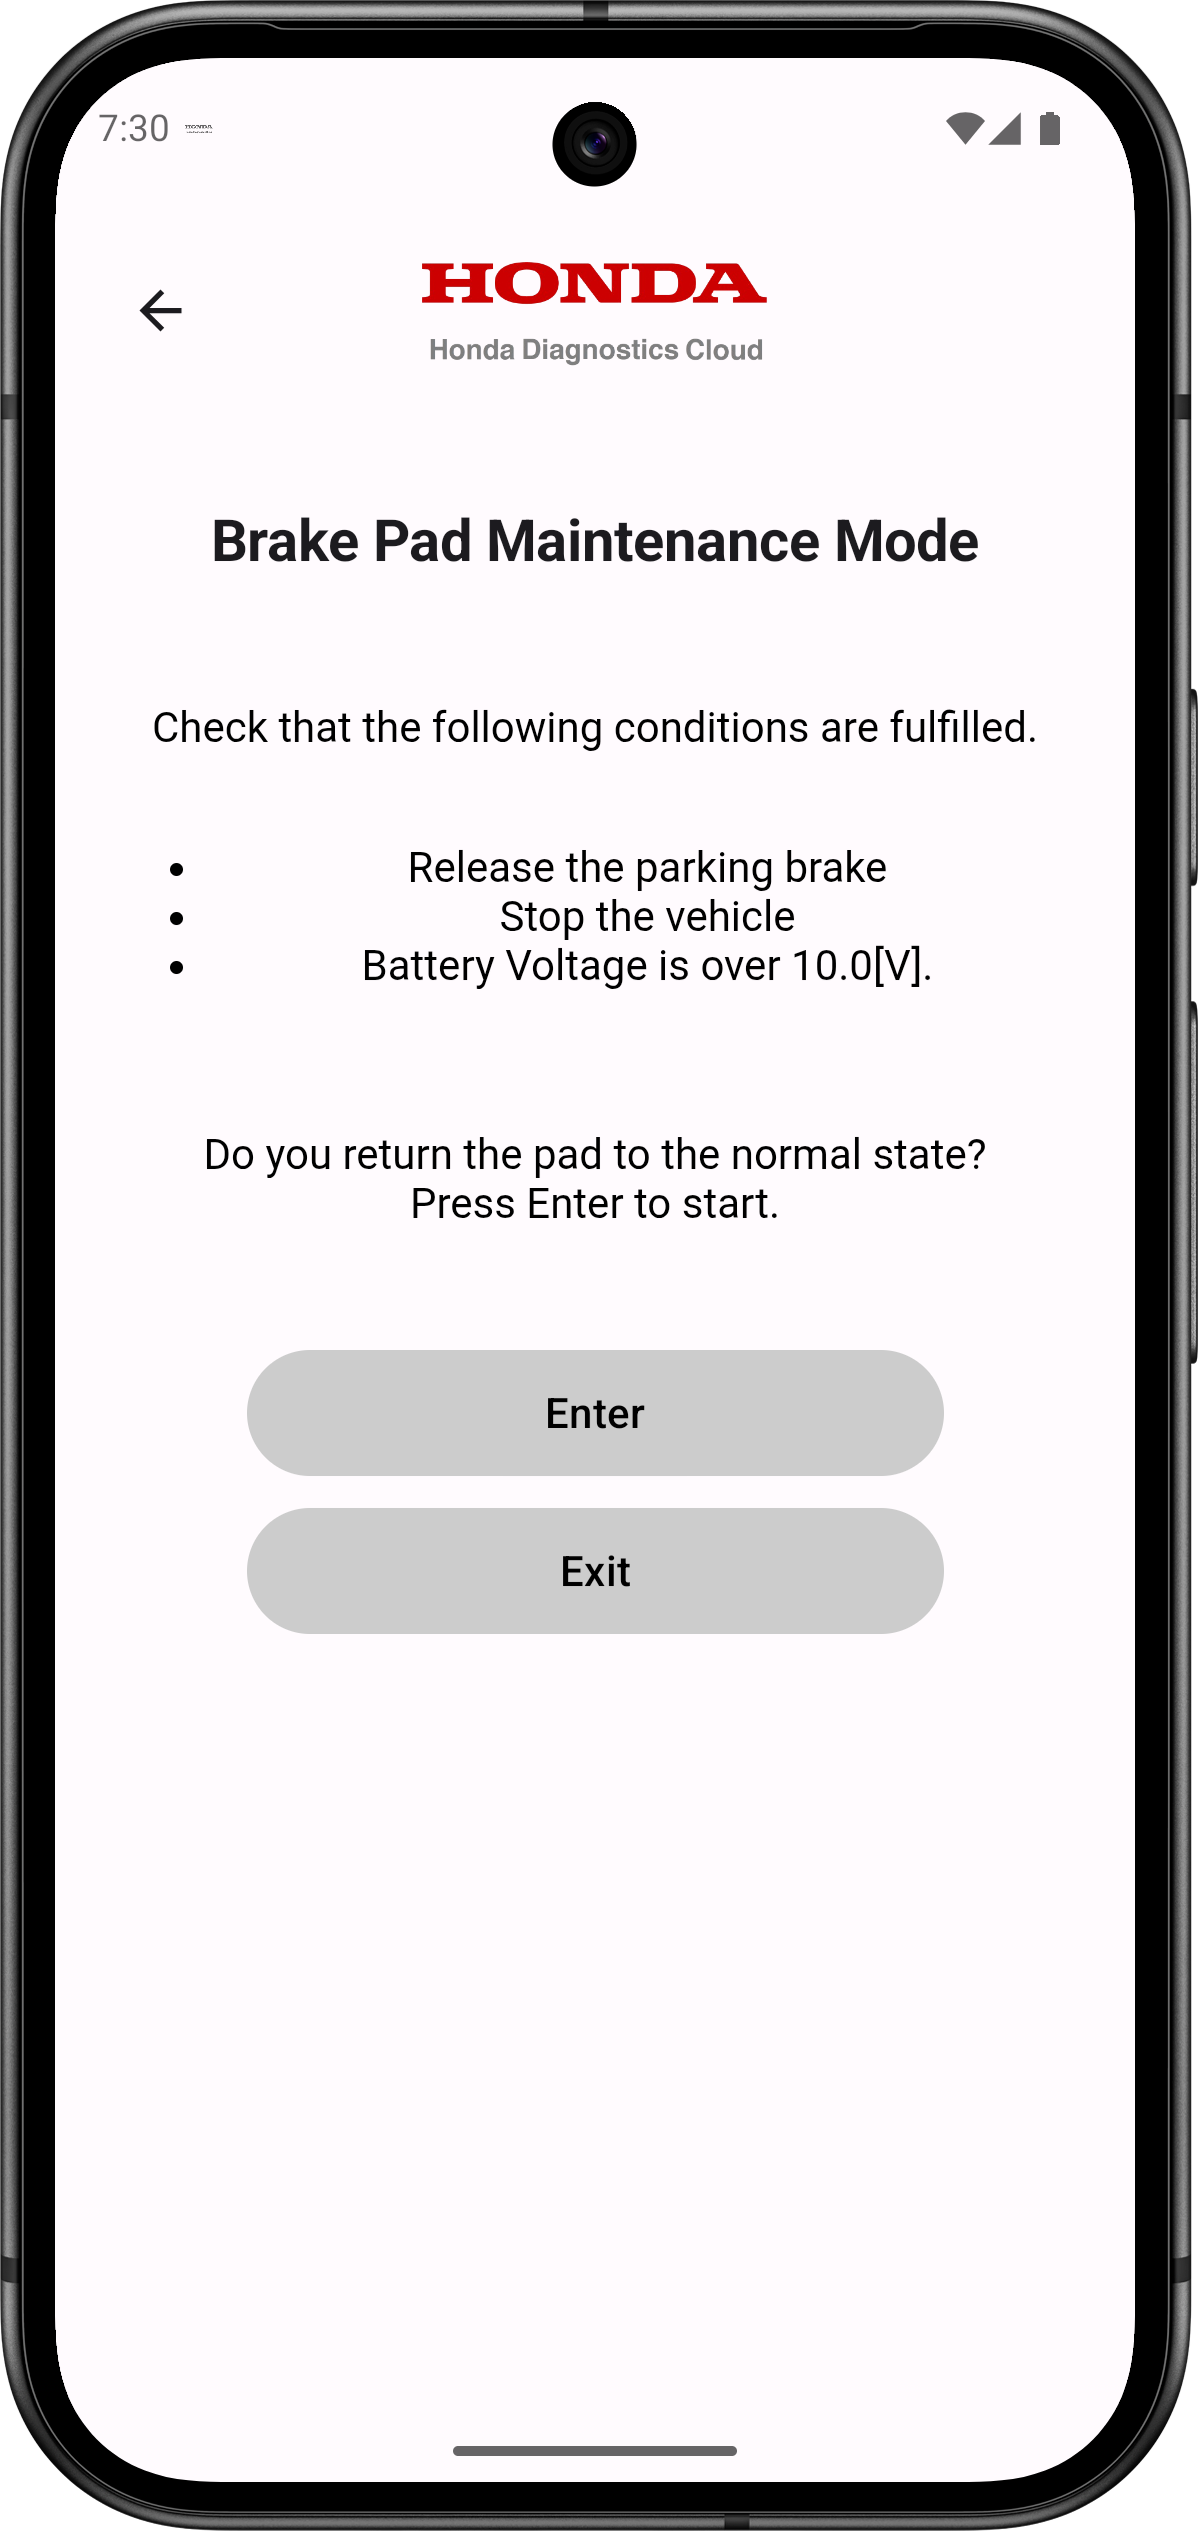
- Select ‘Maintenance Mode.’
-
Confirm that all preconditions are met:
- Vehicle stopped
- Parking brake is released
- Ensure vehicle 12-volt battery voltage is above 10 volts
- No EPB-related DTCs are present
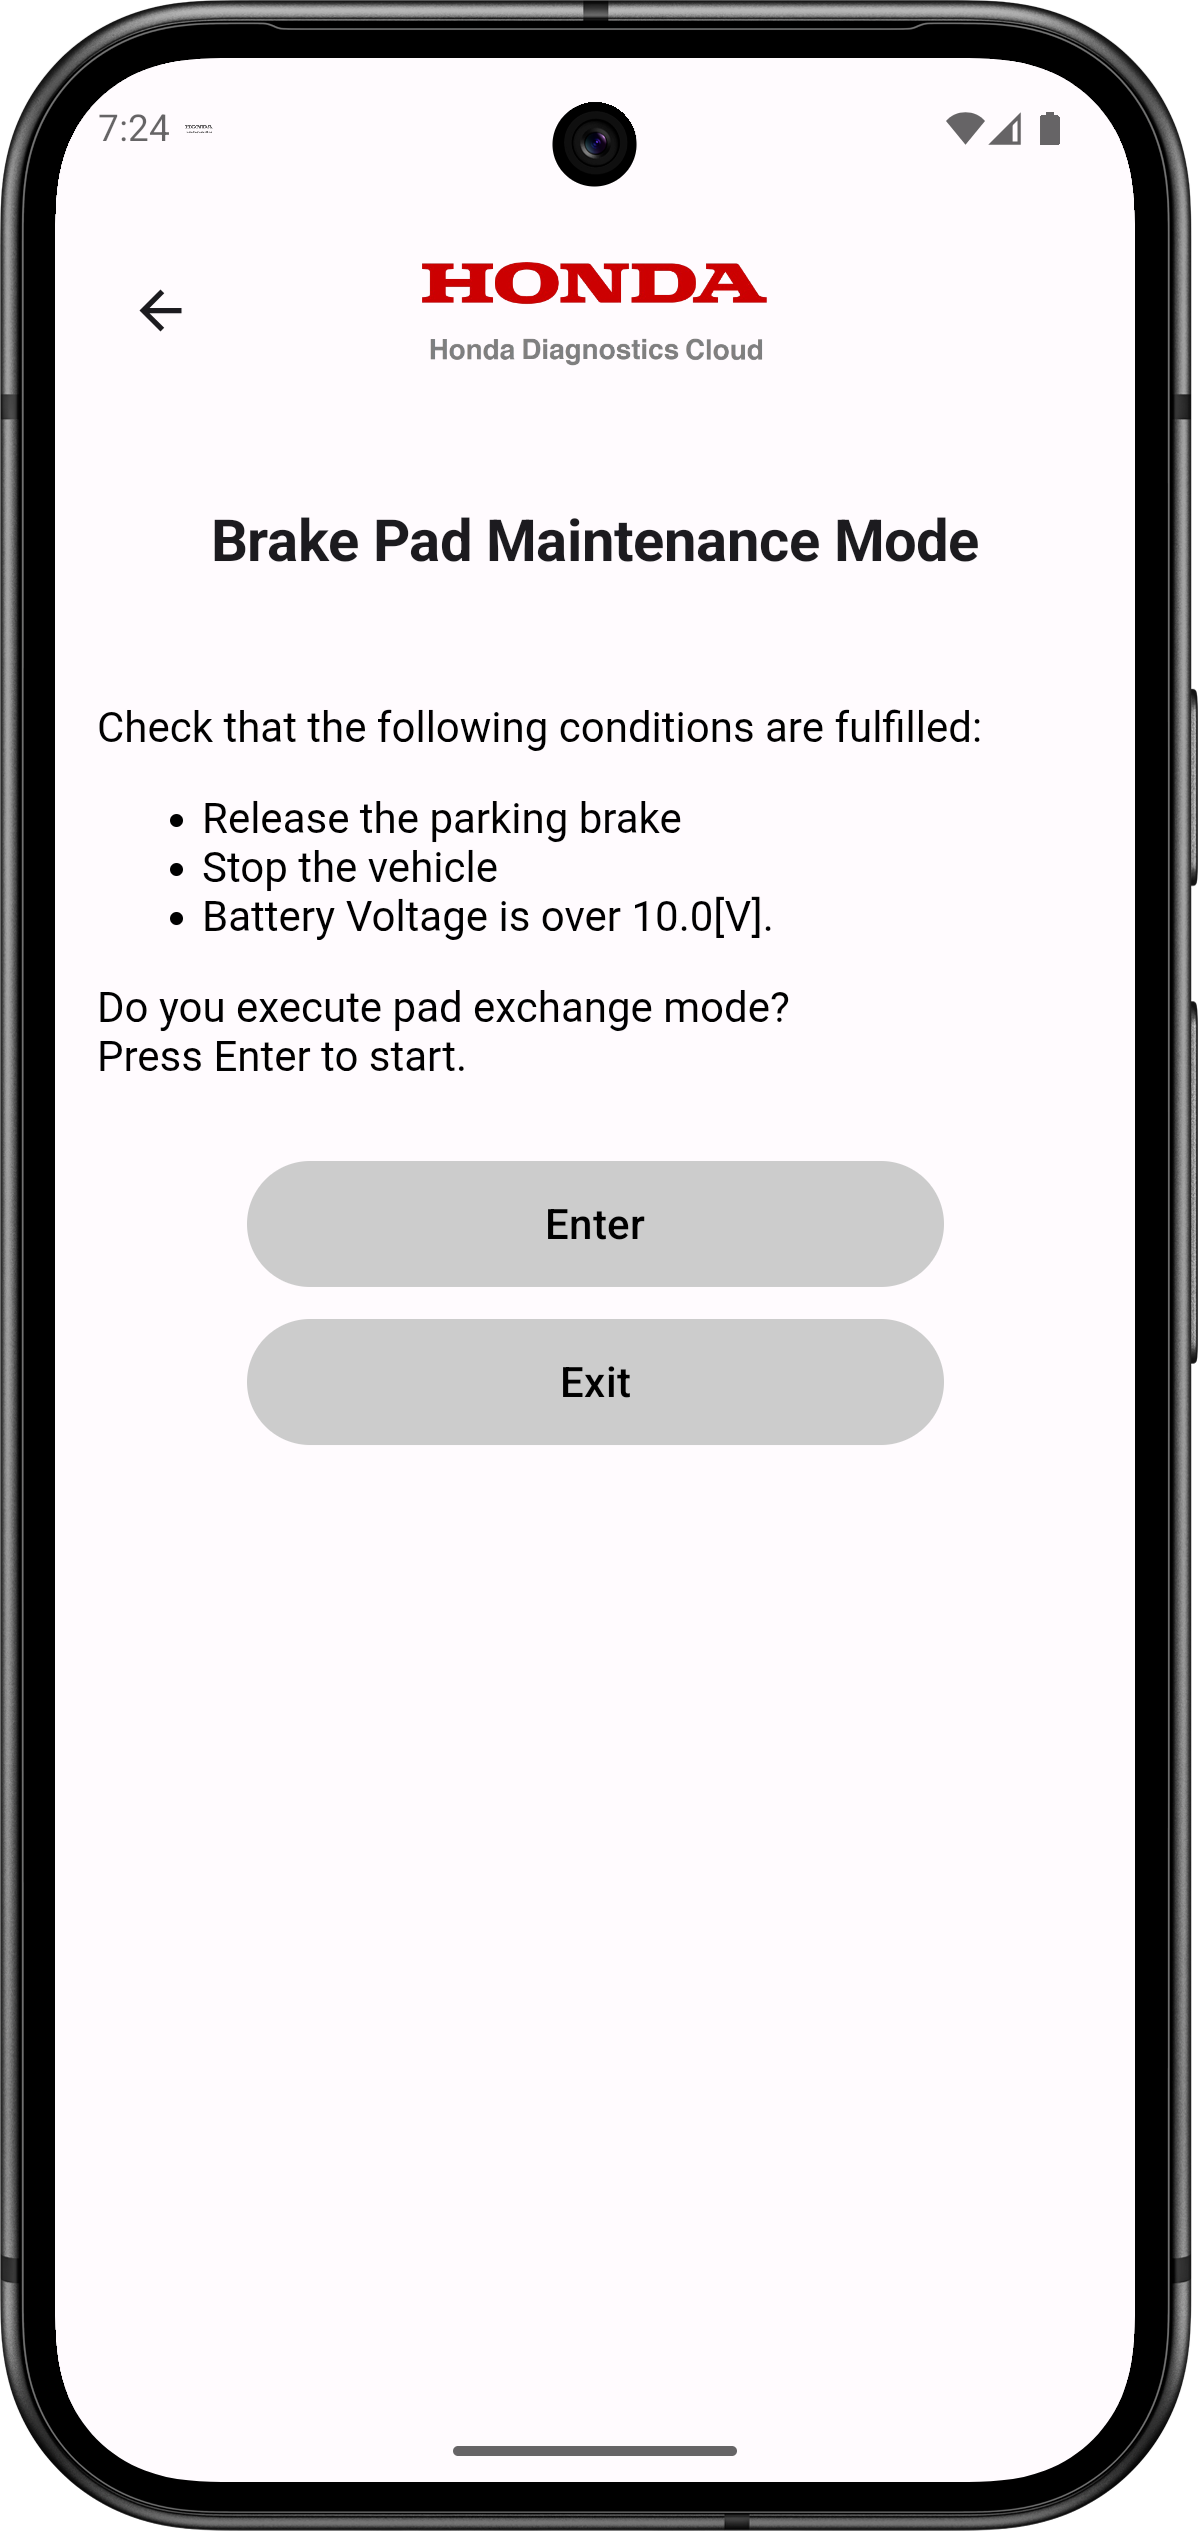
- Tap ‘Enter’ to begin the process.
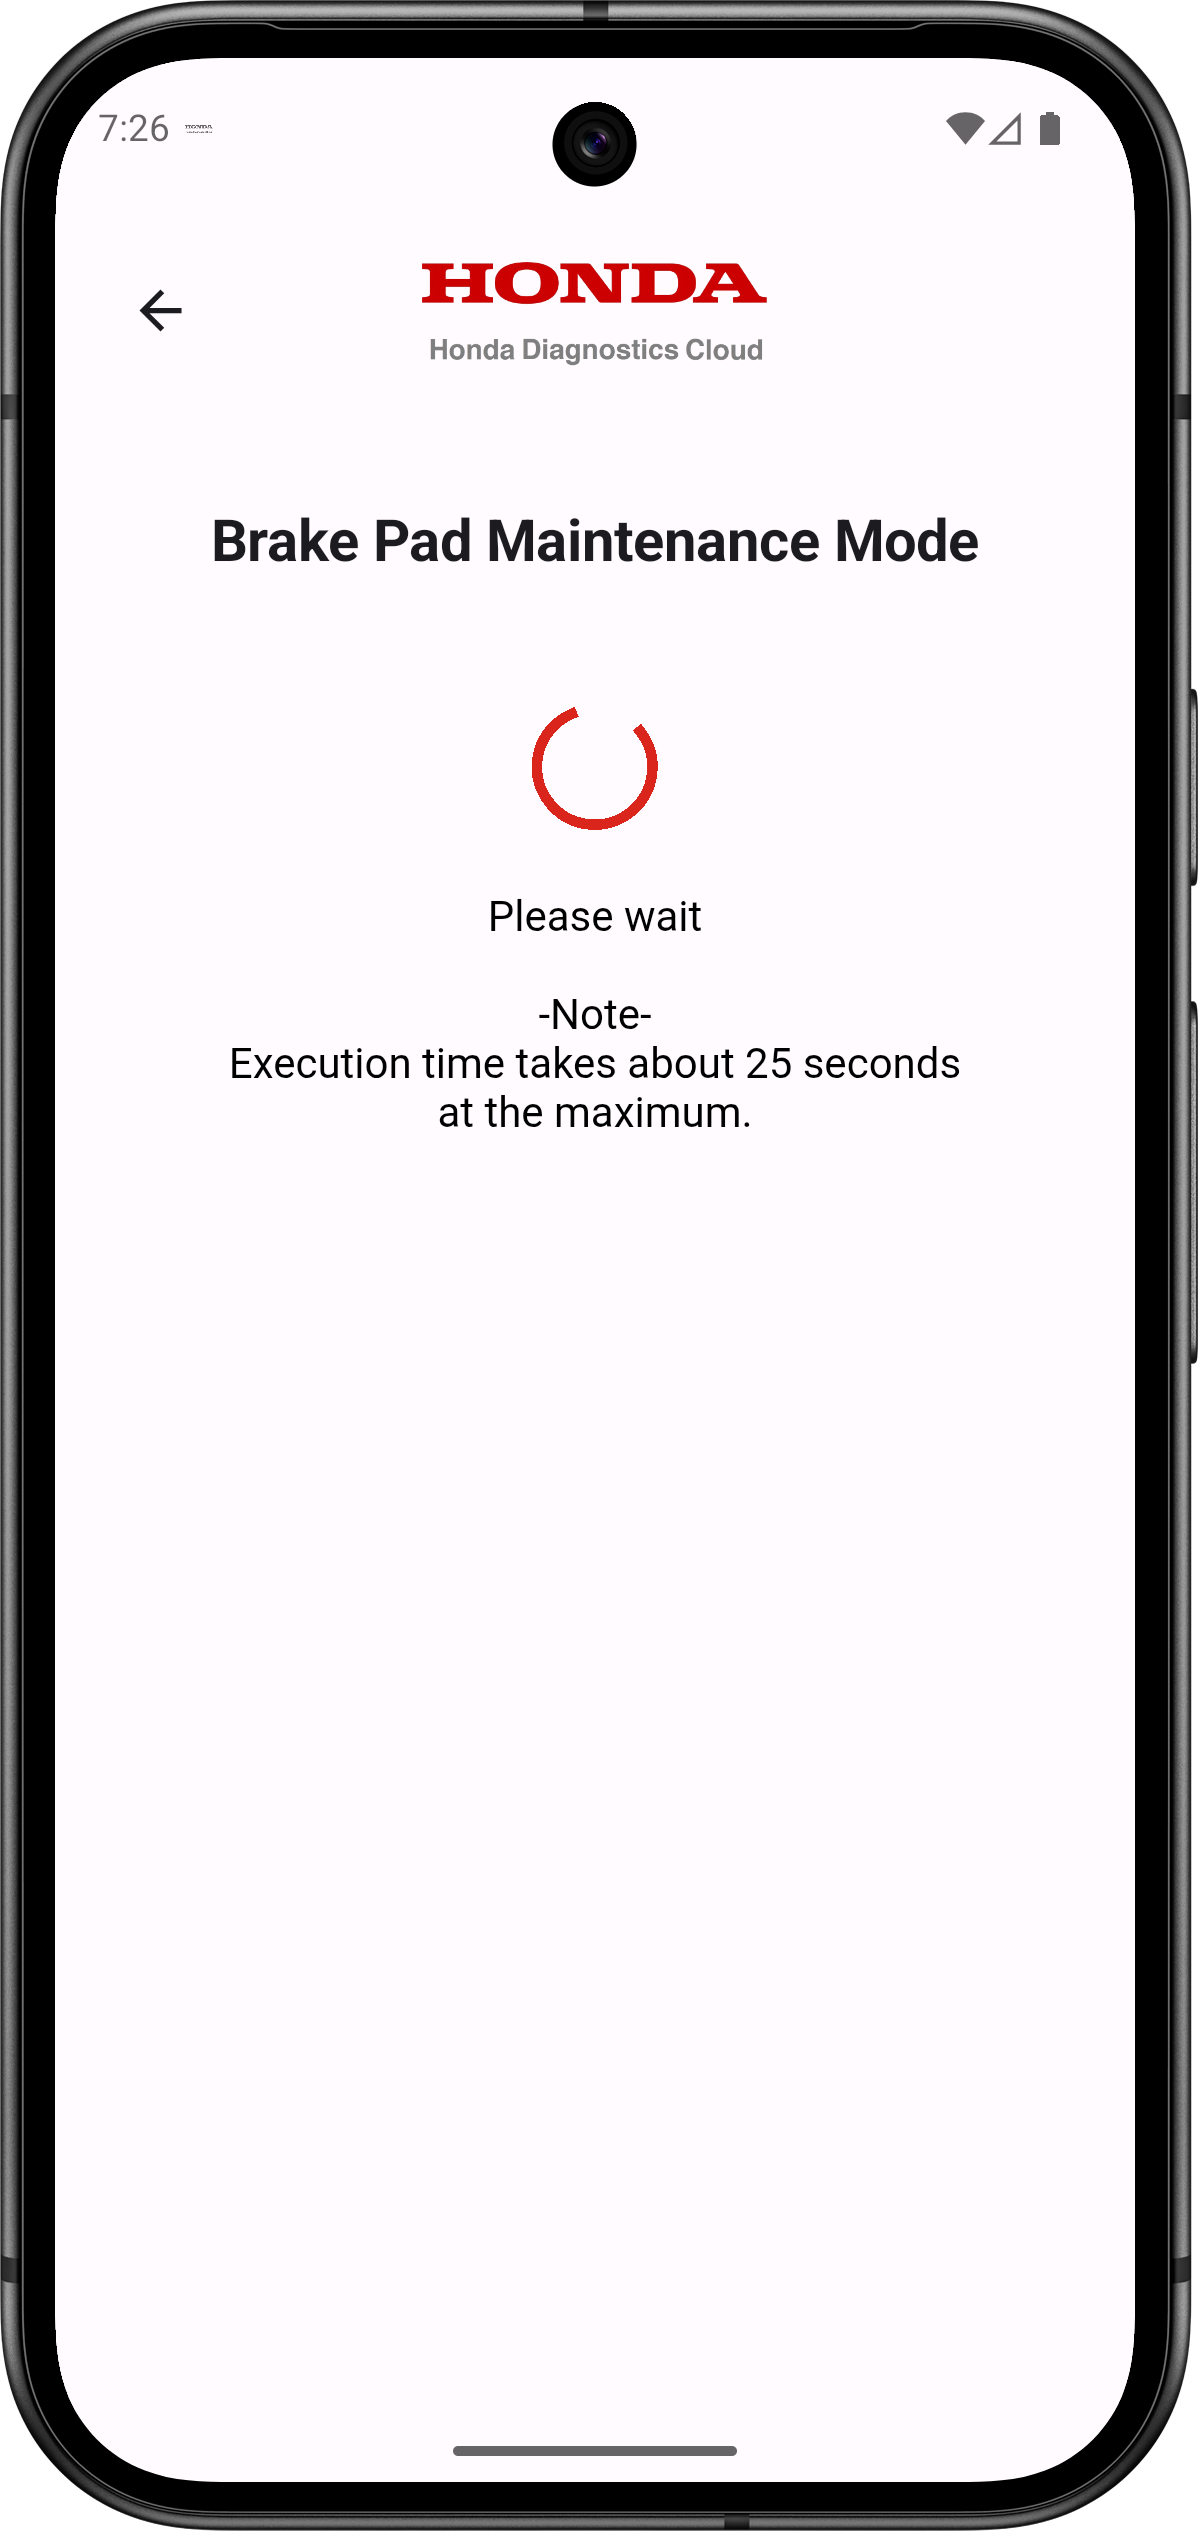
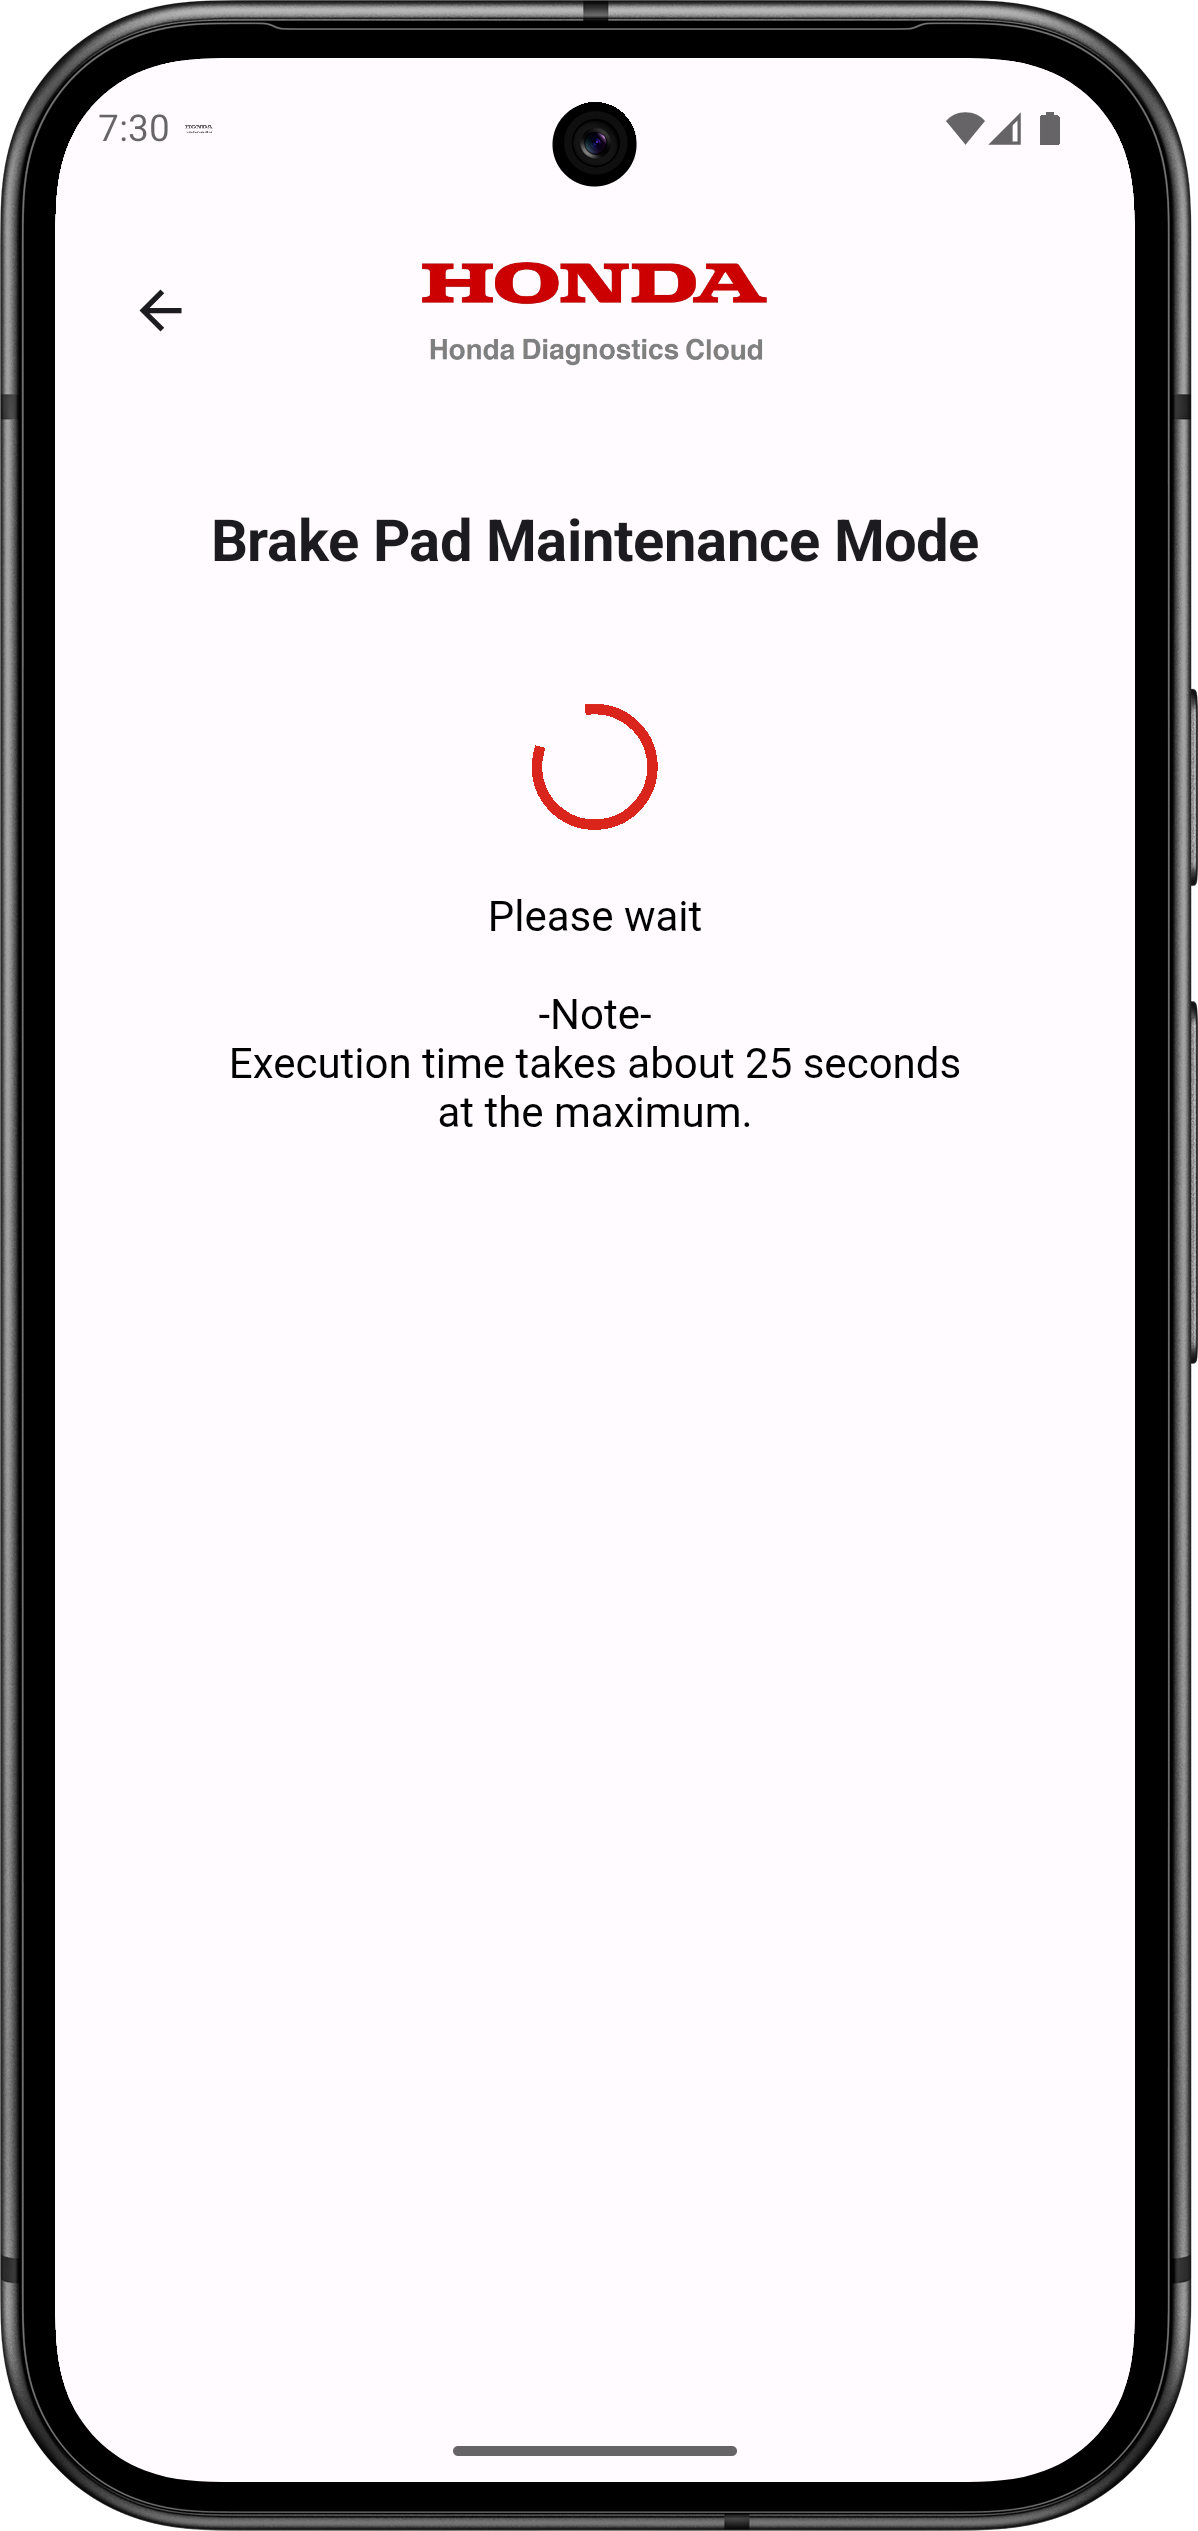
- Wait until the procedure is completed.
- When finished, the message ‘Transition to Pad Exchange Mode has been completed’ will appear.
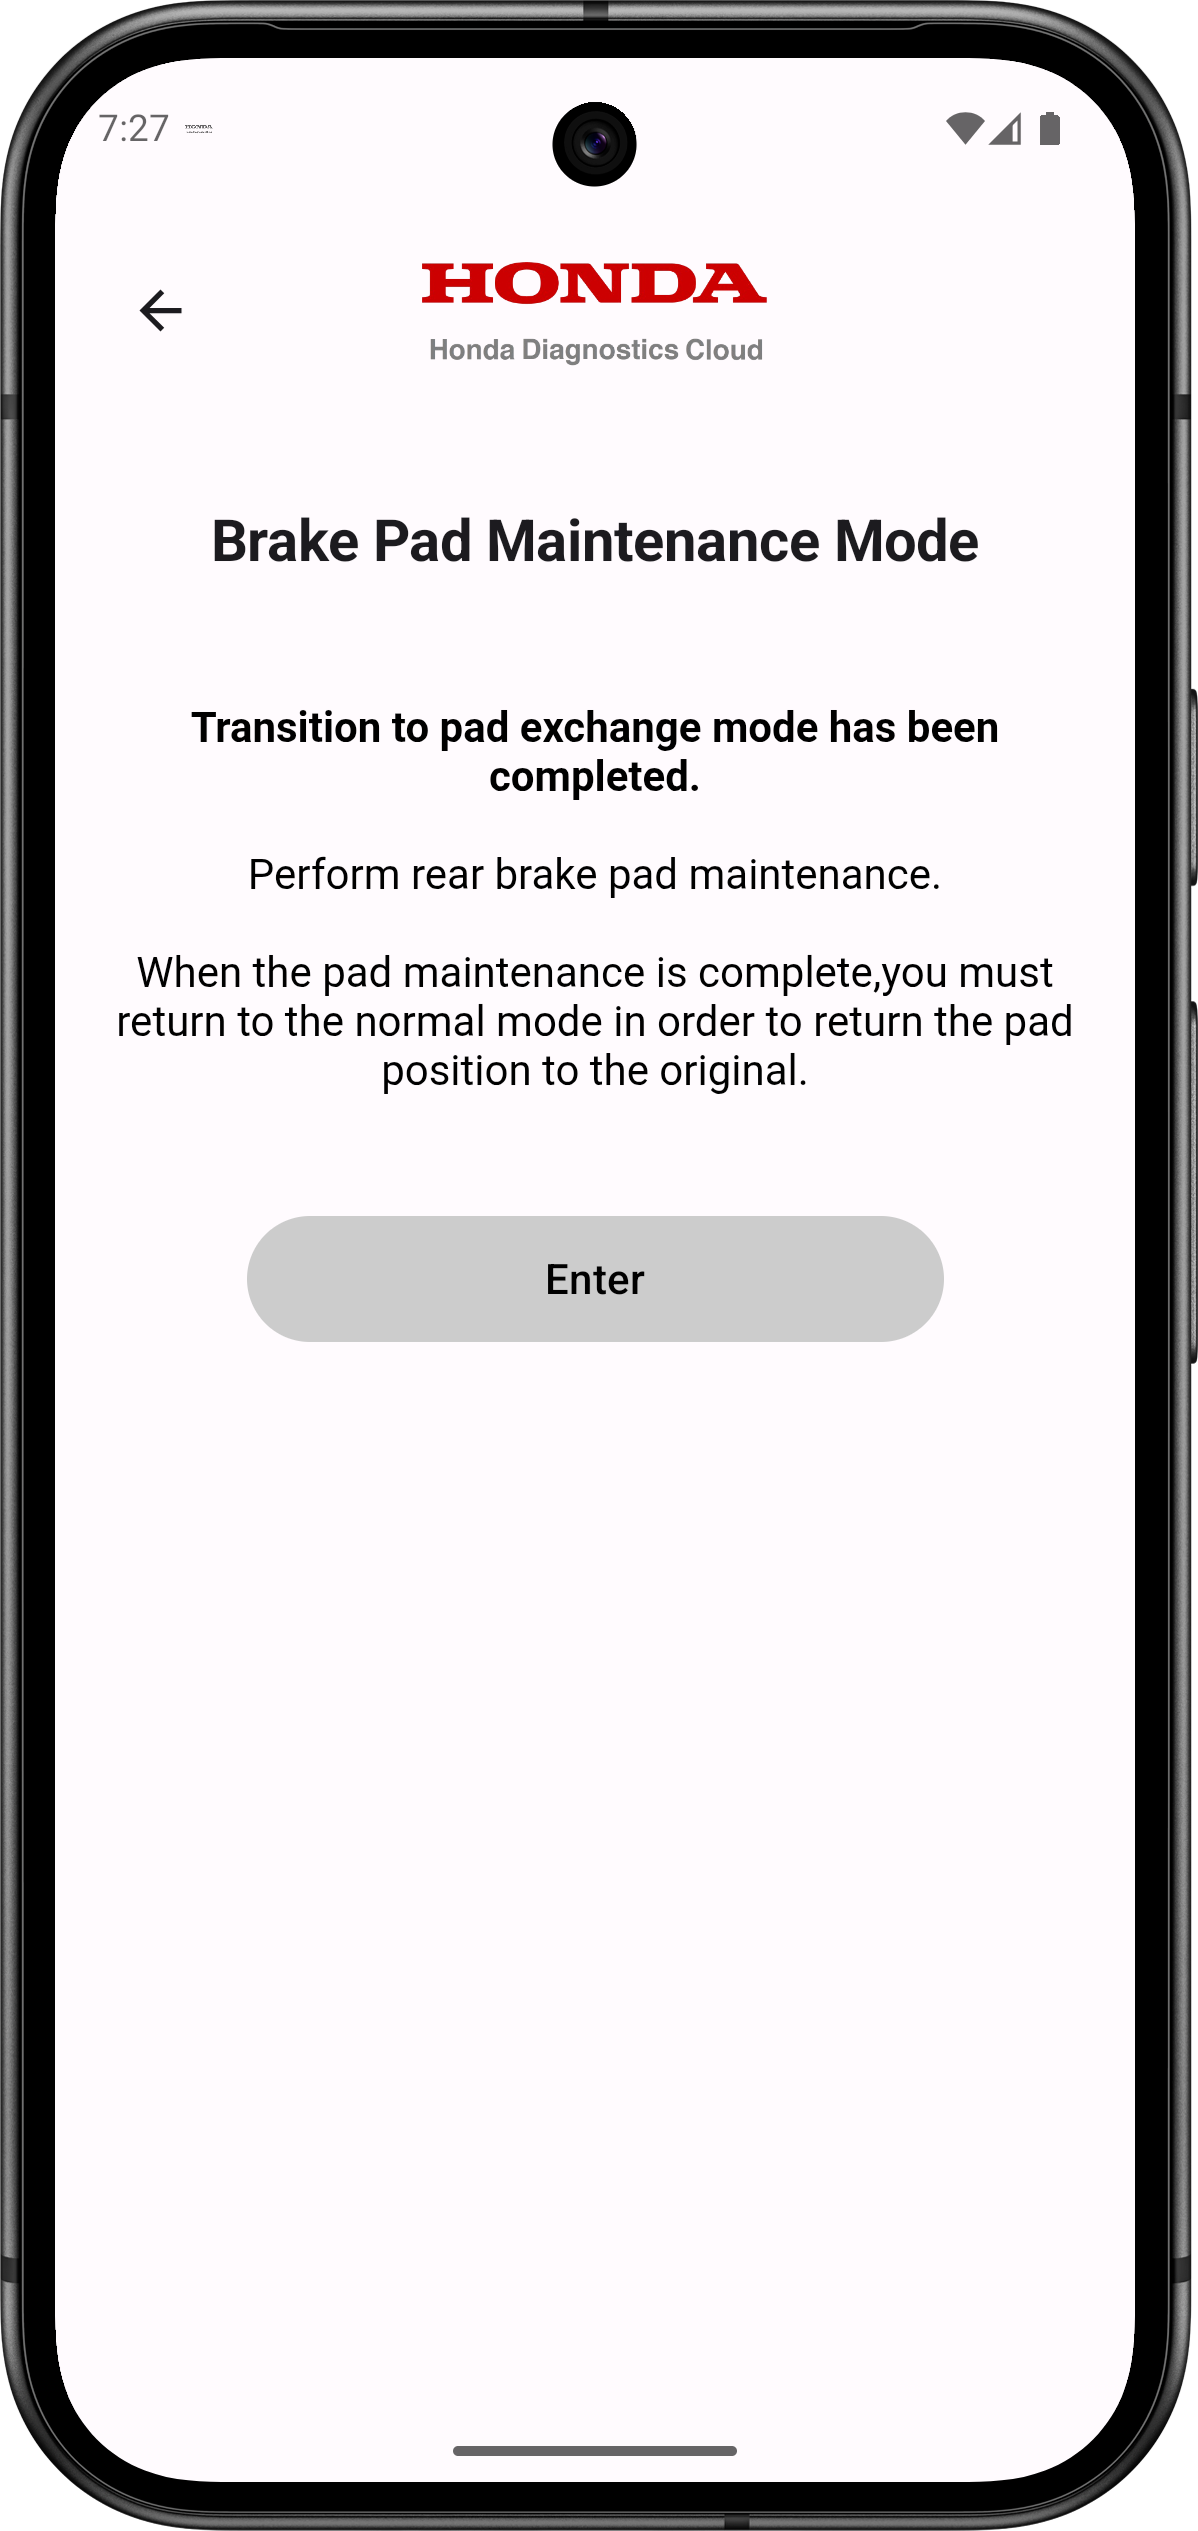
- Tap ‘Enter’ to return to the Results page.
- You can now safely perform rear brake pad maintenance.
- Once the brake pad maintenance is complete, you must return the system to Normal Mode to restore brake pad position.
- Tap the ‘BRAKE PAD’ button again on the Results page.
- Select ‘Normal Mode.’

-
Confirm that all preconditions are met.
- Vehicle stopped
- Parking brake is released
- Ensure vehicle 12-volt battery voltage is above 10 volts
- No EPB-related DTCs are present
- Tap ‘Enter’ to begin the process.
- Wait until the procedure is completed.
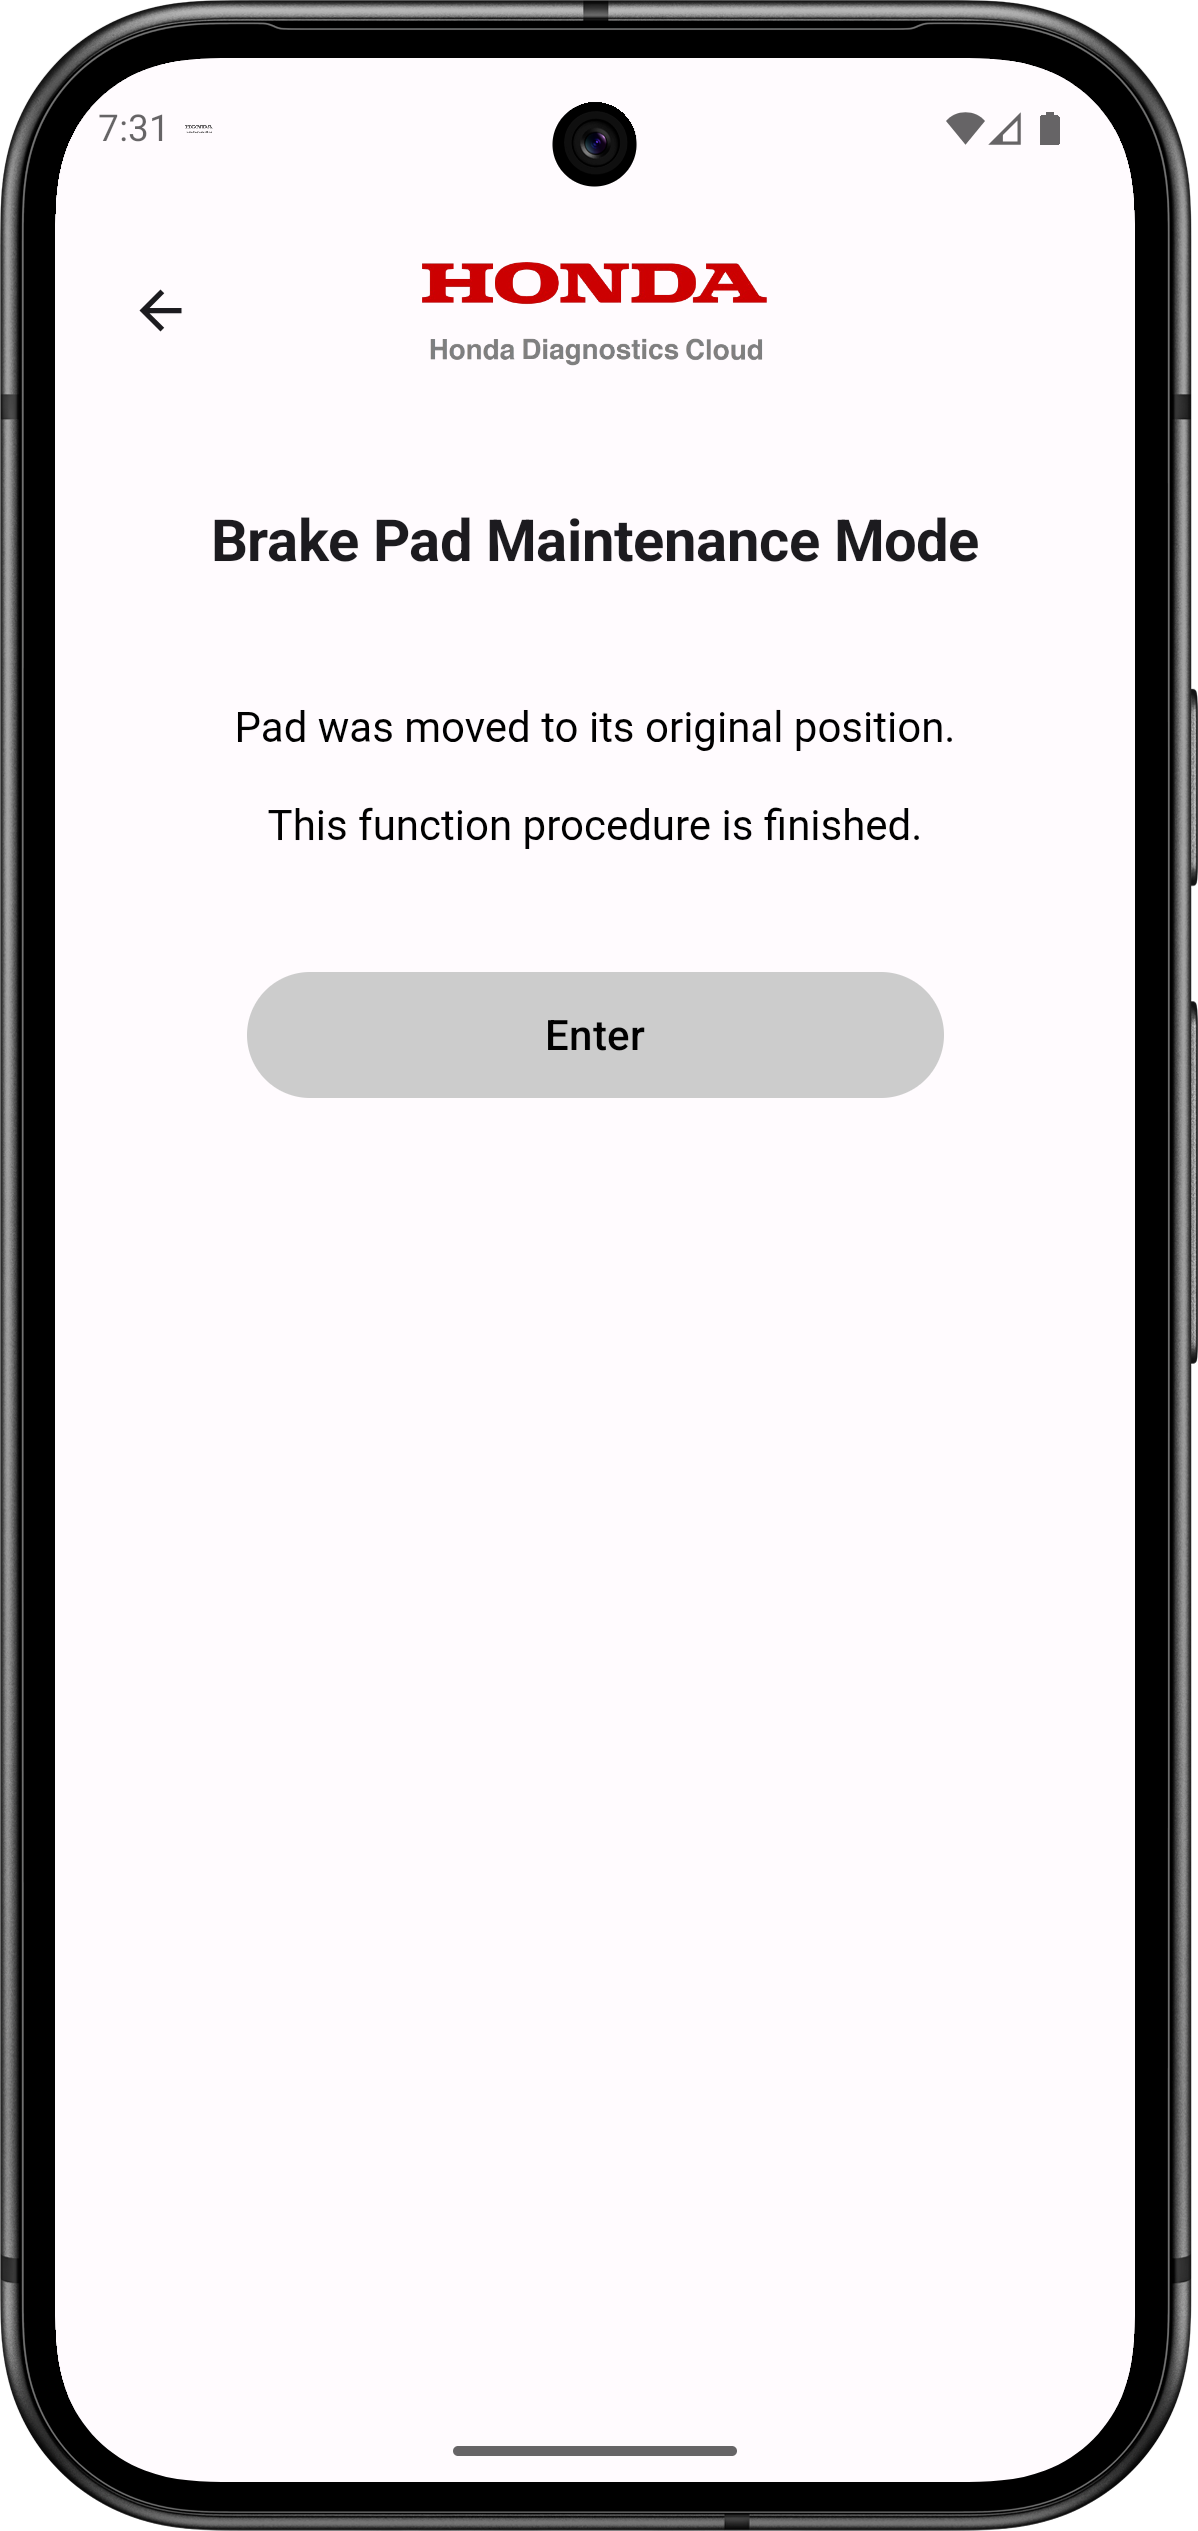
- When finished, the message ‘Pad was moved to its original position’ will appear.
- Tap ‘Enter’ to return to the Results page.
- The Brake Pad Maintenance Mode procedure is now complete.
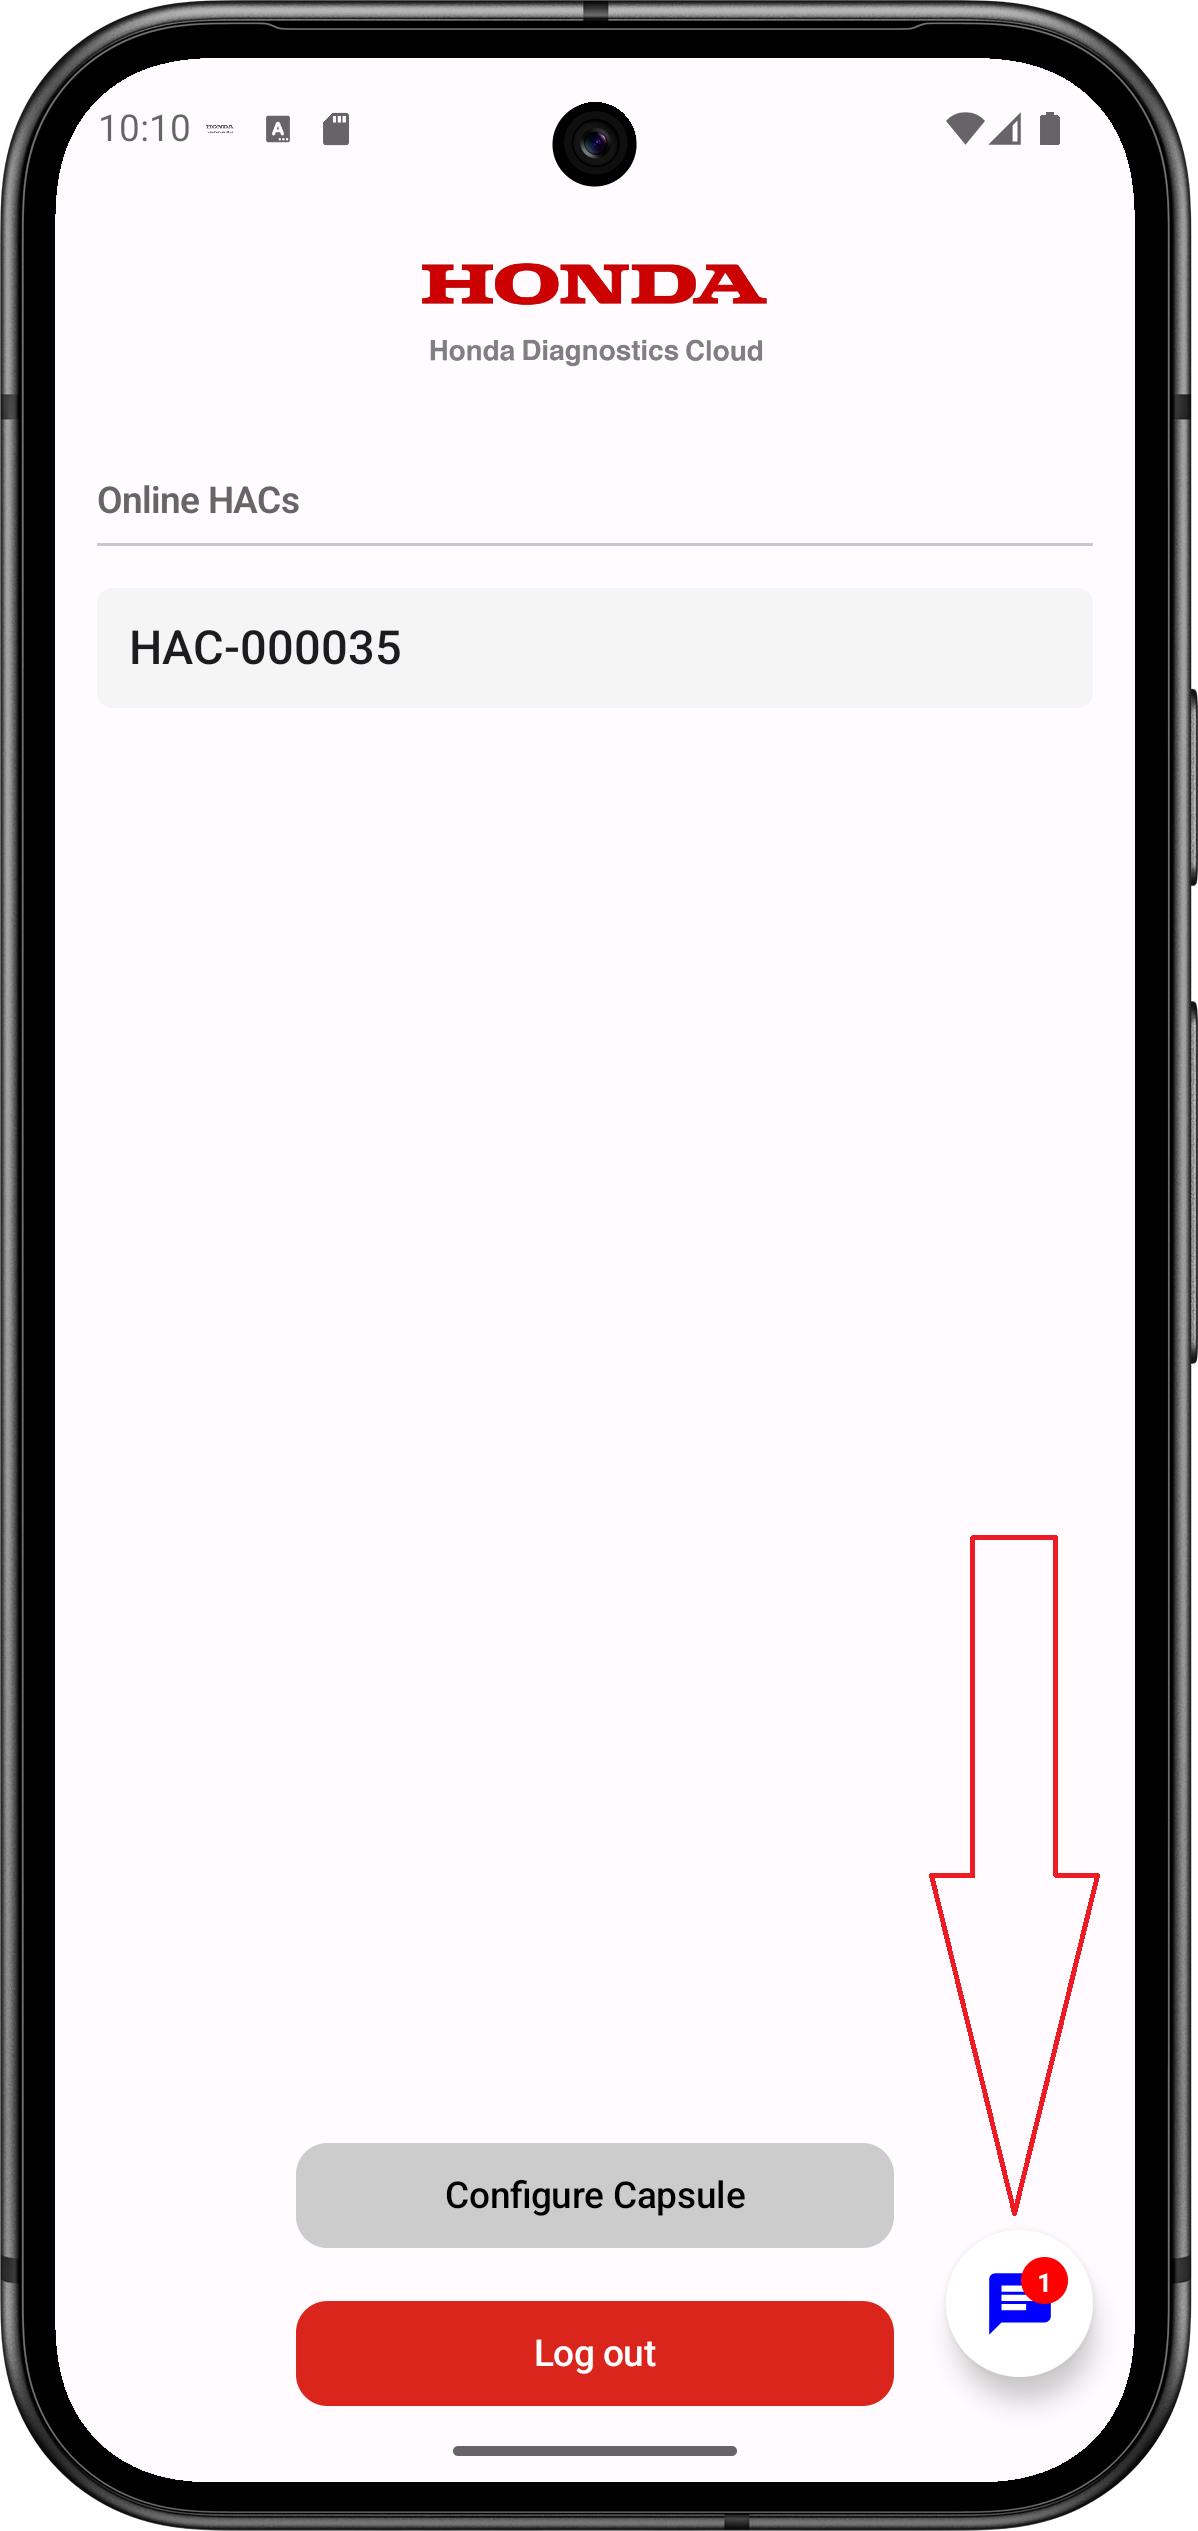
7. Messaging
- Tap the message icon on the main screen to view messages from American Honda. Unread messages show a number in the badge count icon.
-
The latest available Message will be display at the top.
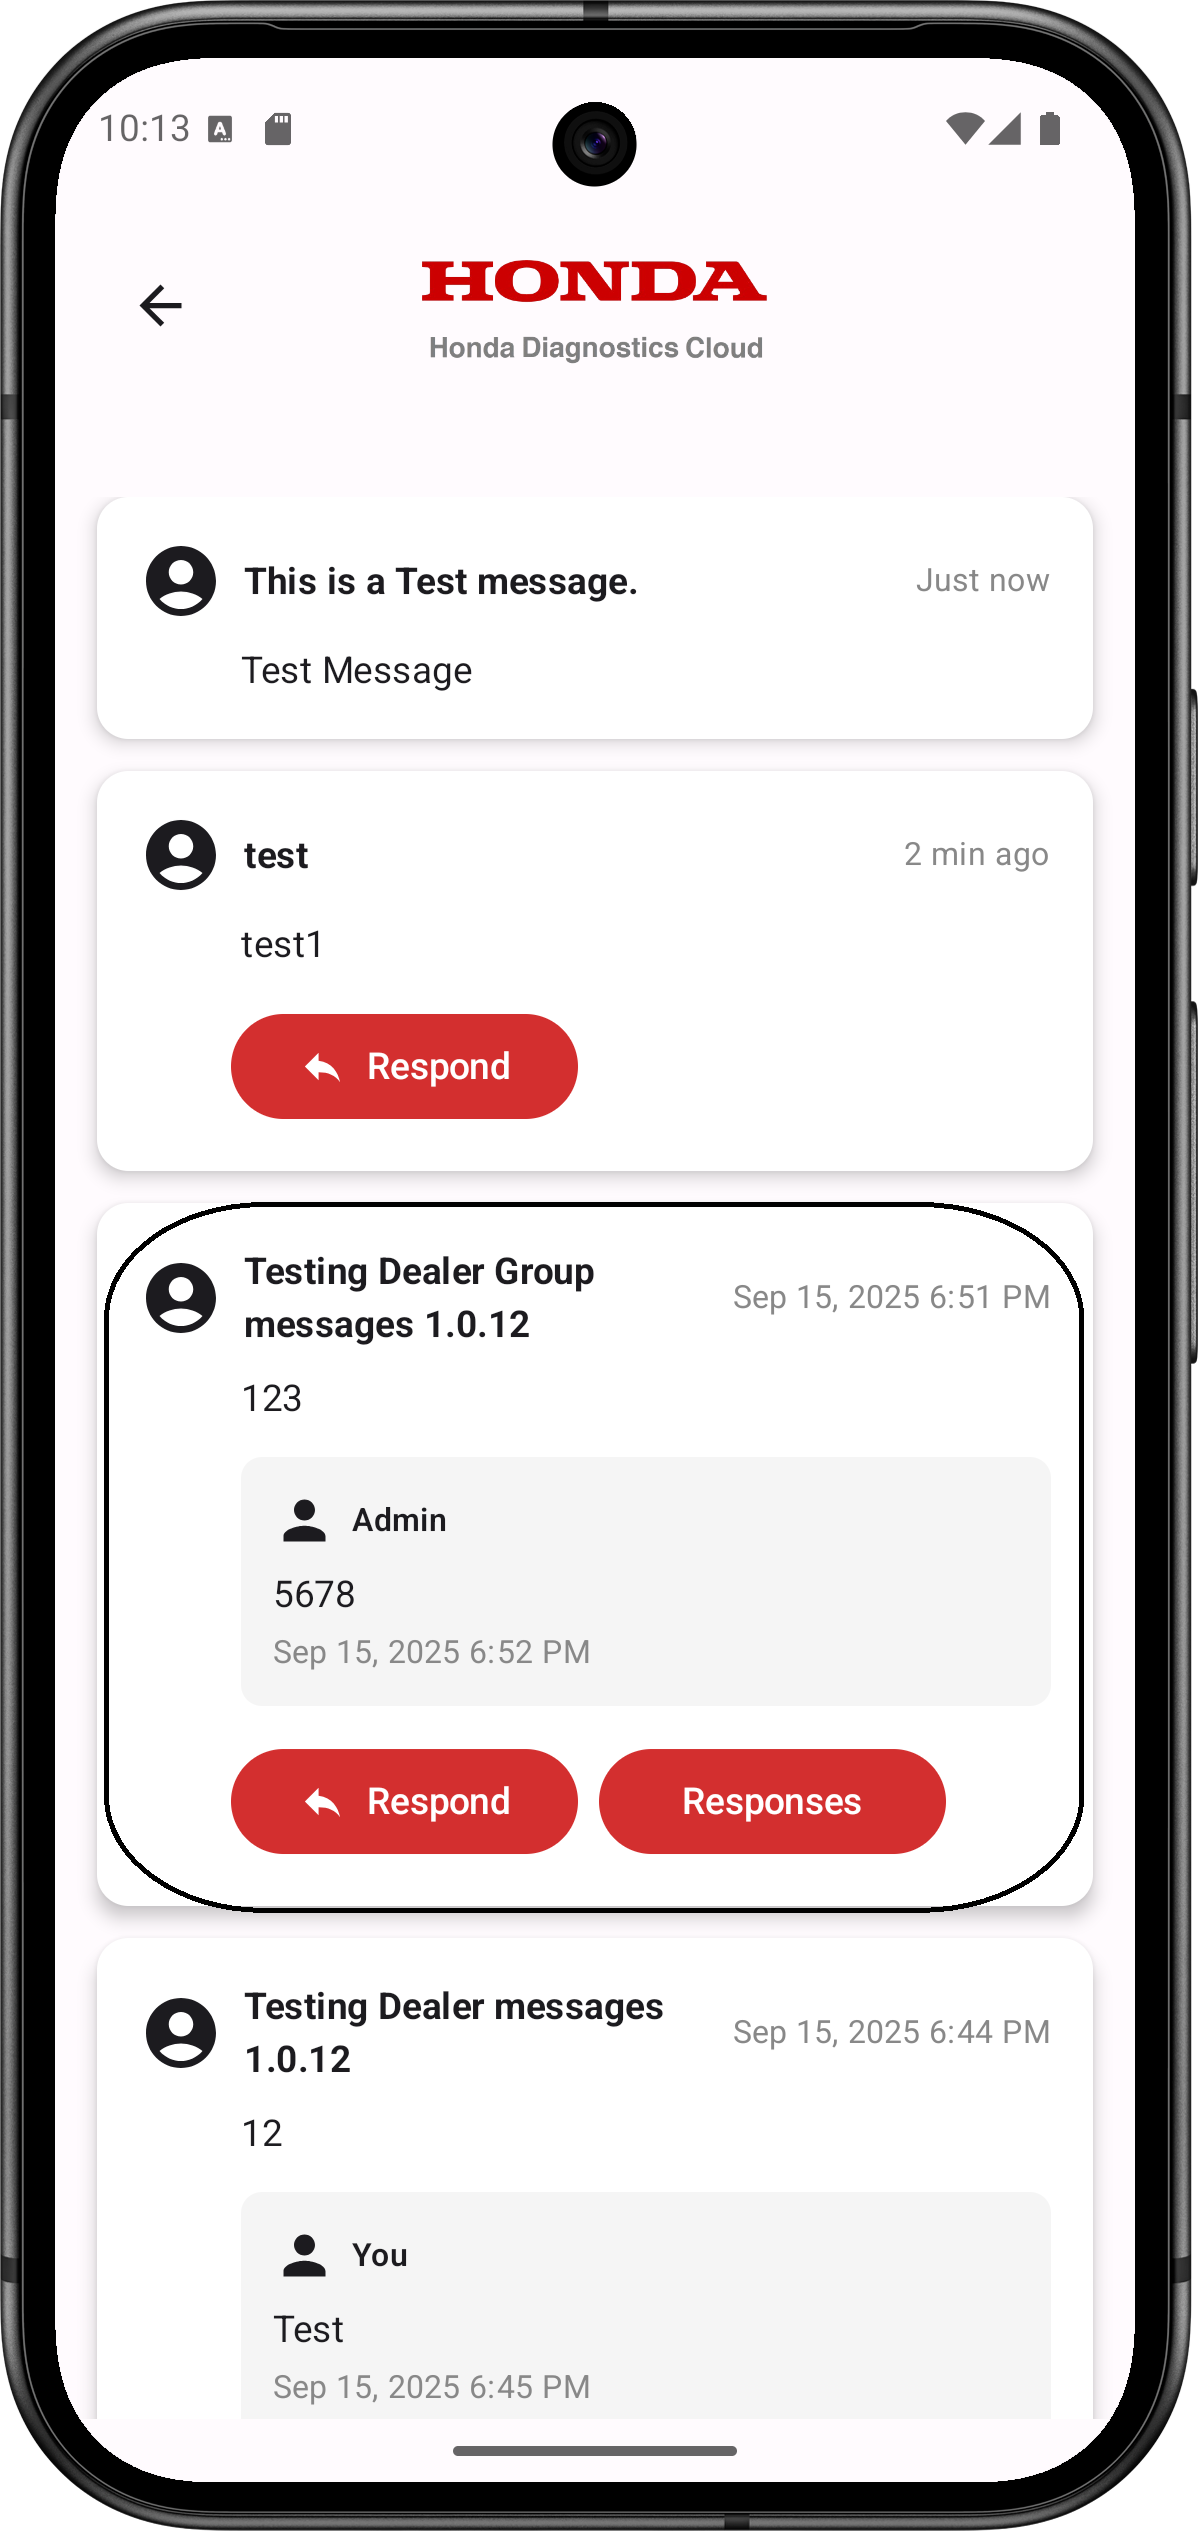
Note: Dealer Group messages are announcements and cannot be replied to.
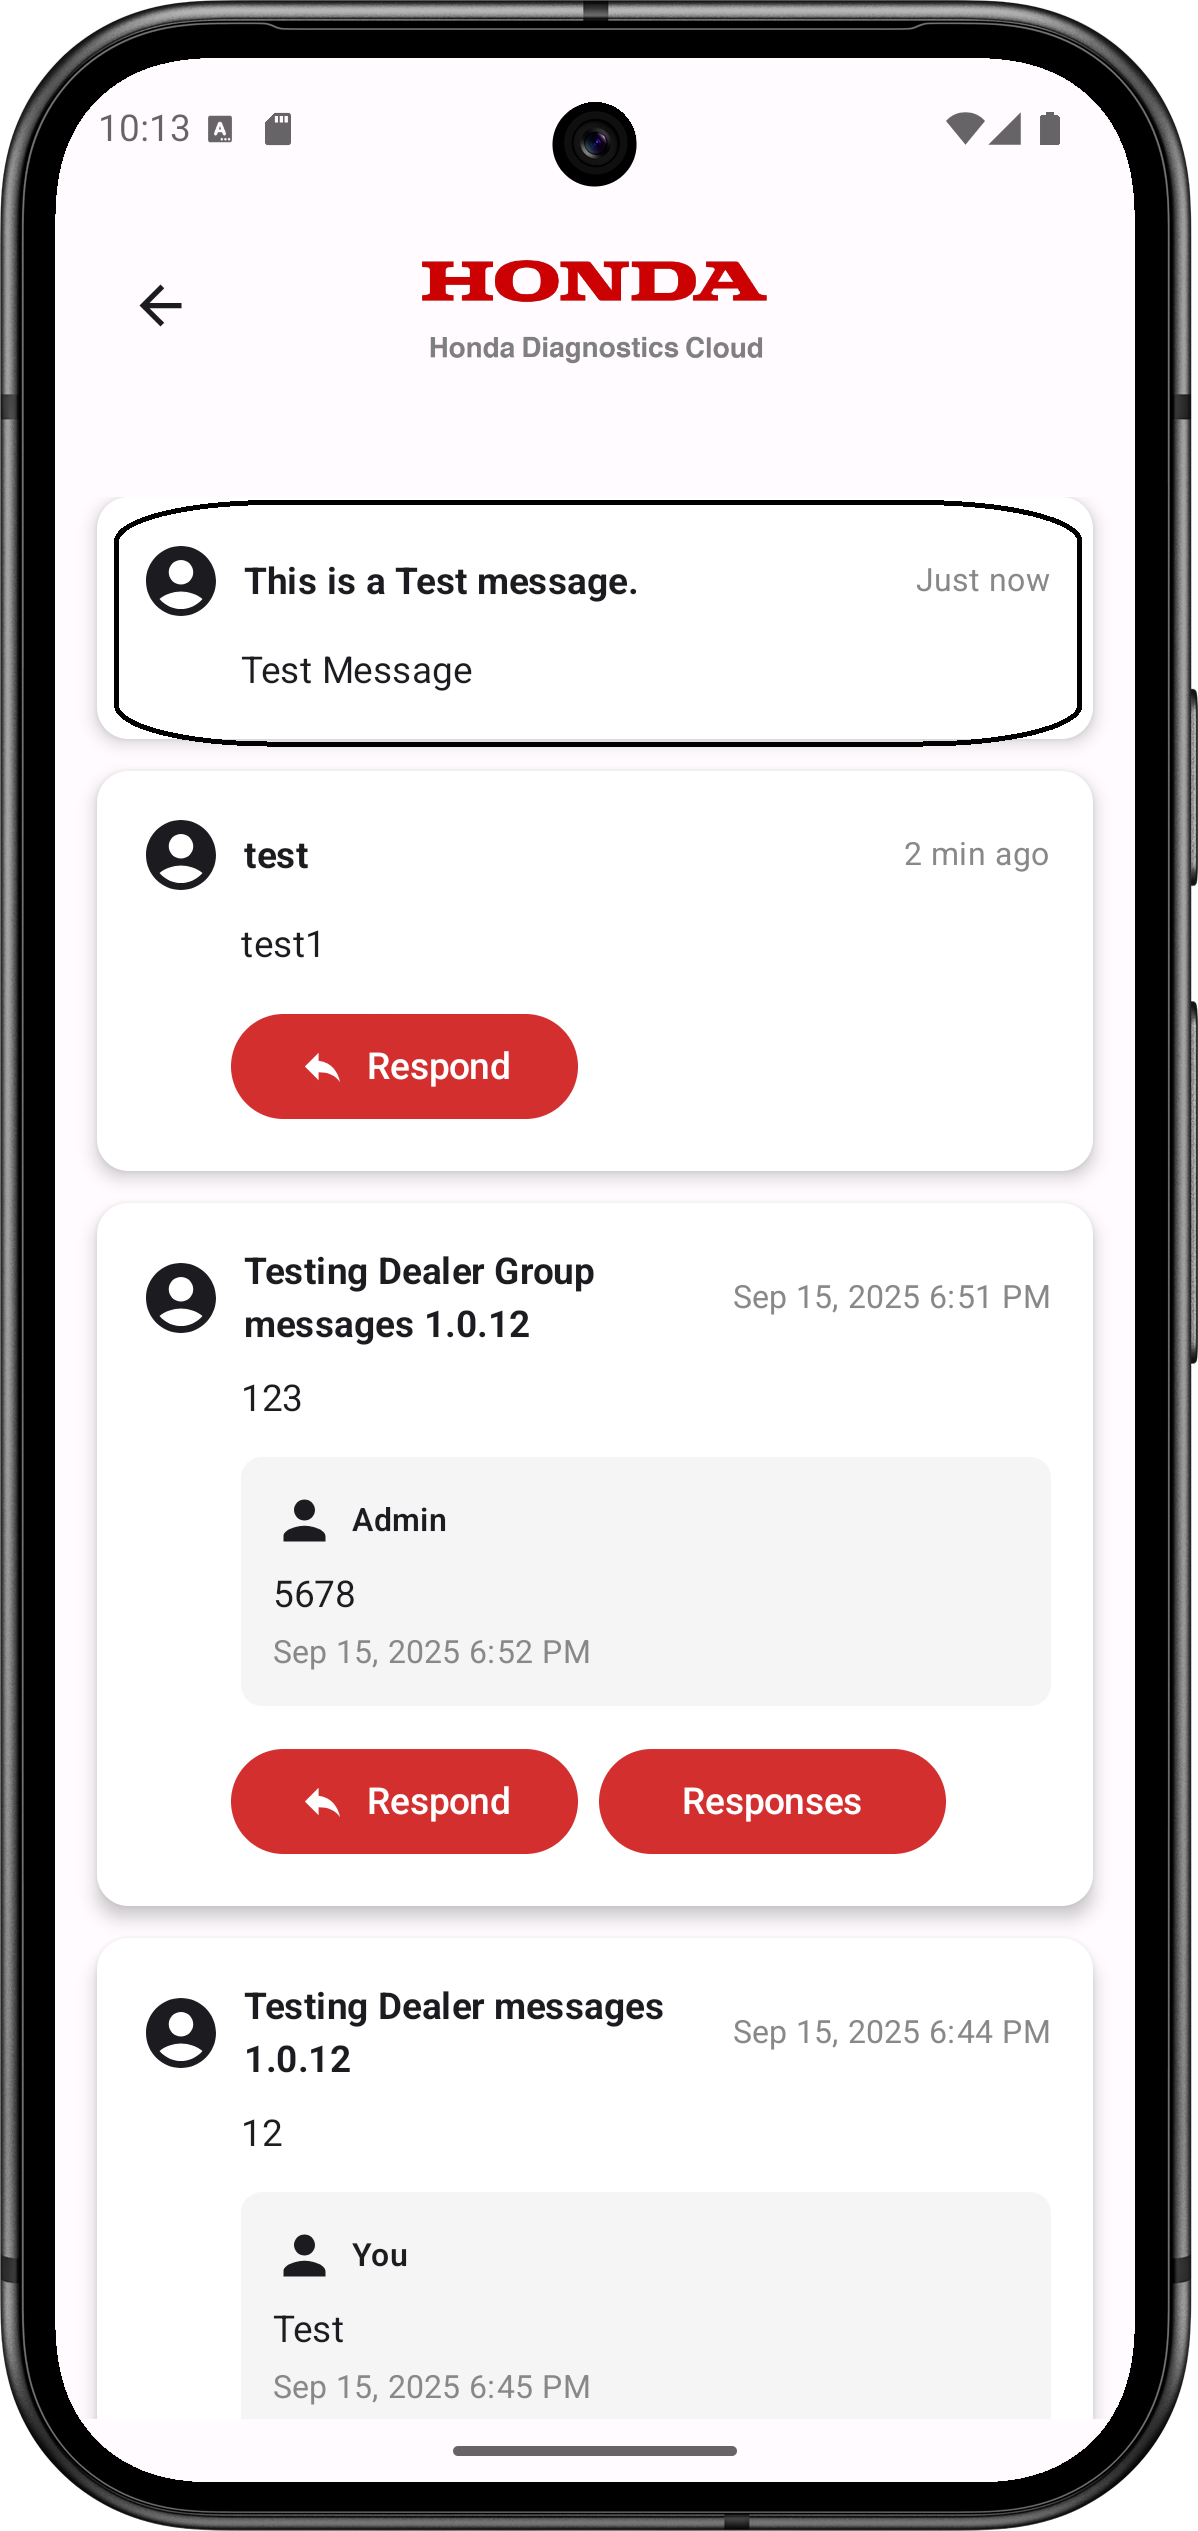
- For ‘Dealer Messages’, users are able to click on the ‘Respond’ button to see the entire conversation and respond back to American Honda.
8. Logging Out
- Tap 'Log Out' on the Home Screen.
- You will be logged out of the iHDS AmiGO app and redirected to the app's Welcome Screen.
9. Troubleshooting
- Login failures: Verify Dealer Number, Username, and Password.
- HAC not detected: Confirm HAC is plugged into vehicle OBD-II port and is powered ON with ignition ON.
- Wi‑Fi setup failures: Re-enter credentials, check Wi‑Fi signal strength. Otherwise, check with your dealer IT administrator.
